DIY projects, especially those involving furniture makeovers, have gained immense popularity in recent years. The idea of transforming an old, perhaps even worn-out dining table into a piece that’s not only functional but also a reflection of personal style and creativity, is both exciting and rewarding. In this comprehensive guide, we delve into the world of DIY dining table makeovers, exploring the steps, techniques, and tips to transform your dining table into a stunning centerpiece.
Why DIY is Rewarding
Engaging in a DIY dining table makeover project is not just about saving money or upcycling old furniture. It’s a journey of creativity and personal growth. The process of taking something old and giving it a new lease of life is deeply satisfying. It instills a sense of accomplishment and pride in your craftsmanship. Moreover, DIY projects can be tailored to fit your specific taste and interior decor, ensuring your dining table is unique and perfectly suited to your home.
The Magic of Transforming Old to New
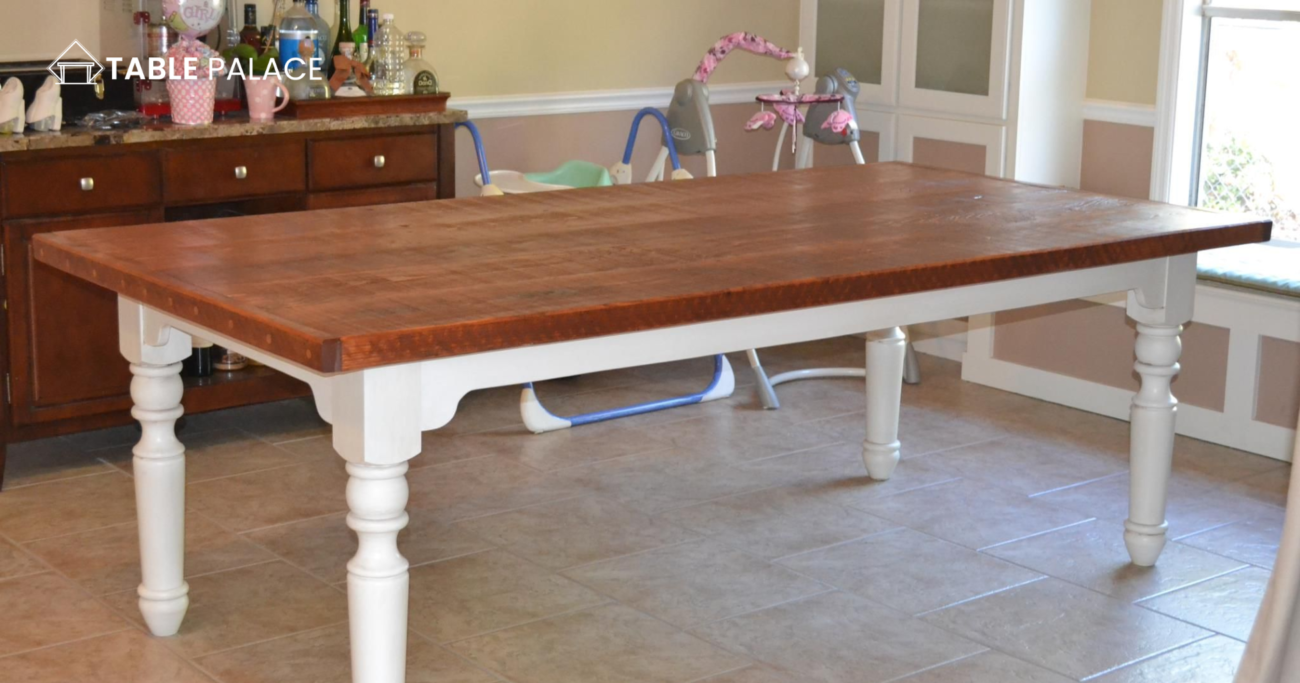
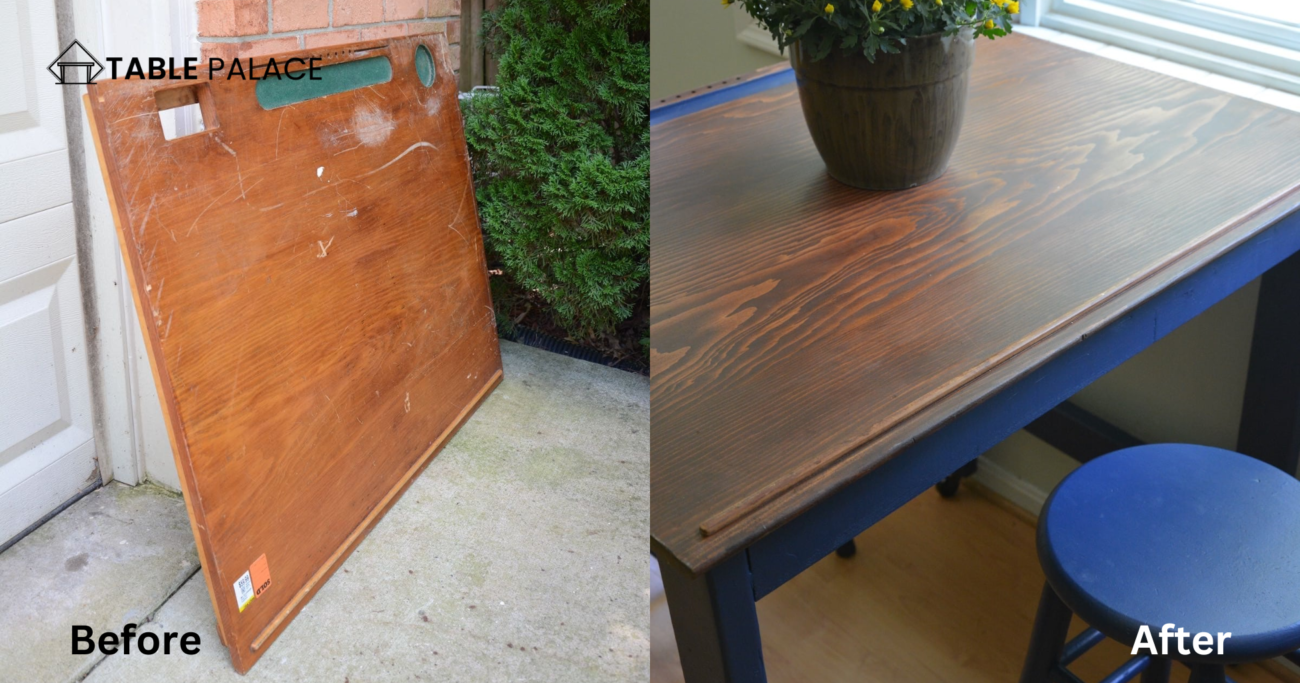
The magic of a DIY makeover lies in its ability to transform the mundane into something extraordinary. An old, neglected dining table can become a beautiful and cherished piece of furniture. This transformation isn’t just about aesthetics; it’s about imbuing an old object with new life and purpose, creating something that carries a story and personal touch.
Assessing Your Dining Table’s Potential
Before embarking on your DIY journey, it’s crucial to assess the potential of your dining table. This involves examining its material, build quality, and the extent of makeover it requires.
Identifying Material and Build Quality
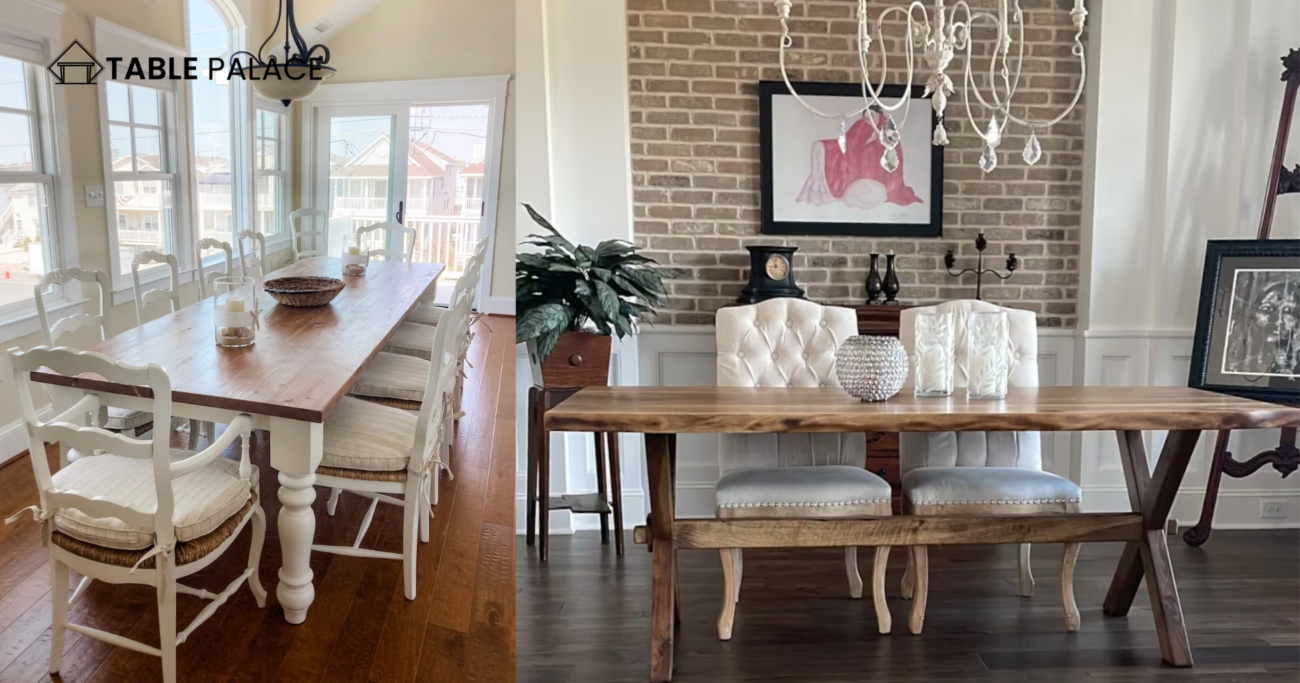
Understanding the material and build quality of your dining table is key to determining the right approach for your makeover. Different materials, whether wood, metal, or glass, require different treatments and techniques. It’s also essential to assess the build quality of your table to ensure it can withstand the makeover process and continue to be a durable piece of furniture.
Estimating the Extent of Makeover Needed
Evaluate the condition of your dining table. Does it need a simple repaint, or are there damages that need repairing? The extent of the makeover will influence your planning, budget, and the techniques you’ll employ.
Planning Your DIY Dining Table Project
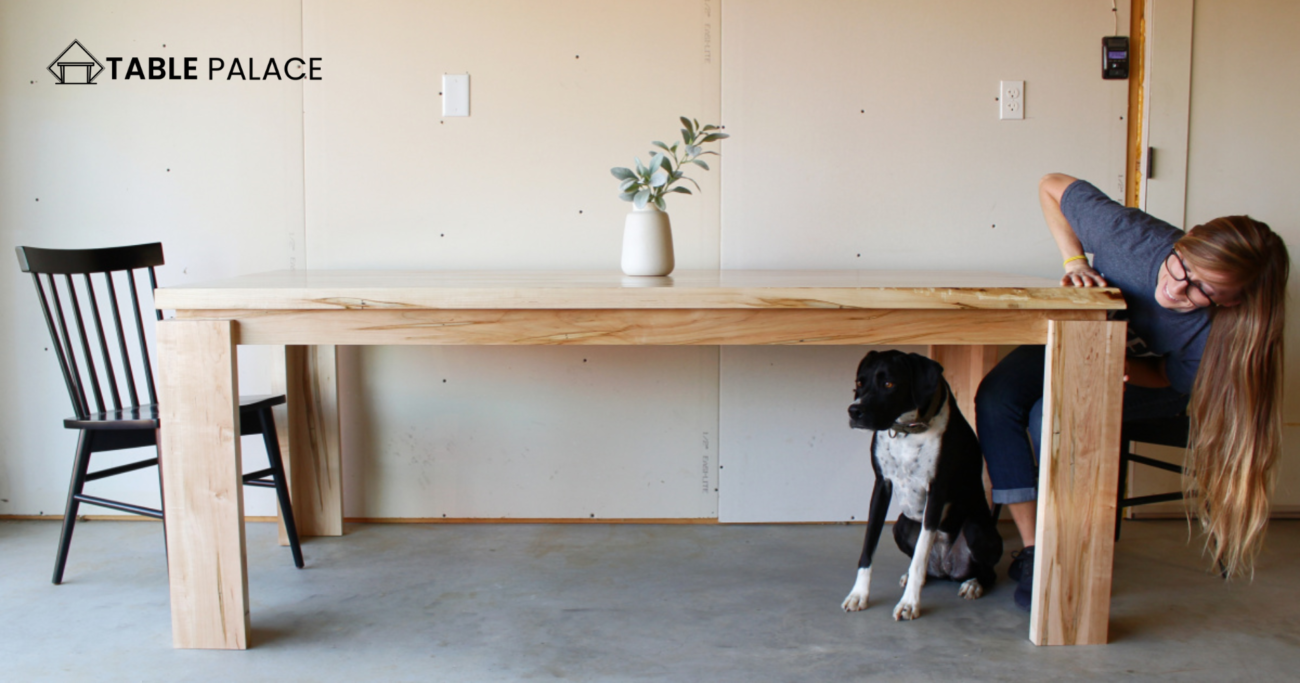
A successful DIY dining table makeover requires careful planning. This involves setting realistic goals, timelines, and budgeting for materials and tools.
Setting Realistic Goals and Timelines
Be realistic about what you can achieve given your skills, tools, and the time you can dedicate to the project. It’s better to set achievable goals and extend the timeline if necessary than to rush and compromise on quality.
Budgeting for Materials and Tools
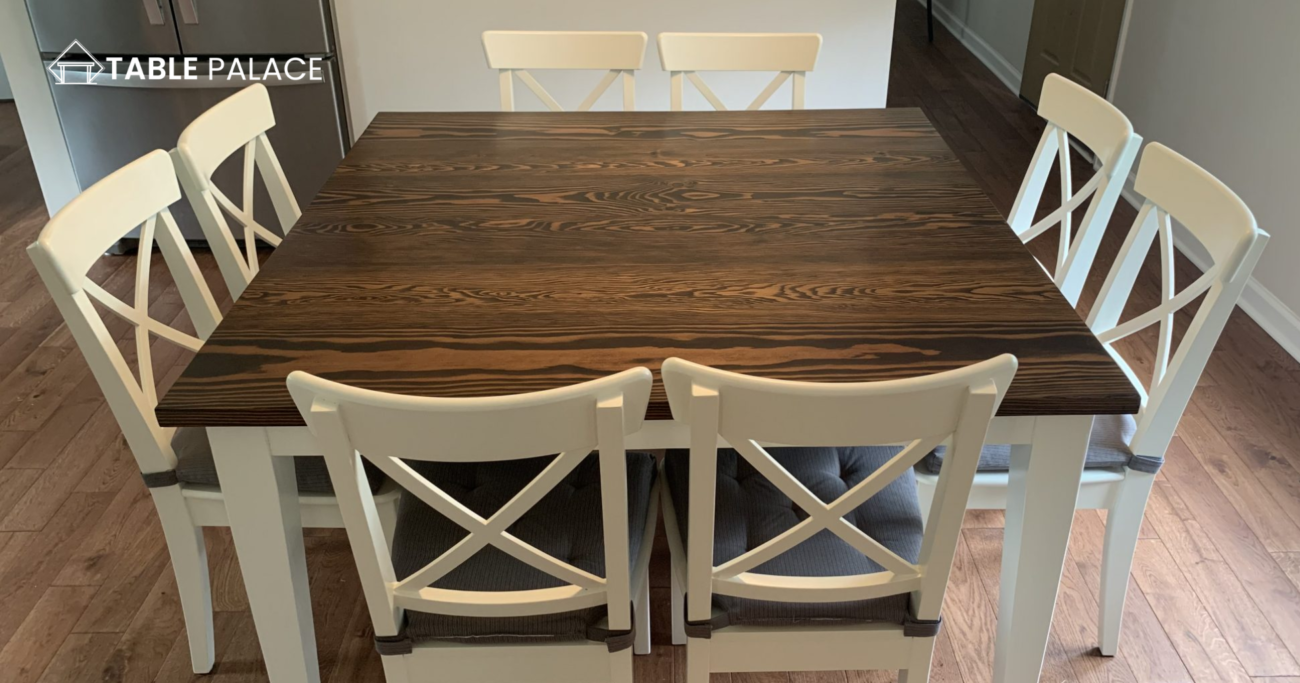
Create a budget for your project. This includes the cost of materials like paint, varnish, sandpaper, and any special tools you might need. Remember, investing in quality materials can make a significant difference in the outcome of your project.
Design Inspirations for Your Table Makeover
Embarking on a DIY dining table makeover allows you to explore a variety of design inspirations to find a style that resonates with your taste and complements your home decor.
Exploring Styles: Rustic, Modern, Vintage

Whether you are drawn to the charm of rustic design, the sleekness of modern aesthetics, or the nostalgic allure of vintage styles, your dining table can be transformed to embody these themes. Consider incorporating elements like distressed wood finishes for a rustic feel, high-gloss paint for a modern look, or decorative patterns for a vintage touch.
Color Schemes and Patterns
The choice of color and pattern plays a crucial role in the overall impact of your makeover. Opt for colors that harmonize with your dining room’s palette. Patterns, whether subtle or bold, can add depth and character to your table. Think about stenciling a design, using a two-tone color scheme, or even experimenting with geometric patterns for a unique look.
Essential Tools for a DIY Makeover
Having the right tools at hand is essential for a successful DIY dining table makeover.
Basic Tool Kit Must-Haves
Your basic toolkit should include sandpaper, paintbrushes, a paint roller, a screwdriver, and a hammer. These tools are fundamental for most DIY furniture projects.
Advanced Tools for Special Projects
For more complex makeovers, consider investing in or renting advanced tools like a power sander, a drill, or a paint sprayer. These tools can significantly speed up the process and provide a more professional finish.
Preparing Your Workspace
A well-organized and safe workspace is crucial for a successful DIY project.
Safety First: Creating a Safe Working Environment
Ensure your workspace is well-ventilated, especially if you’re working with paints or varnishes. Wear protective gear like gloves, masks, and safety glasses to protect yourself from dust and fumes.
Organizing Tools and Materials
Keep your tools and materials neatly organized. This not only makes the process more efficient but also ensures safety, as you’re less likely to trip over scattered items or lose track of important tools.
Stripping and Sanding Basics
Stripping and sanding are key steps in preparing your dining table for a makeover.
Techniques for Stripping Old Paint and Varnish
Stripping old paint or varnish is often necessary for a thorough makeover. You can use chemical strippers for efficient results, but be sure to follow the safety instructions, as these chemicals can be hazardous.
Sanding for a Smooth Finish
Sanding is crucial for achieving a smooth surface that’s ready for painting or staining. Start with a coarse-grit sandpaper and gradually move to finer grits for a smooth finish. Always sand in the direction of the wood grain to avoid scratches.
Repairing Damages and Imperfections
A key part of any makeover is repairing any damages or imperfections in the furniture.
Fixing Scratches and Dents
Small scratches and dents can be filled with wood filler. For larger damages, you may need to use wood putty or even replace parts of the wood.
Strengthening Weak Joints
Check all the joints of your table. If any are loose or weak, reinforce them with wood glue or screws to ensure the table’s stability and longevity.
Choosing the Right Paint and Stain
Selecting the appropriate paint and stain is crucial for the aesthetics and durability of your dining table.
Types of Paints and Their Uses
Choose a paint type that suits your table’s material and the look you’re aiming for. Options include chalk paint for a matte finish, acrylic paint for versatility, or oil-based paint for durability.
Selecting Stains for Wood Tables
If you prefer to highlight the natural beauty of the wood, choose a stain that complements the wood’s tone. Stains are available in various shades, from light to dark, allowing you to enhance the wood’s natural grain.
Painting and Staining Techniques
The application of paint and stain will define the final look of your dining table, making it important to apply these materials correctly.
Brush vs. Spray: Pros and Cons
Choosing between brush and spray methods depends on the desired finish and the complexity of the table’s design. Brushing allows for more control and is ideal for intricate designs while spraying can provide a more uniform and quicker coverage but requires more preparation to avoid overspray.
Achieving an Even Coat
For an even coat, apply paint or stain in thin, consistent layers. Allow sufficient drying time between coats, and lightly sand the surface before applying the next layer. This approach helps avoid drips or uneven textures and results in a professional-looking finish.
Adding Unique Elements to Your Table
Personalizing your dining table with unique elements can make it truly one-of-a-kind.
Incorporating Patterns and Designs
Consider adding patterns or designs to your table for a unique touch. This could be anything from stencil art, freehand painting, or even a collage of images under a glass top.
DIY Decoupage Techniques
Decoupage, the art of decorating surfaces with paper cutouts, can be a fun and creative way to personalize your table. Use Mod Podge or a similar adhesive to apply and seal your chosen images or patterns onto the table.
Protective Finishing Touches
Applying a protective finish is essential to preserve your table’s new look.
Selecting Sealants and Finishes
Choose a sealant or finish that matches your table’s intended use and the type of paint or stain used. Options include polyurethane, varnish, or wax. Each provides different levels of protection and sheen.
Application Tips for Durability
Apply the sealant in thin, even coats, ensuring full coverage. Sand lightly between coats for a smoother finish. This not only enhances the appearance but also extends the durability of your table.
Styling Your Revamped Dining Table
Once your table makeover is complete, it’s time to style it to complement your dining space.
Accessorizing with Tableware and Linens
Select tableware and linens that match the style and color scheme of your newly revamped table. Consider table runners, placemats, and centerpieces that complement the table’s design.
Lighting and Decor to Complement Your Table
Lighting can dramatically enhance the look of your dining table. Choose light fixtures that align with the style of your makeover. Additionally, consider wall art, rugs, or curtains that harmonize with the table’s new aesthetic.
Maintaining Your DIY Dining Table
To keep your dining table looking its best, regular maintenance is key.
Cleaning and Care Tips
Use appropriate cleaning products that won’t damage the table’s finish. Avoid harsh chemicals and use coasters and placemats to protect the surface from heat and moisture.
Periodic Maintenance Checks
Regularly check for any signs of wear and tear, especially on the table’s surface and joints. Address any issues promptly to maintain the table’s integrity and appearance.
Troubleshooting Common DIY Challenges
DIY projects often come with unexpected challenges. Here are some tips for troubleshooting common issues.
Dealing with Unexpected Issues
Encountering problems like paint not adhering properly or an uneven finish is common. In such cases, reassess your technique, check your materials, and don’t hesitate to redo sections if necessary.
Finding Solutions and Resources
Seek advice from DIY forums, hardware store experts, or online tutorials if you’re stuck. Sometimes, a fresh perspective can provide simple solutions to seemingly complex problems.
FAQs
How Do I Choose the Right Paint for My Dining Table?
Selecting the right paint depends on the material of your table and the finish you desire. For wooden tables, acrylic or chalk paint offers a smooth finish, while oil-based paints are durable for heavy use. Always consider the paint’s compatibility with your table’s material.
Can I Makeover a Laminate Dining Table?
Yes, laminate tables can be made over with the right preparation. Sanding the surface to create texture and using a primer suitable for laminate surfaces is key. Then, you can paint it as you would a wooden table.
How Long Should I Let the Paint Dry Before Using the Table?
Drying times vary depending on the type of paint and environmental conditions. Generally, it’s best to wait at least 24-48 hours for the paint to dry to the touch, and up to a week for it to fully cure.
Do I Need to Sand My Table Before Painting?
Sanding is recommended to remove old finishes and to create a smooth surface for the new paint to adhere to. For tables with a damaged or thick old finish, sanding is essential.
What’s the Best Way to Protect the Painted Surface?
Using a clear sealant or varnish over the painted surface can protect it from scratches, stains, and water damage. Choose a sealant that’s compatible with your paint type and finish preference (matte, satin, or glossy).
Can I Undertake a Dining Table Makeover as a Beginner?
Absolutely! A dining table makeover is a great project for beginners. Start with simpler tasks like painting, and progress to more complex techniques as you gain confidence. There are plenty of resources and tutorials available to guide you through the process.
Conclusion
Embarking on a DIY dining table makeover is not just about revamping a piece of furniture; it’s a journey of creativity, learning, and personal expression. Through this comprehensive guide, we’ve explored the various aspects of executing a successful DIY dining table makeover, from the initial assessment and planning stages to the final touches and maintenance.

