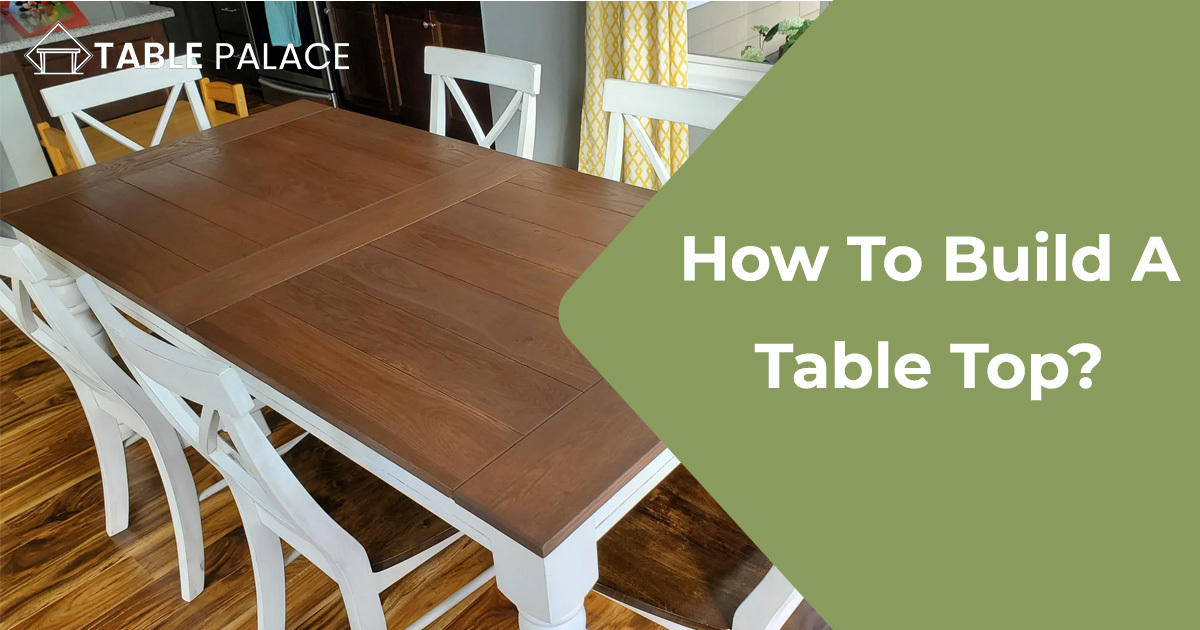
A table top is an essential component of any table, and building one from scratch can be a rewarding experience. However, if you’re not sure where to start, it can be a daunting task. In this step-by-step guide, we’ll show you exactly how to build a table top that’s both functional and visually appealing. Whether you’re a beginner or an experienced DIY enthusiast, this guide will provide you with all the information you need to create a custom table top that will fit your style and needs. So let’s get started and learn how to build a table top!
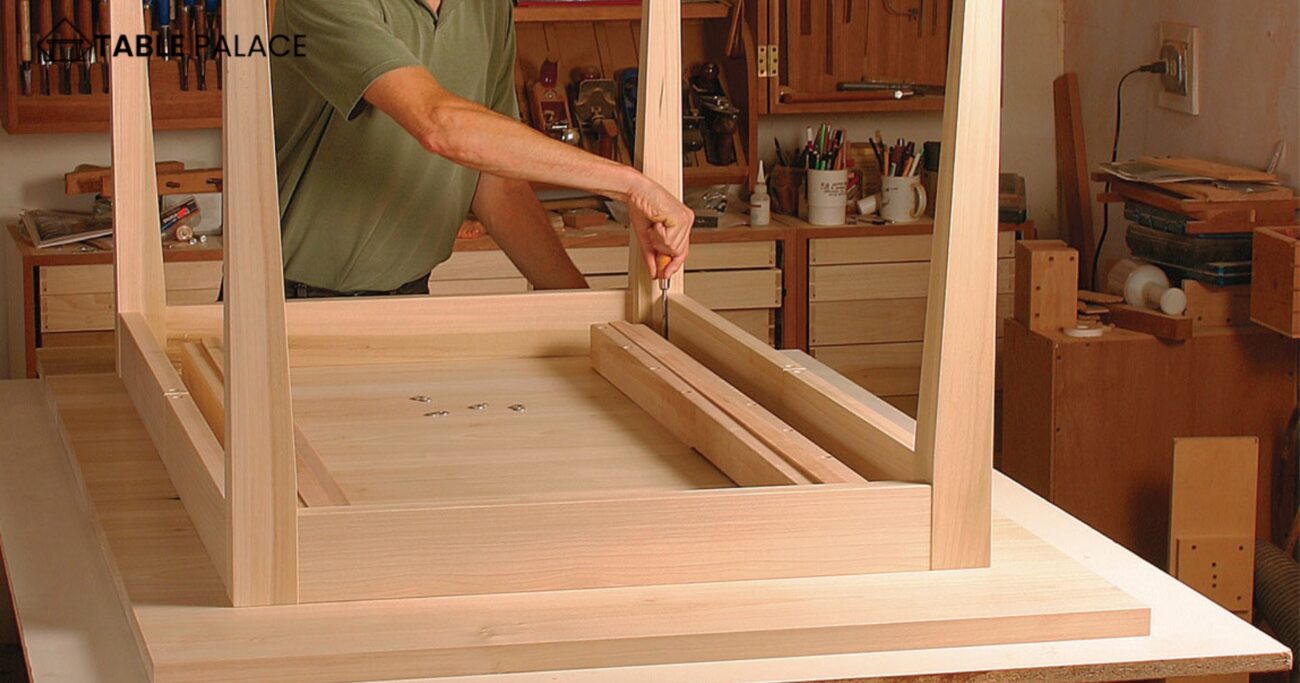
Steps of How To Build A Table Top
Building a tabletop may seem daunting, but using the right tools and materials can be a fun and rewarding DIY project. Not only will you end up with a beautiful piece of furniture, but you will also gain valuable woodworking skills. This blog post will walk you through how to build a tabletop, from start to finish.
Tools and Materials Needed:
- Table saw
- Drill press
- Router
- Clamps
- Screws or nails
- Sandpaper
- Wood glue
- Table legs or trestle
- Lumber (such as pine, oak, or maple)
- Finish (such as polyurethane or varnish)
- Measuring tape
- Pencil or pen
- Safety equipment (such as goggles and earplugs)
- Jigsaw(Optional)
- Kreg jig (Optional)
- Pocket hole jig (Optional)
- Doweling Jig (Optional)
- Chisels (Optional)
- Hand Planer (Optional)
- Belt sander(Optional)
Steps:
- Measure and mark the size of your tabletop on the lumber. Use the measuring tape and pencil or pen to mark the dimensions on the wood.
- Cut the lumber to size using a table saw. Use the appropriate safety equipment, such as goggles and earplugs.
- Sand the edges and surfaces of the wood to remove any rough spots or saw marks. Use a belt sander or sandpaper to smooth out the wood.
- Apply wood glue to the edges of the tabletop and clamp them together. Allow the glue to dry according to the manufacturer’s instructions.
- Use a router to round over the tabletop’s edges for a smooth finish.
- Attach the table legs or trestle to the bottom of the tabletop using screws or nails. Make sure the legs are level and secure.
- Apply a finish to the tabletop to protect the wood and enhance its natural beauty.
- Allow the finish to dry according to the manufacturer’s instructions and enjoy your new tabletop!
Building a tabletop may take time and effort, but the result will be worth it. Not only will you have a beautiful piece of furniture, but you will also have the satisfaction of knowing that you built it yourself. With the right tools and materials and these easy-to-follow steps, you can build a tabletop that will last for years.
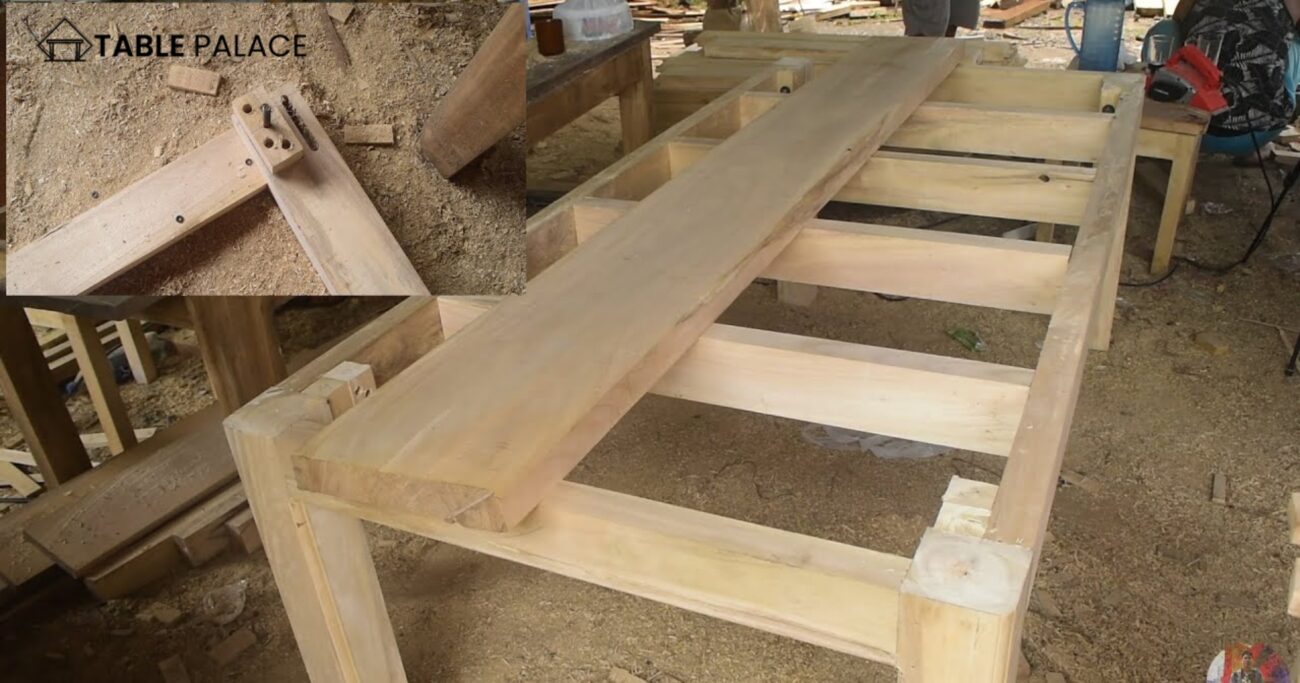
Steps How do you join tabletop boards together?
Are you tired of wobbly tabletops that won’t stay put? Look no further! This step-by-step guide will show you how to join tabletop boards to create a sturdy and durable surface that will last for years.
Step 1: Gather materials and tools
Before you begin you will need to gather all the necessary materials and tools. This includes the boards for your tabletop, wood glue, clamps, a saw (table saw or jigsaw), a drill press, and a router. Make sure you have all of these items on hand before you begin.
Step 2: Measure and cut the boards
Measure the desired length and width of your tabletop and mark it on the boards. Using a saw, carefully cut the boards to size. Make sure all of the cuts are straight and even.
Step 3: Router the edges
Use a router to smooth out the edges of the boards. This will give them a cleaner and more finished look.
Step 4: Apply wood glue to the edges
Apply a generous amount of wood glue to the edges of the boards that will be joined together. Make sure the glue is evenly distributed and covers the entire edge.
Step 5: Clamp the boards together
Place the boards together, with the glue-covered edges touching. Use clamps to hold the boards and ensure they are tightly joined.
Step 6: Drill pilot holes
Using a drill press, drill pilot holes through the edges of the boards where they are joined together. This will prevent the wood from splitting when the screws are added.
Step 7: Add screws
Add screws to the pilot holes, making sure they are securely fastened.
Step 8: Sand and finish
Once the glue and screws have dried, use sandpaper to smooth out the tabletop’s surface. Apply a finish of your choice, such as polyurethane or varnish, to protect the wood and give it a professional look.
Congratulations, you have just completed your very own custom tabletop! The joint you have created is solid, durable, and visually pleasing. With this method, you’ll never have to worry about wobbly tables again. Your guests will be impressed with the quality of your work, and you can enjoy your new tabletop for years to come.
What type of wood material is best for a tabletop?
When choosing a suitable wood for your tabletop, there are a few things to consider.
Hardwoods
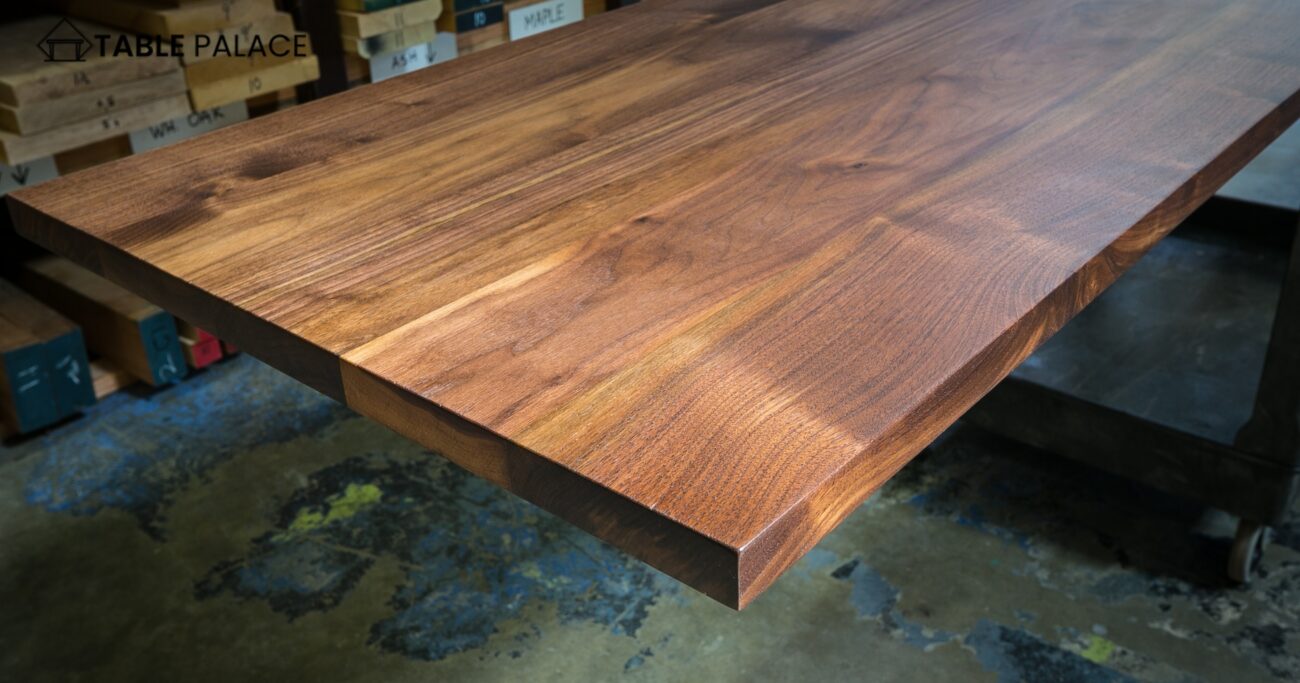
Hardwoods like Oak, Maple, and Cherry are the most popular choices for table tops. They are known for their durability, strength, and long-lasting nature. These woods are also easy to stain or finish to match any decor.
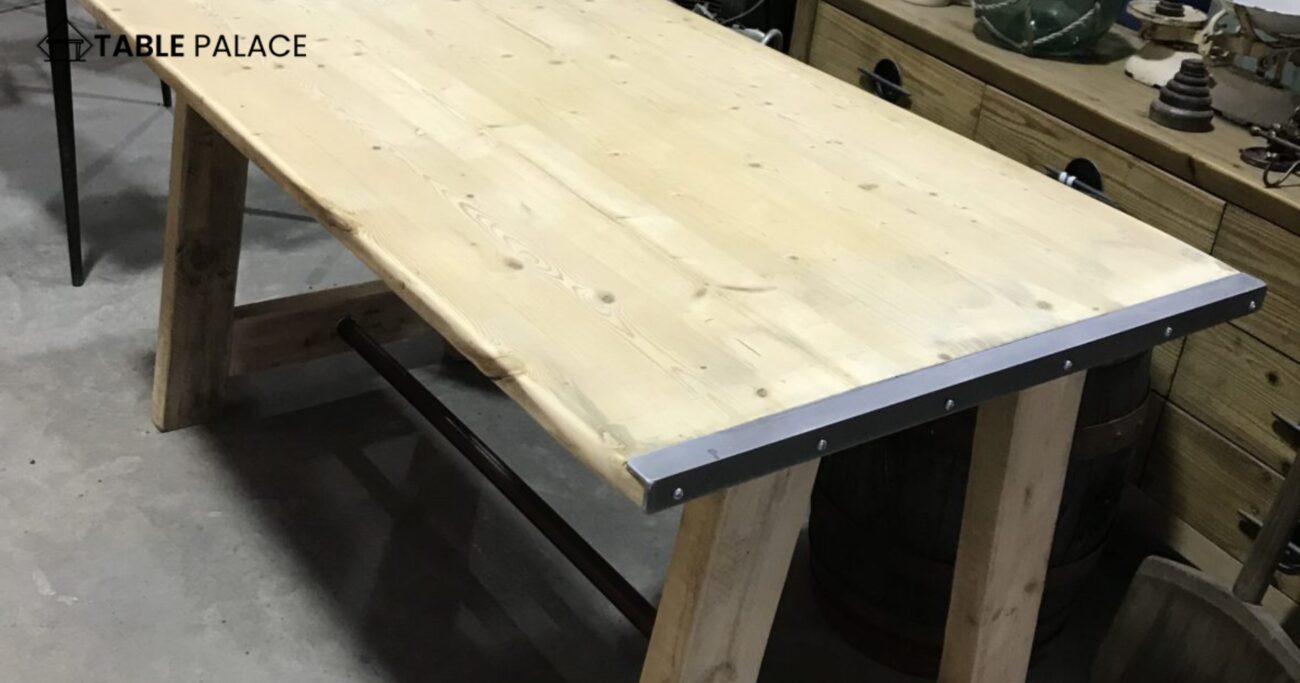
Softwoods
Softwoods like Pine and Cedar are also used for table tops, but hardwood is more durable. They are more affordable and can be a good choice for a budget-friendly tabletop.
MDF
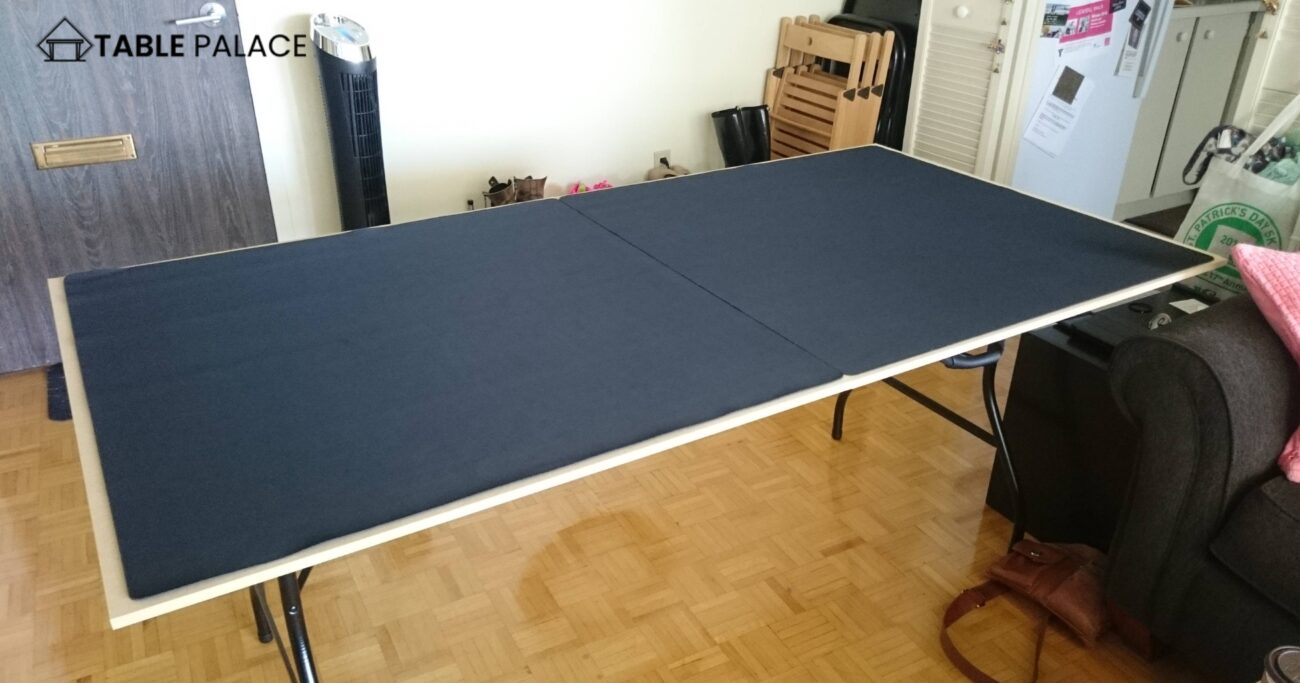
Medium-Density Fiberboard (MDF) is an artificial wood product that is made of fine wood fibers. It is often used as a cheaper alternative to hardwoods, but it is less durable. MDF is also more prone to warping over time.
Plywood
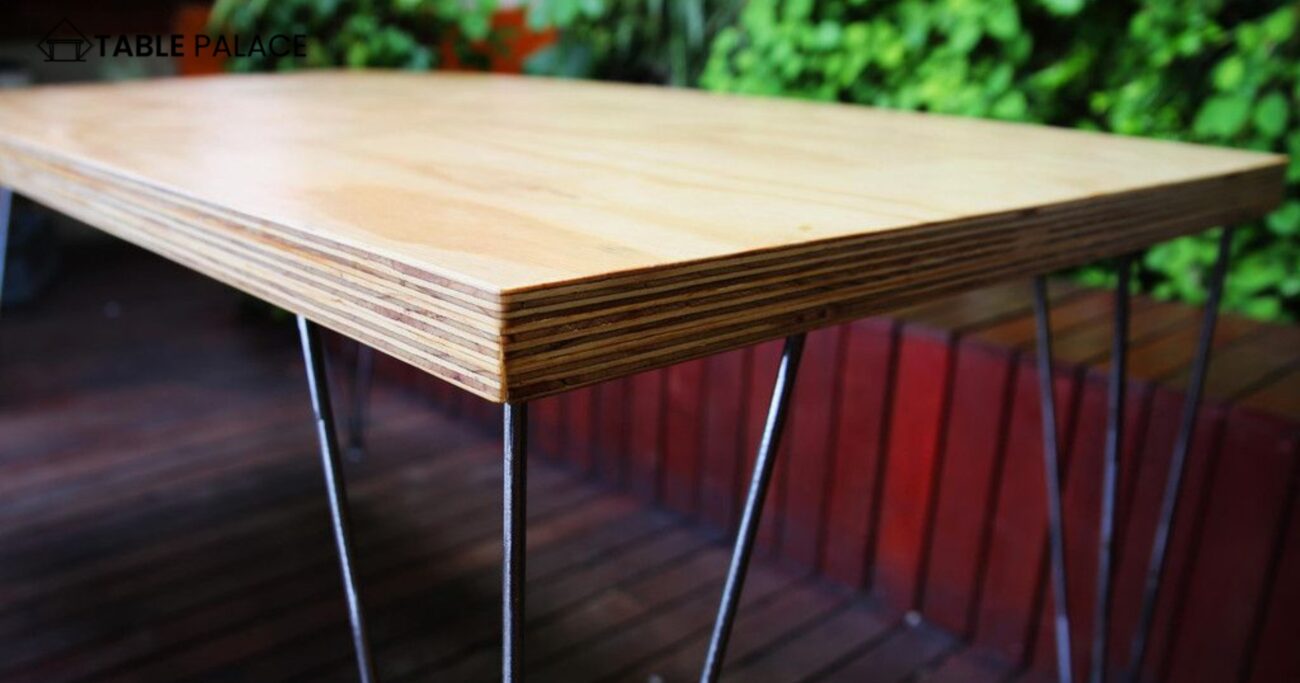
Plywood is a popular choice for table tops because it is relatively inexpensive, easy to work with, and robust. It is made of thin layers of wood glued together, making it less prone to warping.
What is a suitable thickness for a tabletop?
When building a table, one of the most important decisions you’ll make is determining the thickness of your tabletop. A tabletop that is too thin may need to be more sturdy, while a tabletop that is too thick may be overly heavy and difficult to move. So, what is the ideal thickness for a tabletop?
First and foremost, it’s essential to consider the table’s intended use. If you’re building a dining table that will be used for daily meals, it’s crucial to have a thicker tabletop that can withstand the weight of dishes and heavy use. A dining table should have a thickness of at least 1-1/2 inches.
For a coffee table or end table, a thickness of 3/4 inches is sufficient. This thickness will provide enough stability for everyday use, but it’s also lightweight enough to move around quickly.
On the other hand, a workbench’s thickness of 2-3 inches is ideal. This thickness will provide a sturdy surface for heavy-duty projects and withstand the weight of tools and materials.
Another factor to consider when determining the thickness of your tabletop is the type of wood you’ll be using. Some woods, like pine, are relatively soft and may require a thicker tabletop to provide enough stability. Hardwoods like oak and maple are denser and can be used for a thinner tabletop.
When in doubt, it’s always better to err on the side of caution and go for a thicker tabletop. This will ensure that your table is sturdy, durable, and can withstand daily use.
Determining the suitable thickness for a tabletop is a crucial decision when building a table. It’s essential to consider the intended use of the table and the type of wood you’ll be using, and always better to err on the side of caution and go for a thicker tabletop. A thickness of 1-1/2 inches for a dining table, 3/4 inches for a coffee table or end table, and 2-3 inches for a workbench are suitable for a tabletop.
How do you glue the tabletop to the edge?
Building a tabletop is a fun and rewarding project for anyone with some woodworking experience. One of the most critical steps in building a tabletop is gluing the tabletop to the edge. This step is critical for ensuring that your tabletop is solid and stable. Below, we will go over the steps you need to take to glue your tabletop to the edge and tips and tricks to make the process as easy and stress-free as possible.
Step 1: Prepare Your Surface
Preparing your surface is the first step in gluing your tabletop to the edge. This means ensuring that your tabletop and edge pieces are clean, dry, and debris-free. Use a damp cloth to wipe down your pieces and let them dry completely before proceeding.
Step 2: Apply the Glue
Once your pieces are clean and dry, it’s time to apply the glue. You will need to use wood glue specifically designed for this purpose. Most wood glues come with a nozzle that makes it easy to apply the glue in a thin and even layer. Apply the glue to the edge of your tabletop, spreading it evenly across the entire surface.
Step 3: Clamp the Pieces Together
Once the glue is applied, it’s time to clamp the pieces together. You will need to use clamps designed explicitly for this purpose, such as bar or pipe. These clamps are designed to apply even pressure to the pieces, ensuring a tight and secure bond. Place your clamps around the tabletop’s edge, ensuring they are securely tightened.
Step 4: Allow the Glue to Dry
After your clamps are in place, you will need to allow the glue to dry. This can take anywhere from a few hours to a full day, depending on the type of glue you are using and the humidity levels in your area. Make sure to check the manufacturer’s instructions for specific drying times.
Step 5: Remove the Clamps
Once the glue is dry, it’s time to remove the clamps. Carefully loosen each clamp and remove it from the tabletop. It would help if you now had a robust and stable tabletop with a smooth and seamless edge.
Tips and Tricks:
- Make sure to use wood glue specifically designed for this purpose.
- Apply the glue in a thin and even layer to ensure maximum bonding.
- Use clamps designed explicitly to ensure even pressure and a tight bond.
- Allow the glue to dry completely before removing the clamps.
Following these simple steps, you can easily glue your tabletop to the edge and create a beautiful and durable tabletop. Remember, take your time, be patient, and ensure you have all the necessary tools and materials before starting the project. With a bit of practice and patience, you can create a beautiful and functional tabletop that you can be proud of.
Which is better, hardwood or MDF?
Hardwoods like Oak, Maple, and Cherry are the most durable and long-lasting wood materials for table tops. They are easy to stain or finish to match any decor and are less prone to warping over time. On the other hand, MDF is an artificial wood product made of fine wood fibers. It is often used as a cheaper alternative to hardwoods but is less durable.
Can I use plywood for the tabletop?
Plywood can be used for table tops but is less durable than hardwoods or MDF. However, it is inexpensive, easy to work with, and robust. It is made of thin layers of wood glued together, making it less prone to warping.
Video Guide
Conclusion
Building a tabletop is fun and rewarding, but it requires basic woodworking skills and knowledge of the available wood materials. Considering the durability, strength, and budget, you can make the best choice for your tabletop. With the right tools, you can create a beautiful, sturdy tabletop that will last for years.
FAQs
How much wood do I need to build a tabletop?
A: The amount of wood you need to build a tabletop will depend on the size and thickness of the boards you use. You should use about 1 board foot of wood for every square foot of tabletop.
Do I need special tools to build a tabletop?
To build a tabletop, you will need essential woodworking tools, such as a saw, a drill, sandpaper, and a hammer. Depending on the type of joinery, you may also need specialized tools, such as a pocket hole jig or a biscuit joiner.
How long does it take to design a tabletop?
The time it takes to build a tabletop will depend on the size, the type of wood you use, and your experience level. On average, building a tabletop will take several hours to a full day.
Can I paint or stain my tabletop?
You can paint or stain your tabletop to match the decor. Be sure to sand the surface before applying the paint or stain, and follow the manufacturer’s instructions.
Can I build a tabletop with reclaimed wood?
Yes, you can build a tabletop with reclaimed wood. However, you will need to be sure that the wood is in good condition and free from rot or decay. It would help if you cleaned the wood thoroughly before using it.
How do I protect my table top from scratches and stains?
Apply a protective finish to protect your tabletop from scratches and stains. You can use polyurethane or varnish to seal the wood and protect it from moisture and stains. Be sure to follow the manufacturer’s instructions for application.

