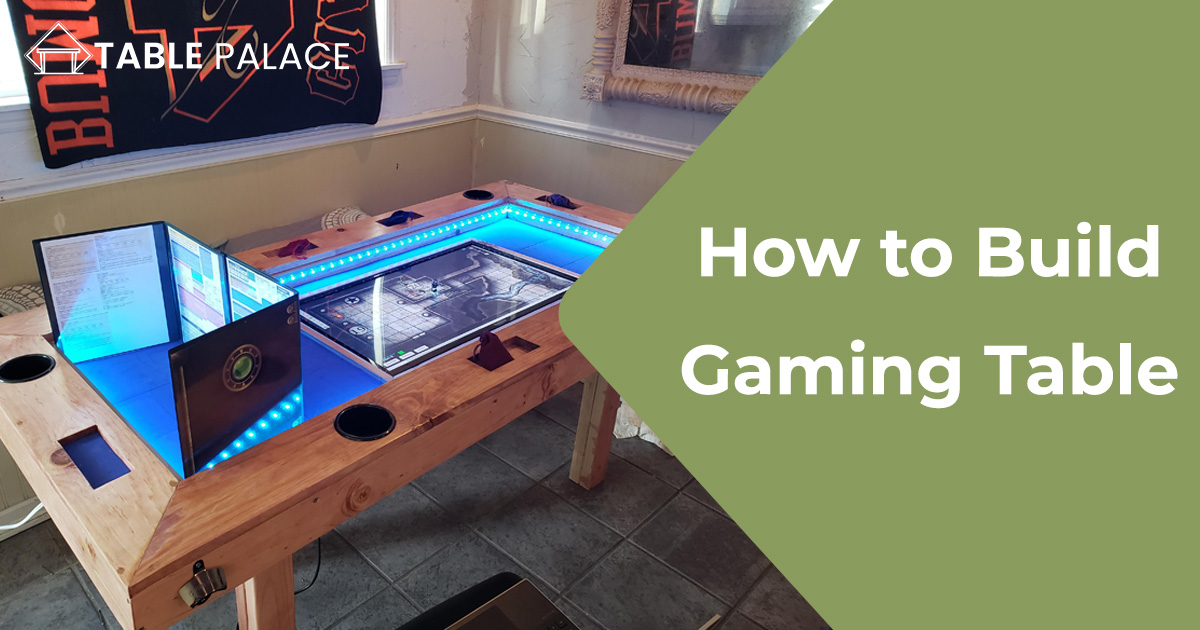
Are you tired of playing games on a boring, generic table? Building a custom gaming table is easier than you think! With this guide, you’ll learn how to build a gaming table that perfectly fits your gaming needs and personal style. Whether you’re into board games, card games, or tabletop RPGs, a custom gaming table can take your gaming experience to the next level. With step-by-step instructions and helpful tips, you’ll be able to create a unique and functional gaming table that will be the envy of all your gaming friends. So, grab your tools and let’s get building!
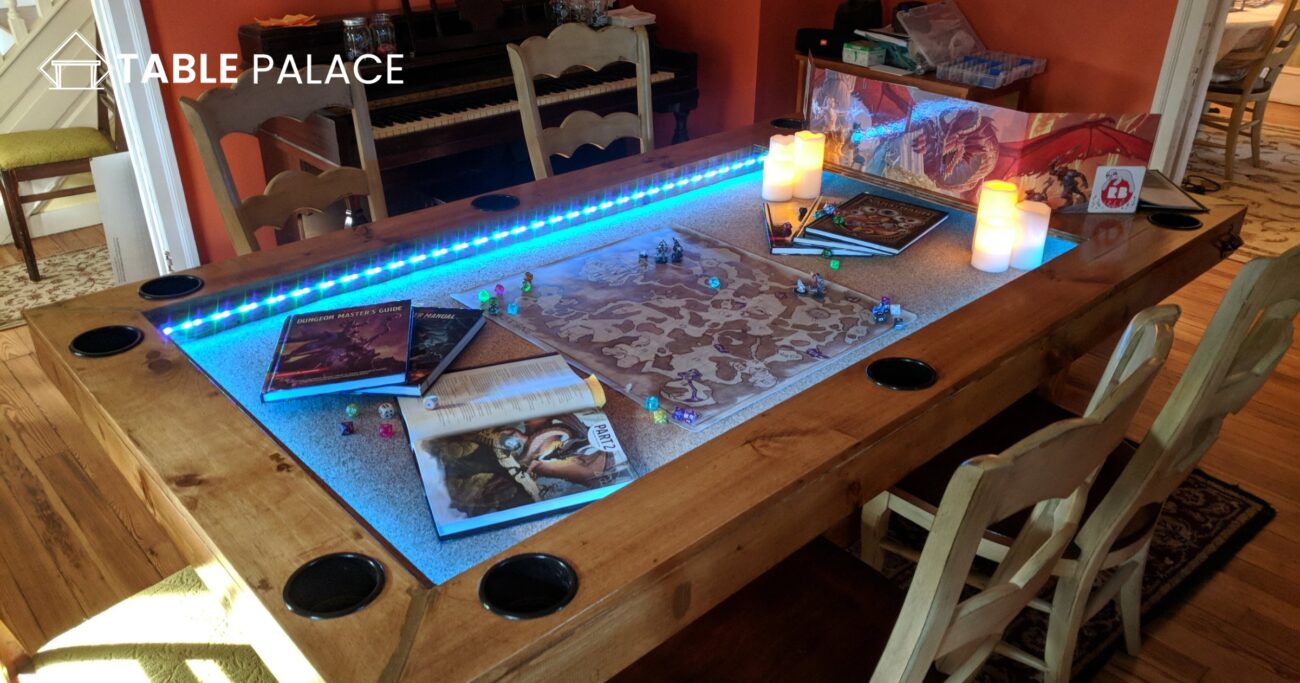
How to Build Gaming Table
Building a gaming table is a great way to add a unique and functional piece of furniture to your home. Whether you’re a severe gamer or enjoy playing games with friends and family, a gaming table is a perfect addition to any game room or living room.
Tools and Materials Need
You will need a few essential tools and materials to build your gaming table. These include:
- Saw (table or circular saw)
- Drill
- Screwdriver
- Measuring tape
- Pencil
- Lumber (2x4s, plywood, and hardwood)
- Screws
- Finish (stain or paint)
Steps of Building a Gaming Table in Home
-
Measure and plan. Before you start building, you’ll need to measure the space where you want to place your gaming table and plan the dimensions of your table. Consider the size of your room, the number of players, and the type of games you’ll play.
-
Cut the lumber. Cut the 2x4s and plywood using your saw to the dimensions you’ve planned. The 2x4s will serve as the frame of your table, while the plywood will make up the top.
-
Assemble the frame. Using your drill and screws, assemble the frame of your table. Make sure the corners are square, and the frame is level.
-
Attach the top. Secure the plywood top to the frame using your drill and screws. Make sure the top is flush with the frame and level.
-
Add a hardwood border. To give your table a finished look, add a hardwood border around the edge of the plywood top. This will also help protect the edges of the table.
-
Finish the table. Once the table is assembled, you can finish it with stain or paint. This will give your table a polished look and protect the wood from wear and tear.
-
Add accessories. Finally, you can add accessories like cup holders, dice trays, and storage compartments to make your gaming table even more functional.
Different Types of Gaming Table
Build an Indoor Kid’s Gaming Table
Are you tired of your kids playing video games on the living room floor or dining room table? Why not build them their very own indoor gaming table? With a DIY gaming table, not only will your kids have a designated space for their gaming setup, but it also doubles as a dining room table for family meals. Plus, building it yourself is not only a fun bonding activity for you and your kids, but it also saves money compared to buying a pre-made gaming table. Imagine the excitement on your kid’s faces when they see their very own customized gaming table. Don’t just let them play on any surface; give them the ultimate gaming experience with a homemade indoor gaming table.
How to Make Carpetball Table
The carpetball table is best for playing games. Let us tell you about how you can easily make a carpetball table.
- Gather materials: To make your carpetball table, you will need a dining table, a roll of carpet, a saw, a drill, a measuring tape, and some screws.
- Measure the table: Measure the top of your dining table and use the measuring tape to mark off the area where you want to place the carpet.
- Cut the carpet: Use the saw to cut the carpet to the size of the marked-off area on the table.
- Attach the carpet: Use the drill and screws to attach the carpet to the top of the table, ensuring it is secure and even.
- Create the carpetball goals: Using the saw, cut two small circles out of the carpet. These will be the goals for your carpetball game.
- Set up the game: Place the two carpet circles at opposite ends of the table, and you are ready to play!
- Please invite friends and family: Now that your DIY board game table is complete, it’s time to invite friends and family for a game night. Not only will you have a new game to play, but you will also have a unique conversation piece for your home.
- Enjoy: Carpetball is a fun and engaging game that is perfect for all ages. Get ready to have a blast with your new DIY game table.
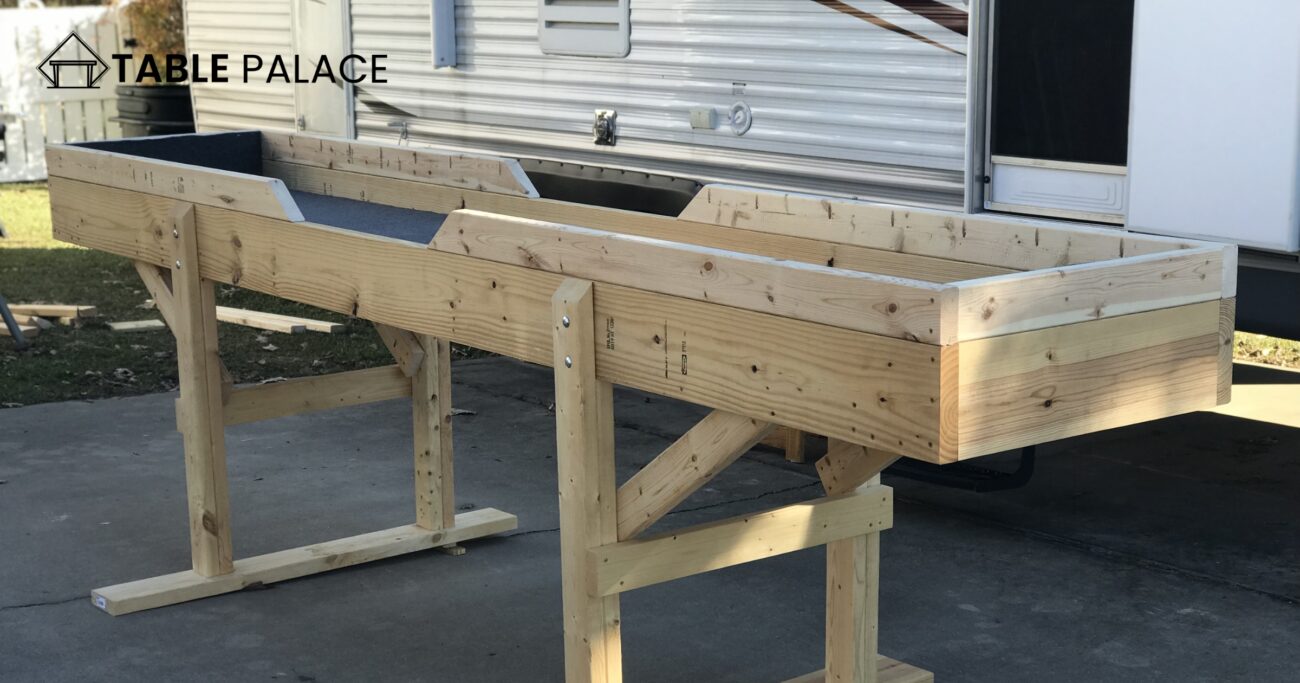
Build an Outdoor Checkers Game Table
- First, gather all the necessary materials for your outdoor checkers’ game table. You will need a sturdy dining table, a saw, a drill, sandpaper, paint or stain, and checker pieces.
- Measure and mark the dimensions of your checkerboard on the top of the dining table. This can be done using a measuring tape and a pencil.
- Using the saw, cut the table top according to the marked dimensions. Make sure to sand down any rough edges for a smooth finish.
- Next, drill holes for the checker’s pieces in the appropriate places on the board. These holes should be slightly larger than the checker’s pieces to ensure they fit comfortably.
- Now it’s time to paint or stain the tabletop. Choose a color that will complement your outdoor space and make the game board stand out.
- Once the paint or stain is dry, it’s time to add the checker’s pieces. Please put them in the drilled holes, and your outdoor checker’s game table is ready for play!
- Remember to invite your friends and family over for a game night. It is fun to spend time together and adds a unique and entertaining feature to your outdoor space.
- With some creativity and effort, you can create a DIY board game table that will be enjoyed for years. So grab your tools and build your own outdoor checkers game table today!
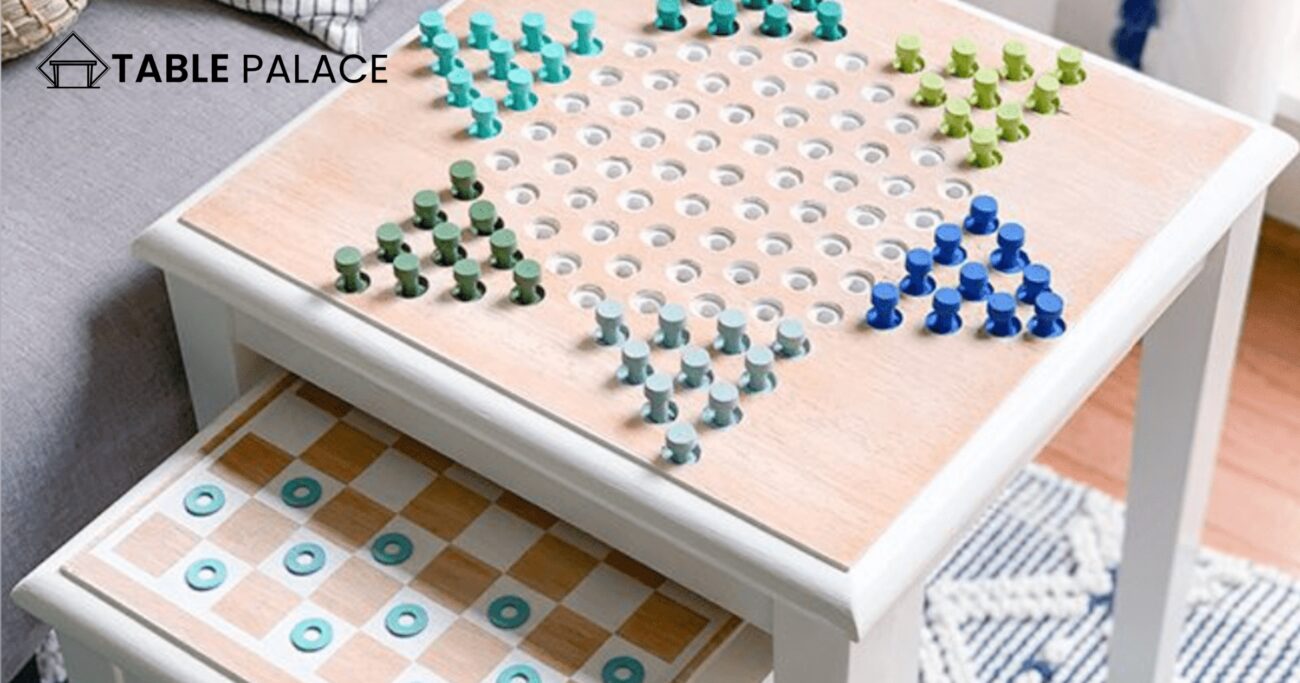
Build a DIY Puzzle Game Table
- First, gather the necessary materials for building your DIY puzzle game table. You will need a dining table, a jigsaw puzzle board, a saw, sandpaper, and paint or stain.
- Next, measure the dimensions of your dining table and use the saw to cut the jigsaw puzzle board to fit the top of the table. Sand down any rough edges to ensure a smooth surface.
- Once the puzzle board is cut and sanded, it’s time to paint or stain it. Choose a color or finish that complements the rest of your home decor. Allow the paint or stain to dry before moving on to the next step.
- Now it’s time to attach the puzzle board to the dining table. Use a strong adhesive such as wood glue or construction adhesive to secure the board. Allow the sticky and adhesive to dry completely before using the table.
- The final step is to add your puzzle pieces and start playing! You can use this table for puzzle building, board games, or as a regular dining table when not in use. Enjoy your new DIY puzzle game table!
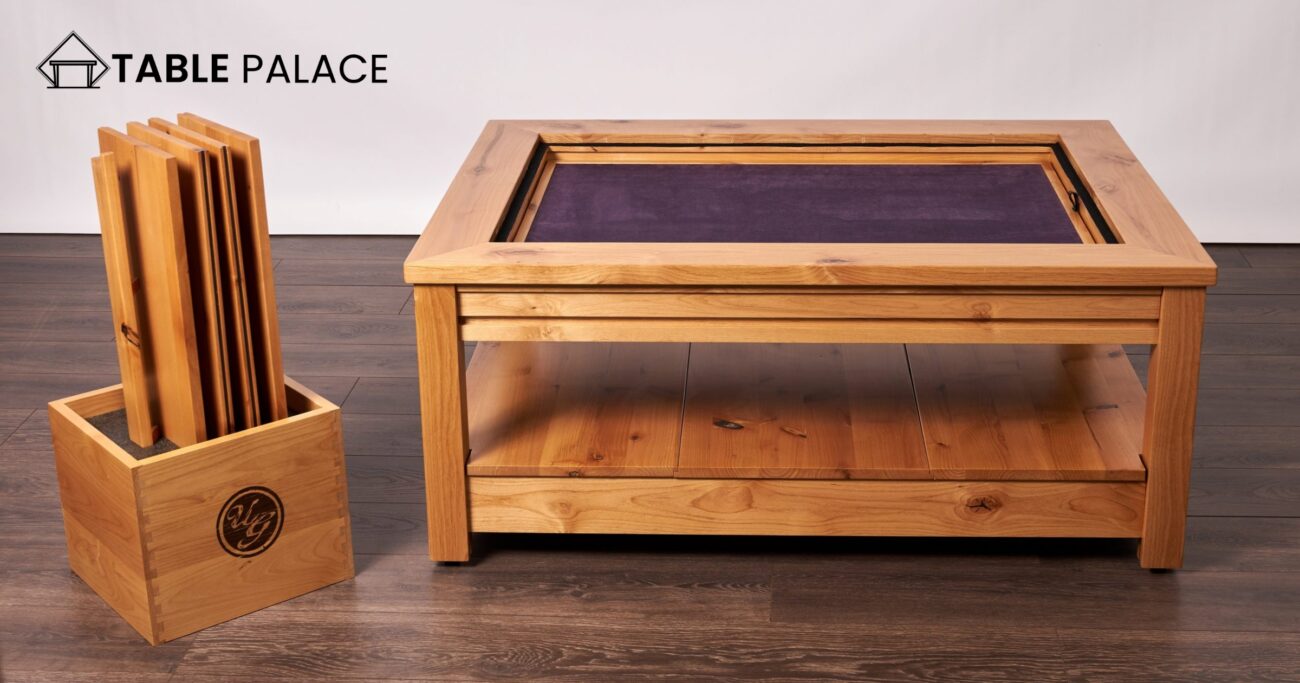
How to Make an Outdoor Game Table
- Start by gathering all of the essential materials and tools for the project. This includes lumber, screws, a saw, a drill, and any additional items specified in the gaming table plans you have chosen to use.
- Measure and cut the lumber to the appropriate sizes according to the gaming table plans. Double-check all measurements before cutting to ensure a smooth and accurate build.
- Assemble the frame of the table using screws and a drill. Use proper techniques and clamping when joining pieces of wood together to ensure a sturdy and stable table.
- Add any additional features, such as storage space or an interchangeable surface gaming table, to the table according to the plans. This may include cutting additional pieces of wood or attaching pre-made components.
- Sand the entire table to smooth out rough edges or surfaces, and prepare the wood for staining or painting.
- Apply a finish to the table, such as paint or stain, to protect the wood and give the table a polished look.
- Once the finish has dried, it’s time to add any final touches to your tabletop gaming table plan. This could include attaching leg levelers, adding a drink holder, or installing any other accessories you desire.
- Your outdoor game table is now complete and ready for use! Gather your friends and family and enjoy playing games outside in the beautiful weather.
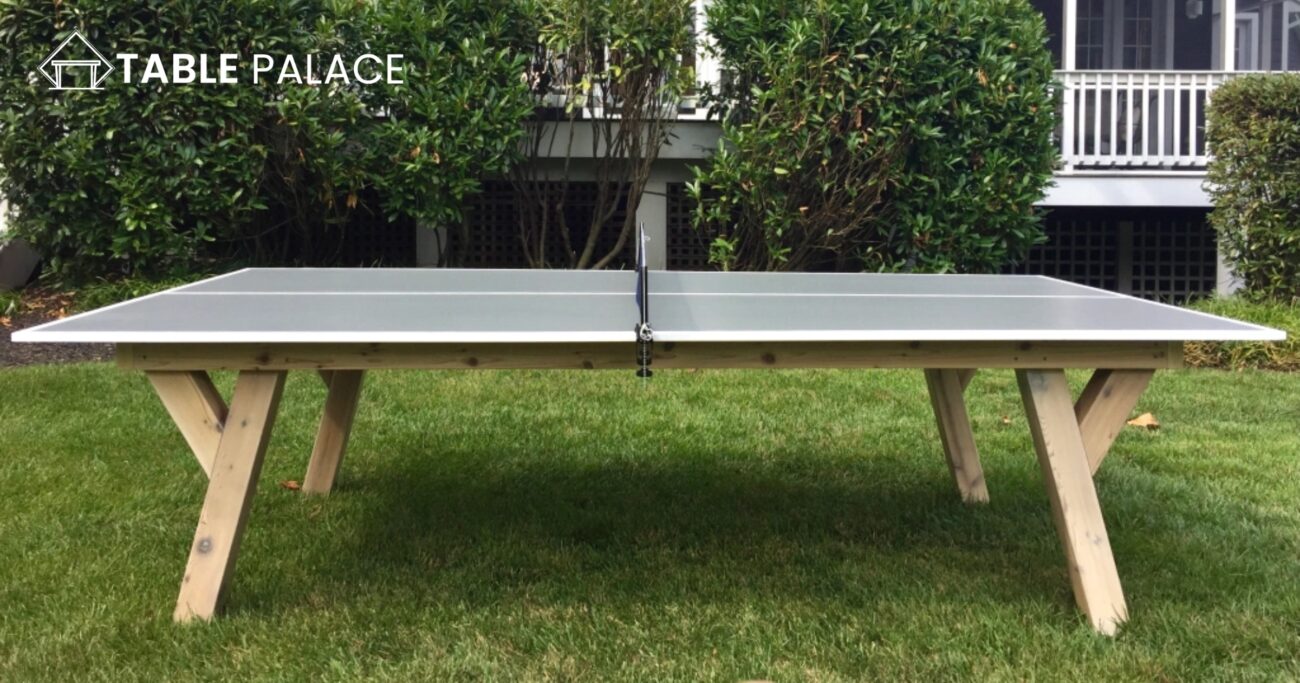
Build an X Wing Miniature Gaming Table
Welcome to the world of miniature gaming! Building your own X Wing miniature gaming table is a fun and exciting way to bring the Star Wars universe to life in your home. Not only is it the best way to showcase your love for the franchise, but it’s also a portable gaming table that can be easily transported to gaming events and conventions. We will walk you through building your own X Wing miniature gaming table.
Step 1: Gather materials. The first step in building your X Wing small gaming table is to gather all the necessary materials. You will need a piece of plywood or MDF board, paint, glue, and any additional decorations or accessories you want to include. Make sure to measure the size of the board that you will be using to ensure that it is the correct size for your X-Wing miniatures.
Step 2: Cut the board. Once you have your materials, it’s time to cut the board to the desired size. Use a saw or a jigsaw to cut the board to the size of your X-Wing miniatures. Remember that the board should be at least 4×6 feet to provide enough play space.
Step 3: Paint the board. The next step is to paint the board. You can use any paint you prefer, but it’s best to use paint specifically made for miniatures. This will help to protect the board and make it more durable.
Step 4: Add decorations. Now that the board is painted, it’s time to add decorations. This is where you can get creative and add any additional elements you want to include. You can add stars, planets, or a Death Star to your small X-Wing gaming table.
Step 5: Assemble the miniatures. The final step is to assemble your X-Wing miniatures. This is a great time to ensure that everything fits correctly and that your miniatures are in the correct position. Once you are satisfied with the placement of your miniatures, you can glue them to the board.
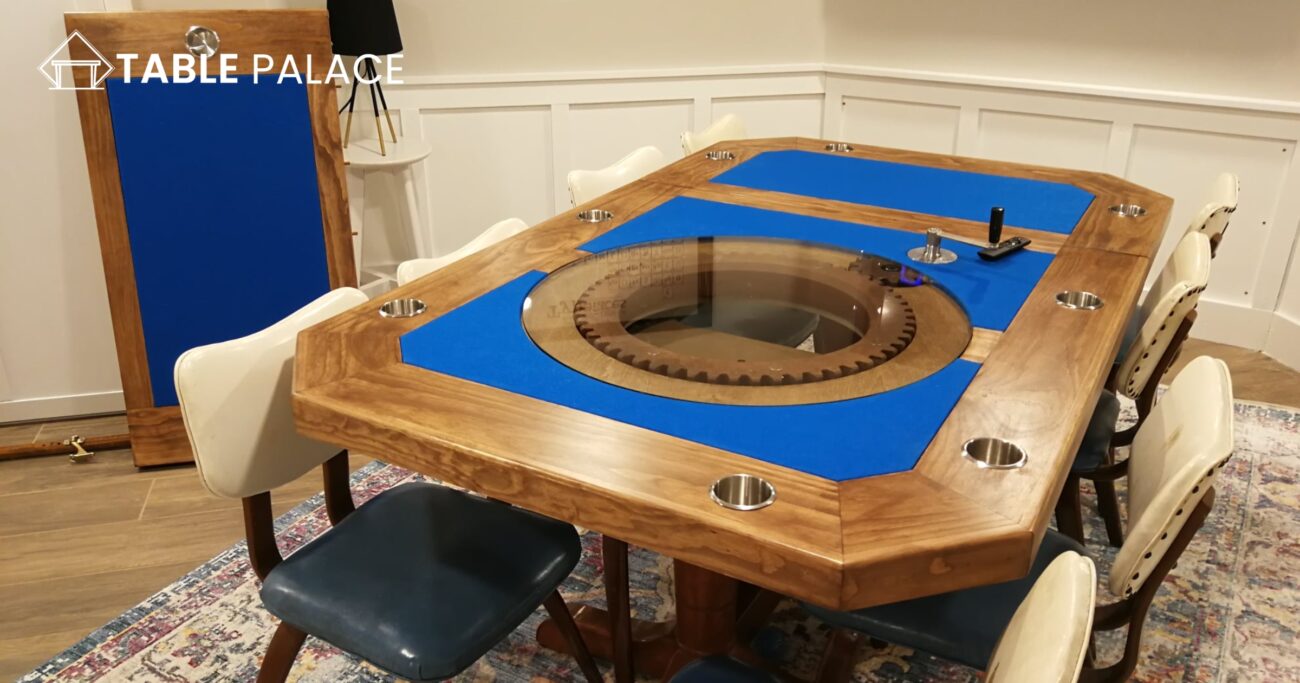
Congratulations, you have now built your own X Wing miniature gaming table! This portable gaming table is perfect for gaming events, conventions, or even just for displaying in your home. Happy gaming!
Build a Board Game Table with a Rotating Section
Are you tired of playing board games on a flimsy, unstable surface? Want to elevate your gaming experience with a custom-built table? Look no further. We will walk you through the simple and easy steps to build your portable gaming table with a rotating section. Not only will this table provide a sturdy and stable surface for your games, but the rotating section will allow for easy access to all players and a smooth game flow. Here are the steps to building your board game table with a rotating section.
Step 1: Gather Materials You will need:
- 4 sheets of plywood
- 1 sheet of MDF (medium-density fiberboard)
- 2 sets of table legs
- 4 casters
- Screws
- Drill
- Saw
- Sandpaper
- Paint or stain
Step 2: Cut the Plywood Measure and cut the four sheets of plywood to the desired size of your tabletop. The size will depend on the number of players and the size of the games you will be playing.
Step 3: Cut the MDF Measure and cut the MDF to the desired size of the rotating section. This section should be smaller than the plywood sheets.
Step 4: Assemble the Table Top Lay the plywood sheets on top of each other and attach them using screws and a drill. Make sure the edges are flush, and smooth out any rough spots with sandpaper.
Step 5: Attach the Rotating Section Place the MDF in the center of the table top and attach it using screws and a drill. Ensure the rotating section is flush with the plywood and can rotate smoothly.
Step 6: Add the Table Legs and Casters. Attach the table legs to the corners of the tabletop using screws and a drill. Add the casters to the bottom of the legs for easy portability.
Step 7: Finish sanding the table to ensure it is smooth and even. Apply paint or stain to the tabletop to give it a finished look.
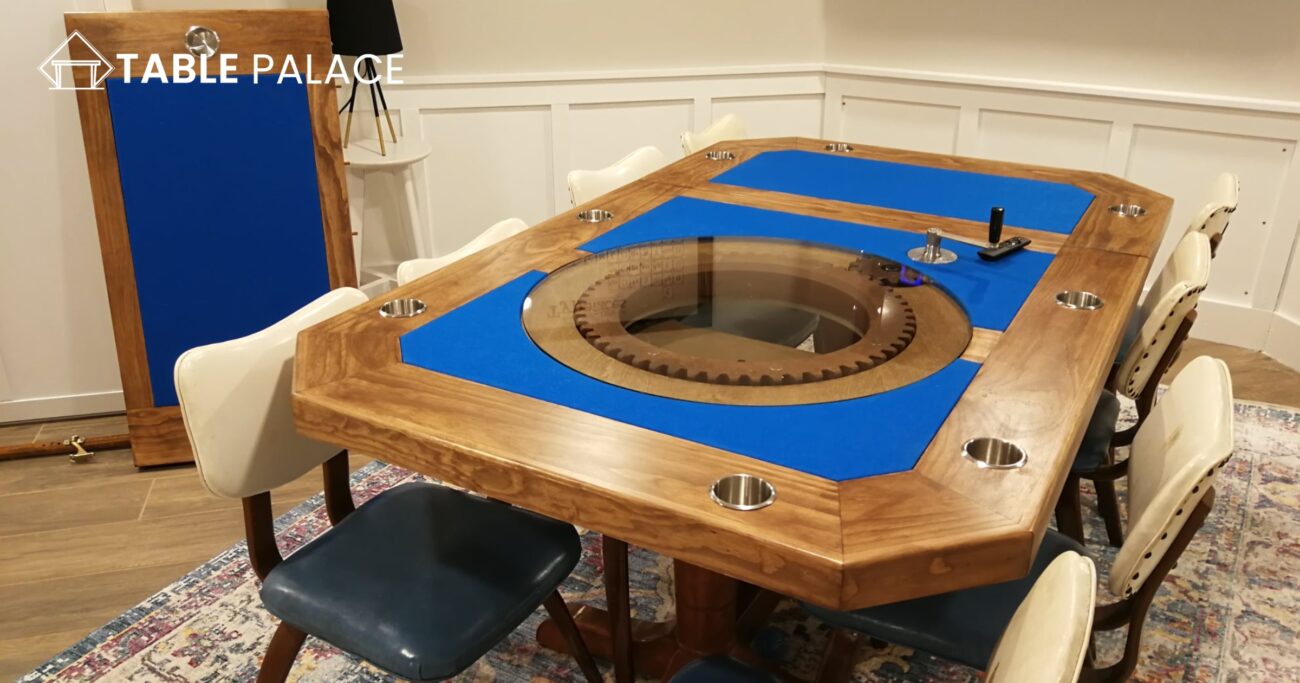
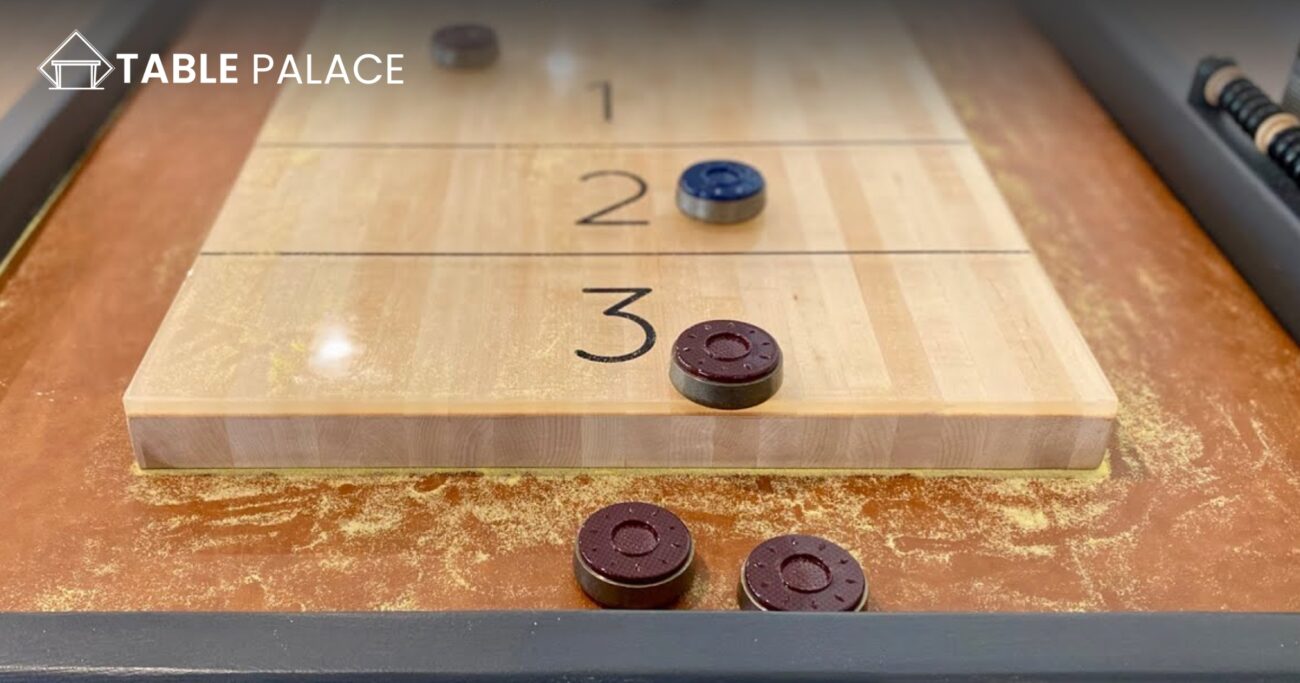
Build a Ricochet Game Table
Are you looking for a high-end gaming table that doubles as stylish coffee? Look no further than building your Ricochet Game Table! This versatile furniture is a great conversation starter and provides hours of entertainment for you and your friends. With a few simple steps, you can create your custom game table that will be the envy of all your guests. Here is how to get started:
Step 1: Gather materials. You will need a table saw, plywood, a ruler, a pencil, and a jigsaw. You will also need a set of Ricochet game pieces, which can be purchased online or at your local hobby store.
Step 2: Measure and mark the dimensions of your table. You can make your table as big or as small as you want, but remember that the larger the table, the more space you will have for game pieces.
Step 3: Cut the plywood to size using your table saw. Use the proper safety gear and keep your fingers away from the blade.
Step 4: Draw out the game board on the plywood using your ruler and pencil. You can use a pre-made template or create your design.
Step 5: Cut out the game board using your jigsaw. Be careful not to cut too deep or too broad, as this will affect the gameplay.
Step 6: Sand the edges and corners of the plywood to remove any rough edges.
Step 7: Apply a finish to the table, such as a clear coat or stain. This will protect the wood and give it a polished look.
Step 8: Set up your Ricochet game pieces and start playing! Invite your friends over and enjoy hours of fun with your new custom game table.
Build a Poker Table at Home
Are you tired of playing poker on a makeshift table or having to go to a casino to play with friends? Why not build your poker table right in the comfort of your own home? Building a poker table may seem daunting, but it can be a fun and satisfying DIY project with some planning and the right tools.
Step 1: Plan it out. Before you start building, take some time to plan out the size and shape of your table. Consider the number of players you want to seat, as well as the space you have available in your home. Once you have a rough idea about the size and shape, you can gather your materials.
Step 2: Gather materials. You will need a sheet of plywood, foam padding, felt or other fabric, and a table leg kit. If desired, add additional features such as cup holders, chip trays, or a dealer area.
Step 3: Cut the plywood. Using your plans as a guide, cut the plywood to the shape and size of your table. Make sure to measure and cut accurately to ensure a smooth build.
Step 4: Add foam padding. Place the foam padding on top of the plywood and use a spray adhesive to secure it. This will provide a comfortable and stable playing surface for your poker table.
Step 5: Add felt or fabric. Cover the foam padding using your fabric of choice to create a smooth and professional-looking surface. Use a staple gun to secure the fabric in place.
Step 6: Assemble the table legs. Follow the instructions for your table leg kit to assemble the legs and attach them to the bottom of the plywood.
Step 7: Add any additional features. If you add cup holders, chip trays, or a dealer area, now is the time to install them.
Step 8: Enjoy your new poker table! Invite your friends for a game night and show off your new DIY gaming tables.
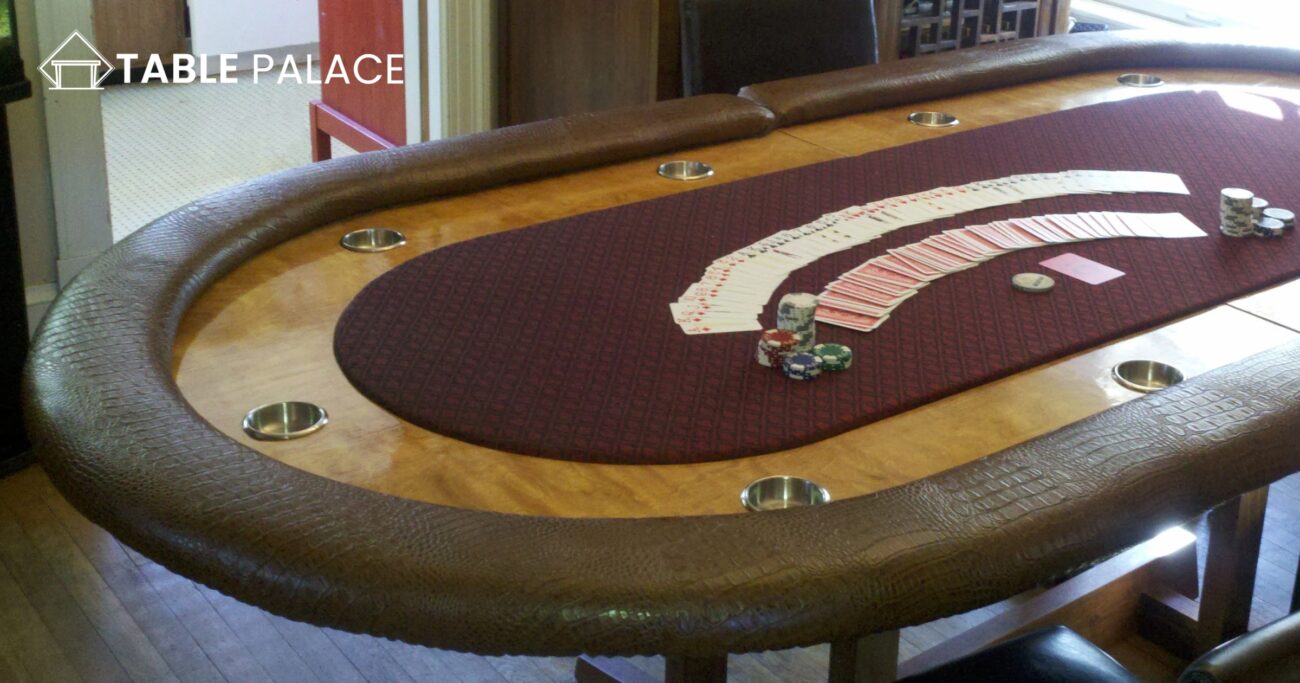
By following these easy and simple steps, you will have a beautiful and functional poker table that you can be proud of. Building a poker table can be a fun and satisfying DIY project, and it’s a great way to bring the casino experience to your home. So, grab your tools and start building your poker table today!
Video Guide
Conclusion
Building a gaming table can be an enjoyable and rewarding DIY project, whether creating a poker table for your home or crafting something unique to play Ricochet. With the right tools, materials, and instructions, you, too, can create a beautiful custom game table that will provide hours of fun for friends and family alike. Whether building from scratch with plywood or investing in pre-made components like leg kits or cup holders—the possibilities are endless when designing your gaming tables! So why wait? Start planning out your dream gaming setup today!
FAQs
What material is best for a gaming table?
When building a gaming table, the material you choose can significantly impact the overall quality and durability of the table. There are several options, but some materials are better suited for gaming tables than others.
One of the best materials for a gaming table is 2-4 mm thick plywood. This plywood type is strong, durable, and can withstand regular wear and tear. It is also inexpensive and easy to work with, making it an excellent option for DIY gaming tables.
Another popular option is MDF (medium-density fibreboard). This engineered wood product breaks down hardwood or softwood residuals into wood fibers. Then combined with wax and a resin binder and formed into different panels by applying high temperature and pressure. MDF is a good option because it is smooth, durable, and easy to work with. However, it is not as strong as plywood, so there may be better options for tables that will be used frequently or for heavy games.
Another popular material for gaming tables is melamine. Melamine is a type of laminate made by applying a layer of melamine resin to a substrate such as a particleboard. It is known for its durability and resistance to scratches and stains. It is easy to clean and maintain, making it an excellent choice for gaming tables.
Ultimately, the best material for a gaming table will depend on your personal desires, needs and preferences. If you are looking for a solid and durable table that is easy to work with and relatively inexpensive, plywood or MDF is a great option. Melamine is an excellent choice if you want a table that is easy to clean and maintain. Whichever material you choose, consider the weight and size of the games you plan to play on the table and the amount of use it will see before making your final decision.
What is a good size for a game table?
A good size for a game table is typically between 60-84 inches long and 40-60 inches wide. This size allows for comfortable seating for 4-8 players, depending on the game and the size of the players. It also allows enough room to comfortably hold the game board, cards, and other accessories. Remember that the room size and the table’s intended use should also be considered when determining the best size for your game table.

