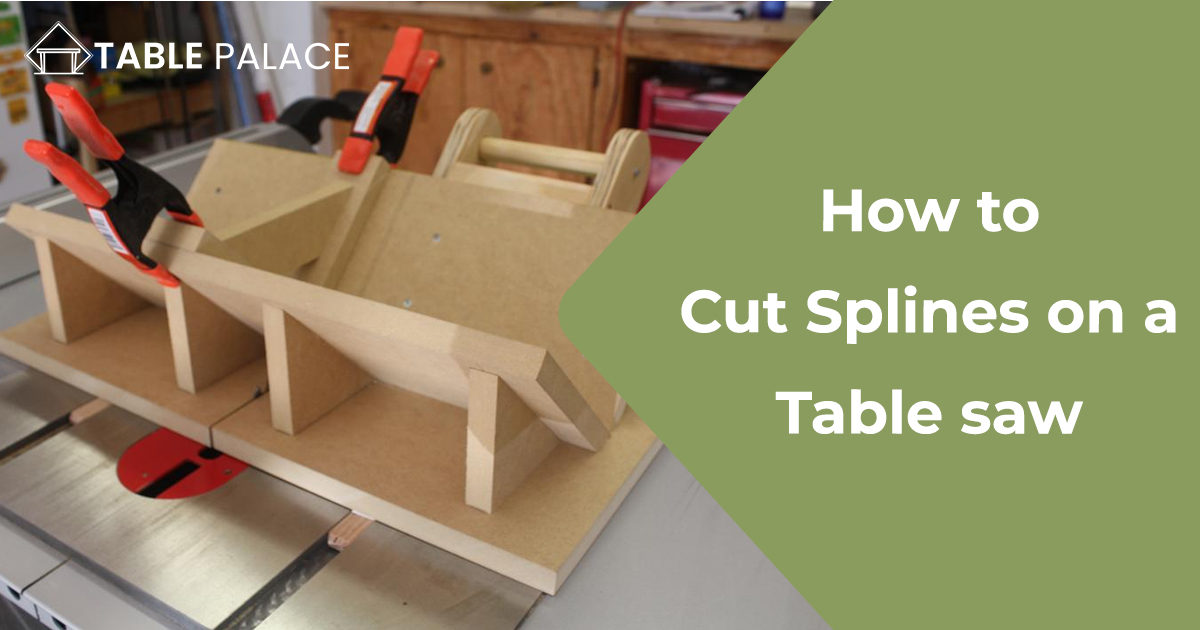
If you’re a woodworking enthusiast, you know how important it is to have perfectly fitting joints in your projects. One way to achieve this is by cutting splines, which not only add strength but also add an attractive decorative element to your work. In this tutorial, we’ll show you step-by-step how to cut splines on a table saw, one of the most versatile and precise woodworking tools. By the end of this guide, you’ll have the knowledge and confidence to create flawless splined joints for your next project. Read on to learn “How to Cut Splines on a Table Saw“.
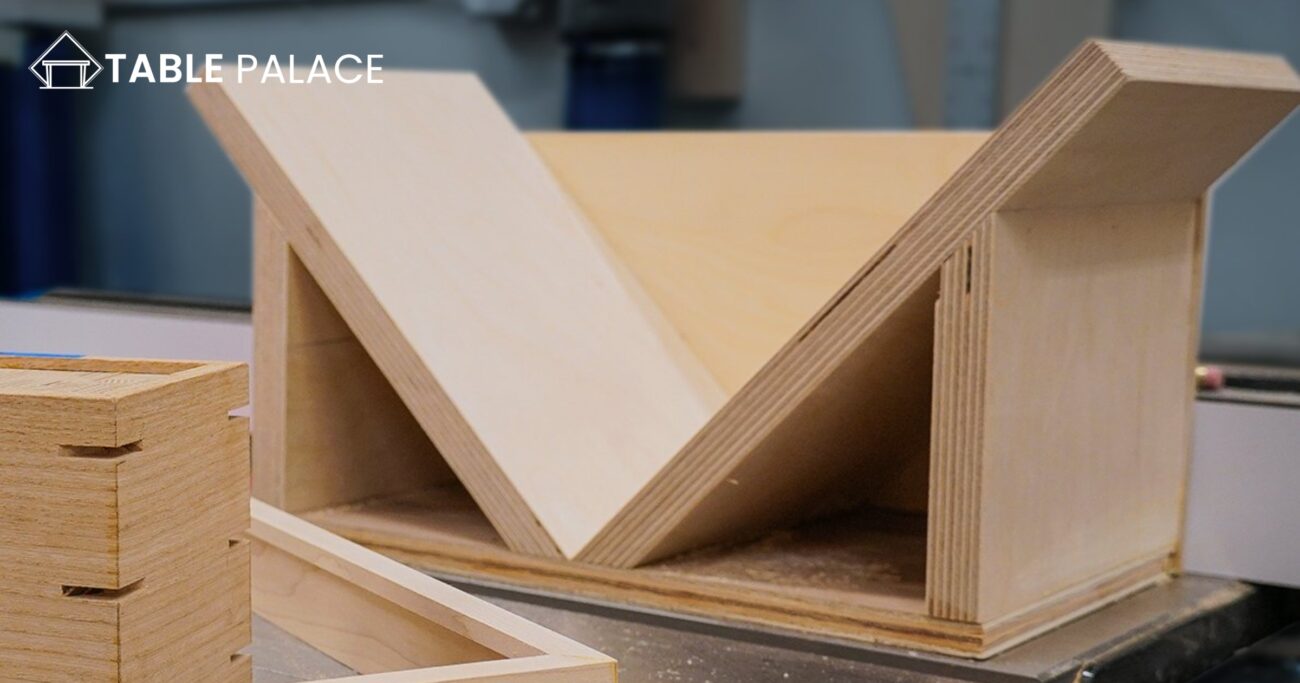
Table-Sawn Splines
Table-sawn splines are a type of joint used in woodworking to connect two pieces of wood at a right angle. They are typically made by sawing a groove into the edge of one piece of wood and then cutting a thin strip of wood (the spline) to fit into that groove. The spline is glued into the groove, creating a strong and secure joint that helps to align the two pieces of wood and prevent them from separating. Table-sawn splines are often used in furniture making, cabinetry, and other woodworking projects where a strong, stable joint is needed.
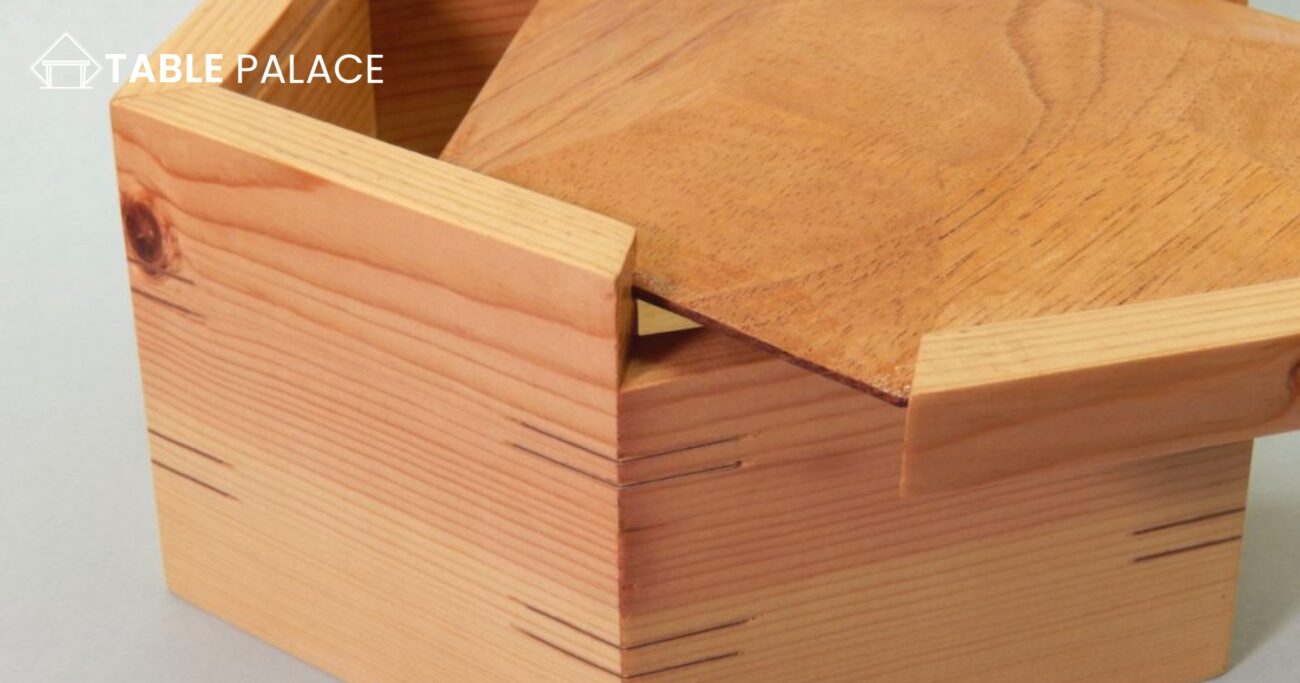
How to Cut Splines on a Table Saw
Table saws are versatile tools that can be used for various projects, but one of the most popular uses is for creating spline joints. Spline joints are a great way to add strength and stability to miter joints, especially when working with solid wood. In this blog post, we will show you how to make a table saw spline jig that will help you easily create beautiful and strong spline joints.
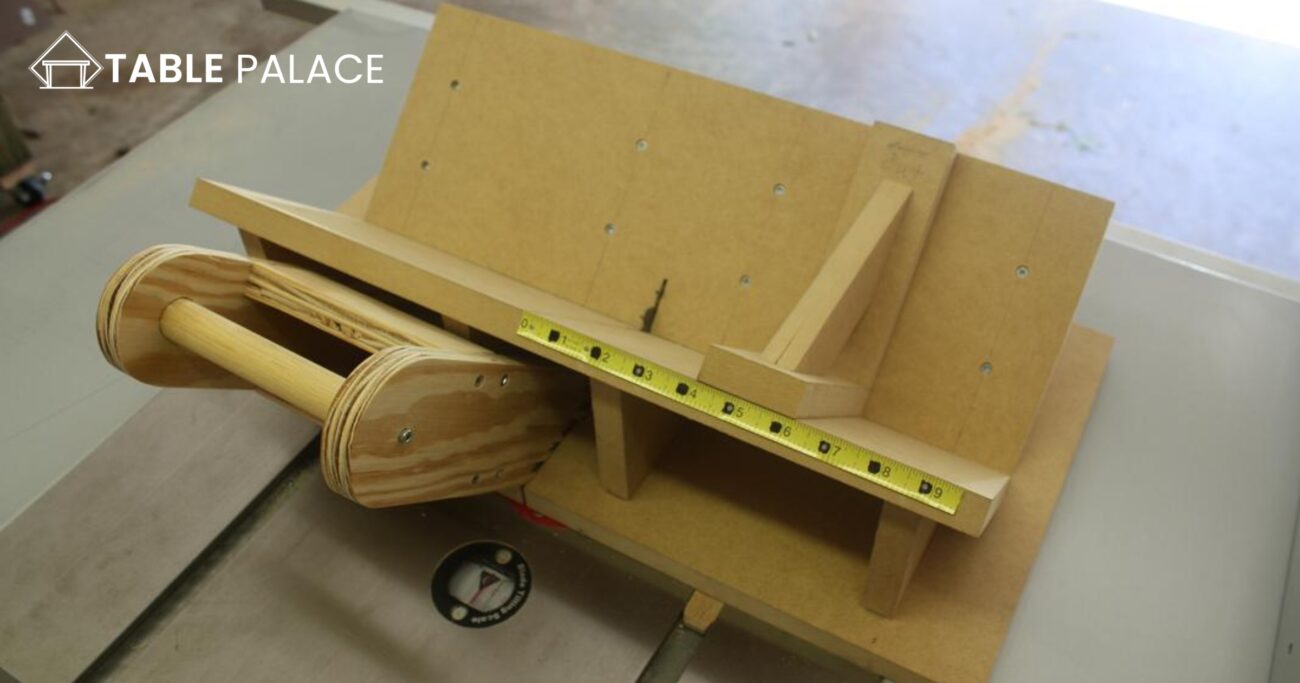
Step-by-Step Guide
Step 1: Tongued-spline case miter
The first step in making a table saw spline jig is to create a tongued-spline case miter. This miter joint has a tongue on one piece of wood that fits into a groove on the other. This joint is perfect for creating a strong and stable spline joint.
Step 2: Attach the spline jig support to the saddle
Once you have created the tongued-spline case miter, you will need to attach the spline jig support to the saddle of your table saw. The spline jig support is a piece of wood that will hold the piece of wood that you are going to cut the spline slot.
Step 3: Sawing case miters
Once the spline jig support is attached to the saddle of your Is a Glass Dining Table a Good Idea?
saw, you can begin sawing the case miters. Use your miter gauge and rip fence to ensure that your cuts are straight and accurate.
Step 4: Cut the spline slots
Once the case miters are cut, you can cut the spline slots. You can use a dado blade or a thin rip table to make the cuts. Use a spline jig to guide the cuts and ensure that the spline slots are the same size and shape.
Step 5: Make the tongued-splined slotting jig
Once the spline slots are cut, you can make the tongued-splined slotting jig. This jig will help you to create the tongue on the piece of wood that will fit into the spline slot. You can use an MLBS spline jig pro or a miter gauge fence to make this jig.
Step 6: Switch to a flat tooth saw blade.
Once the tongued-splined slotting jig is made, you will need to switch to a flat-tooth saw blade. This blade will allow you to make precise cuts and create a tight fit between the tongue and the spline slot.
Step 7: Cut and Glue in the splines
Once the tongue is cut, you can cut and glue in the splines. Make sure to use a thick spline for extra gluing surfaces and to ensure a tight fit.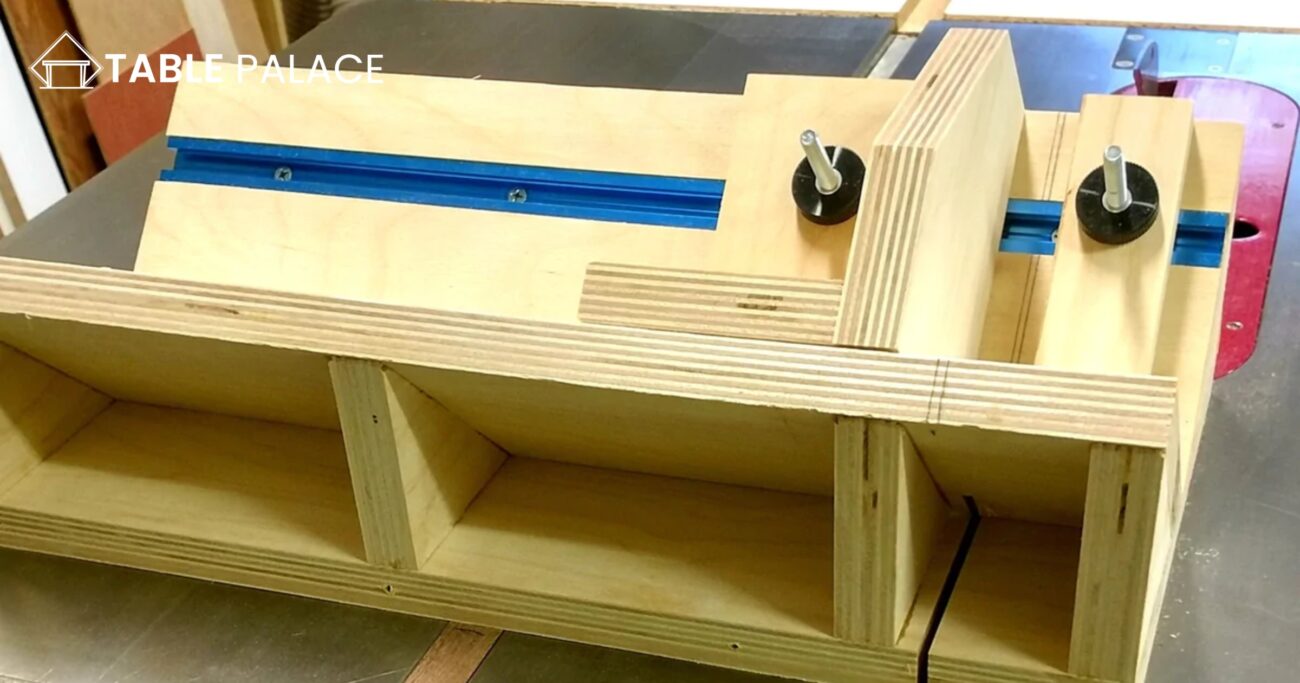
Lay out a spline slot
- Measure and mark the length of the spline slot on the material to be cut.
- Use a square or straight edge to draw a line parallel to the edge of the material at the point where the spline slot will be located.
- Measure and mark the width of the spline slot on the parallel line.
- Use a center punch to mark the center point of the spline slot on the parallel line.
- Use a compass or trammel to draw a circle with the center point as the center and the width of the spline slot as the radius.
- Use a band saw or jigsaw to cut along the circle to create the spline slot.
- Use a file or sandpaper to smooth the edges of the spline slot to remove any roughness or burrs.
- Test fit the spline into the slot to ensure proper fit and alignment. Make any necessary adjustments to the slot if needed.
How to do spline joints?
Spline joints are a type of joint used in woodworking to connect two pieces of material at an angle. They are often used in furniture making and can provide a strong and attractive joint.
To make a spline joint, you will need a table saw or a router with a straight bit and a spline-cutting jig. Here are the steps:
- Cut the grooves: Use a table saw or router to cut a groove along the joint line of each piece of material. The groove should be the same width and depth as the spline you will be using.
- Cut the spline: Cut a spline to fit the grooves you just made. The spline should be slightly longer than the joint.
- Dry fit: Test fit the spline into the grooves to make sure it fits snugly.
- Glue up: Apply glue to the grooves and the spline, and then fit the spline into the grooves. Clamp the joint together until the glue dries.
- Finish: Once the glue is dry, remove any excess glue and sand the joint smooth. Finish the joint as desired.
Spline joints can be a bit more time-consuming than other types of joints, but they can provide a strong and attractive joint that will last for years.
How do you cut spline slots?
Cutting spline slots involves making narrow, rectangular cuts in a piece of wood or other material to create a groove that can fit a spline or tongue. Here are some steps to help guide the process:
- Determine the location and size of the spline slot needed for your project. Measure the width and depth of the spline or tongue that will be inserted into the slot.
- Use a table saw or a router to cut the slot. A table saw can be used with a dado blade or a regular blade to make multiple passes to cut the slot to the desired width and depth. Alternatively, a router can be used with a straight bit to cut the slot in one pass.
- Set the blade or router bit height to the desired depth of the slot. This is usually slightly less than the width of the spline or tongue to ensure a snug fit.
- Cut the slot by carefully feeding the material through the saw or router. Make sure to keep the material straight and steady as you work.
- Test the fit of the spline or tongue in the slot. It should fit snugly but not be too tight. Make any necessary adjustments to the slot until the fit is just right.
- Sand the edges of the slot to remove any rough spots or splinters.
- Assemble the pieces of the project, fitting the spline or tongue into the slot to create a strong and secure joint.
Conclusion
Spline joints are a great way to add strength and stability to miter joints, especially when working with solid wood. You can easily create beautiful and robust spline joints by making a table saw spline jig. The spline jig will allow you to make precise cuts and create a tight fit between the tongue and the spline slot. You can create picture frames and other projects with various spline thicknesses with a spline jig. Using a spline jig, you can create perfect spline joints that slide smoothly and look beautiful. So, making a spline jig for your table saw is an excellent idea for creating perfect and strong spline joints.
Video Guide
FAQs
How deep should a spline be?
When determining how deep a spline should be, most experts recommend 0.140” and 0.160” for solid wood splines. This ensures a tight fit between two pieces of mitered wood, helping create strong joints that can handle daily wear and tear rigors. For best results in sawing with precision, investing in an MLCS Spline Jig Pro may be your best bet — giving you the durability and accuracy needed to make that perfect 0.140” or 0.160” depth spline. With its ease of use and low cost, this advanced tool is ideal for all levels of woodworking knowledge to craft that perfectly-fitting joint!
How do they cut splines on a shaft?
Splines are decorative joints that add strength, stability, and aesthetics to woodworking pieces. Spline jigs guide and secure the piece while cutting it with a rip blade to accurately cut splines on a shaft. Constructed from two pieces of hardwood, spline jigs allow craftsmen to adjust the size and shape of their splines easily. An additional benefit is that spline jigs can accommodate larger or thicker projects and thin splines depending on the width of the rip blade chosen by the craftsman. Cutting splines on a shaft with precision accuracy can be achieved with the right setup and attention to detail.

