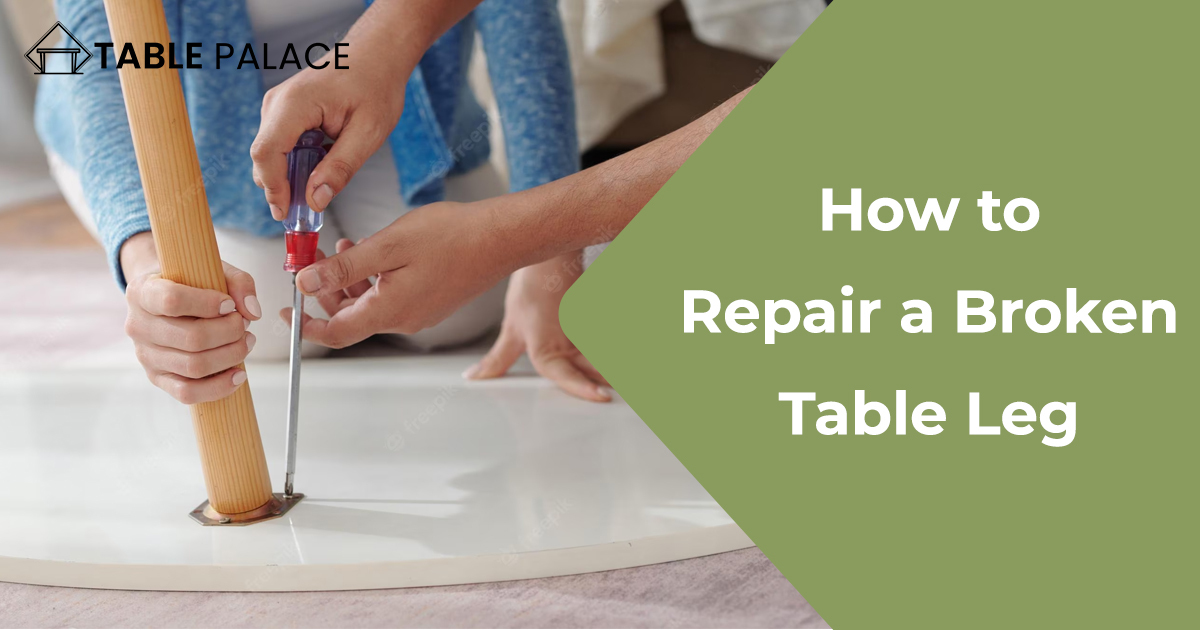
A broken table leg can be a frustrating and unsightly problem, but it doesn’t mean you need to throw the entire table away. With a few simple tools and techniques, you can repair a broken table leg and restore your table to its former glory. In this step-by-step guide, we’ll show you exactly how to repair a broken table leg, including the materials you’ll need and the steps to take for a successful repair. Whether you’re a DIY enthusiast or just looking to save money on furniture repairs, our guide will help you get your table looking as good as new in no time. So let’s dive in and get started on repairing that broken table leg!
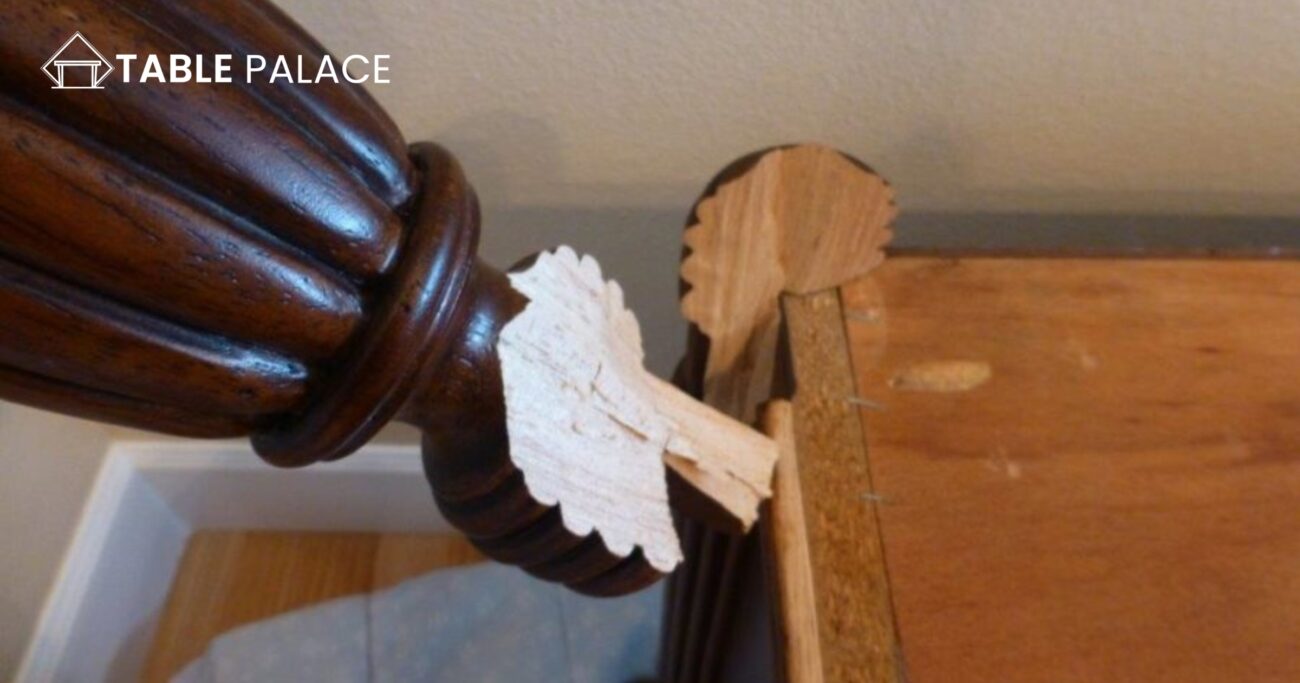
How to Repair a Broken Table Leg
Let’s start to repair the leg of your tables.
Tools and Material Needed
- Wood glue
- Wood clamps
- Wood filler
- Sandpaper
- Paint or stain
- Wood saw
- Wood shims
- Measuring tape
- Wood dowel
Step-by-Step Guide
Step 1: Clean and Dry the Broken Area
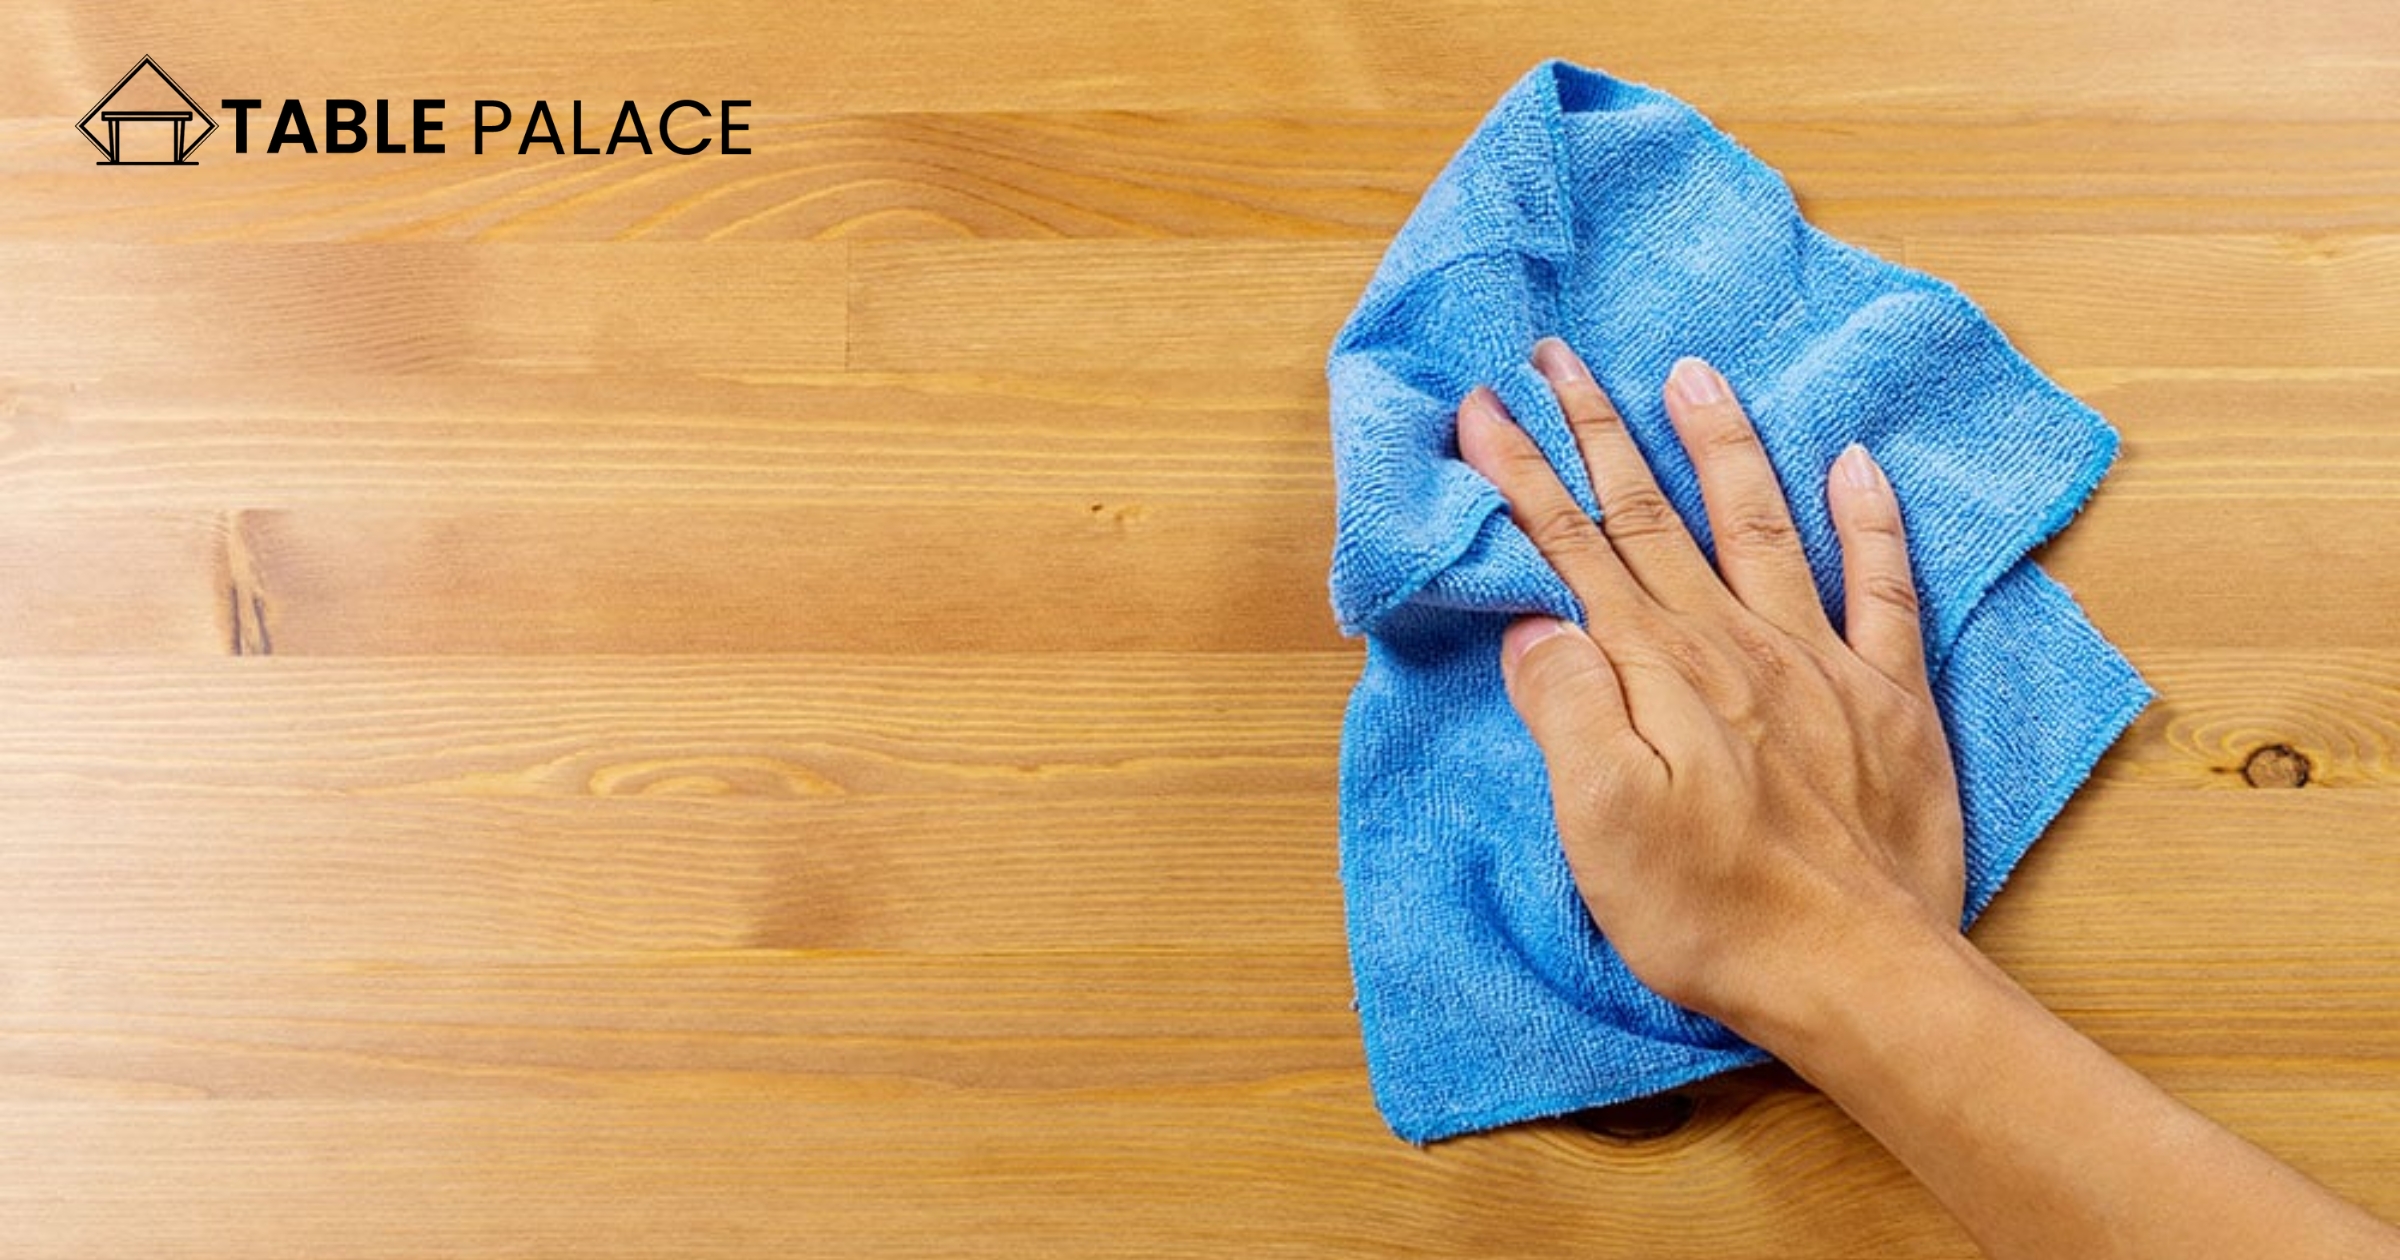
Before you start any repair work, it’s essential to clean and dry the damaged area thoroughly. Any dirt, grease, or moisture can affect the bond strength of the glue and filler. You can clean the area with a dry cloth or sandpaper to remove any dirt or rough spots. Make sure the area is arid before proceeding to the next step.
Step 2: Measure and Cut the Dowel
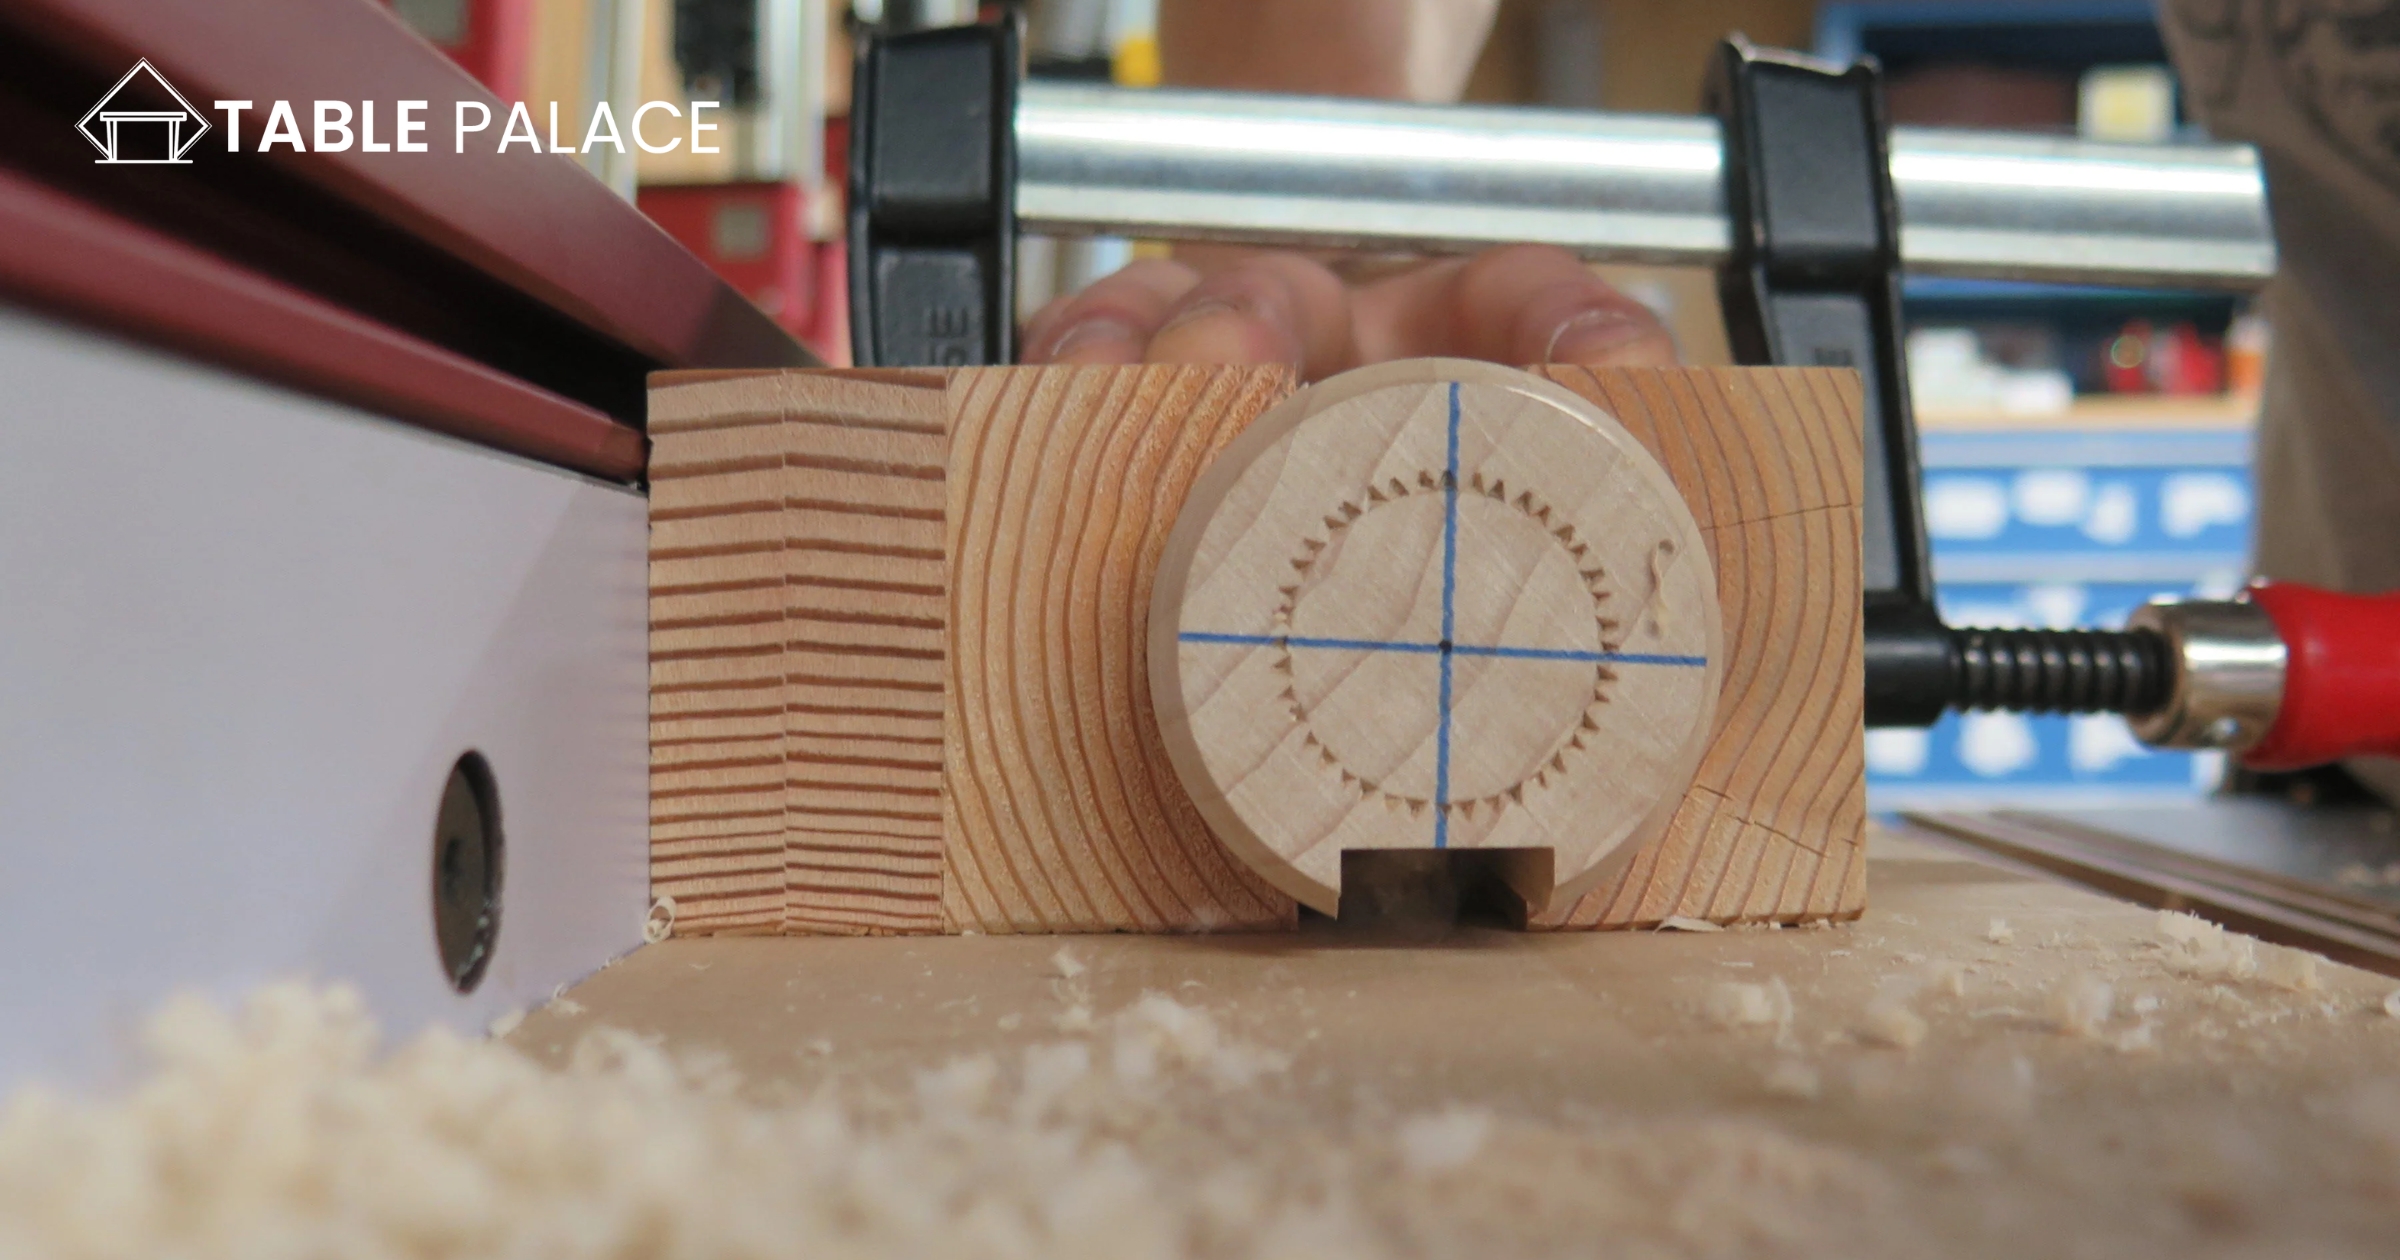
Use a measuring tape to determine the size of the gap in the broken area and cut a piece of wood dowel to fit. Make sure it’s a snug fit but not too tight. You can use a saw to cut the dowel or a pre-cut dowel from a woodworking store.
Step 3: Apply Wood Glue
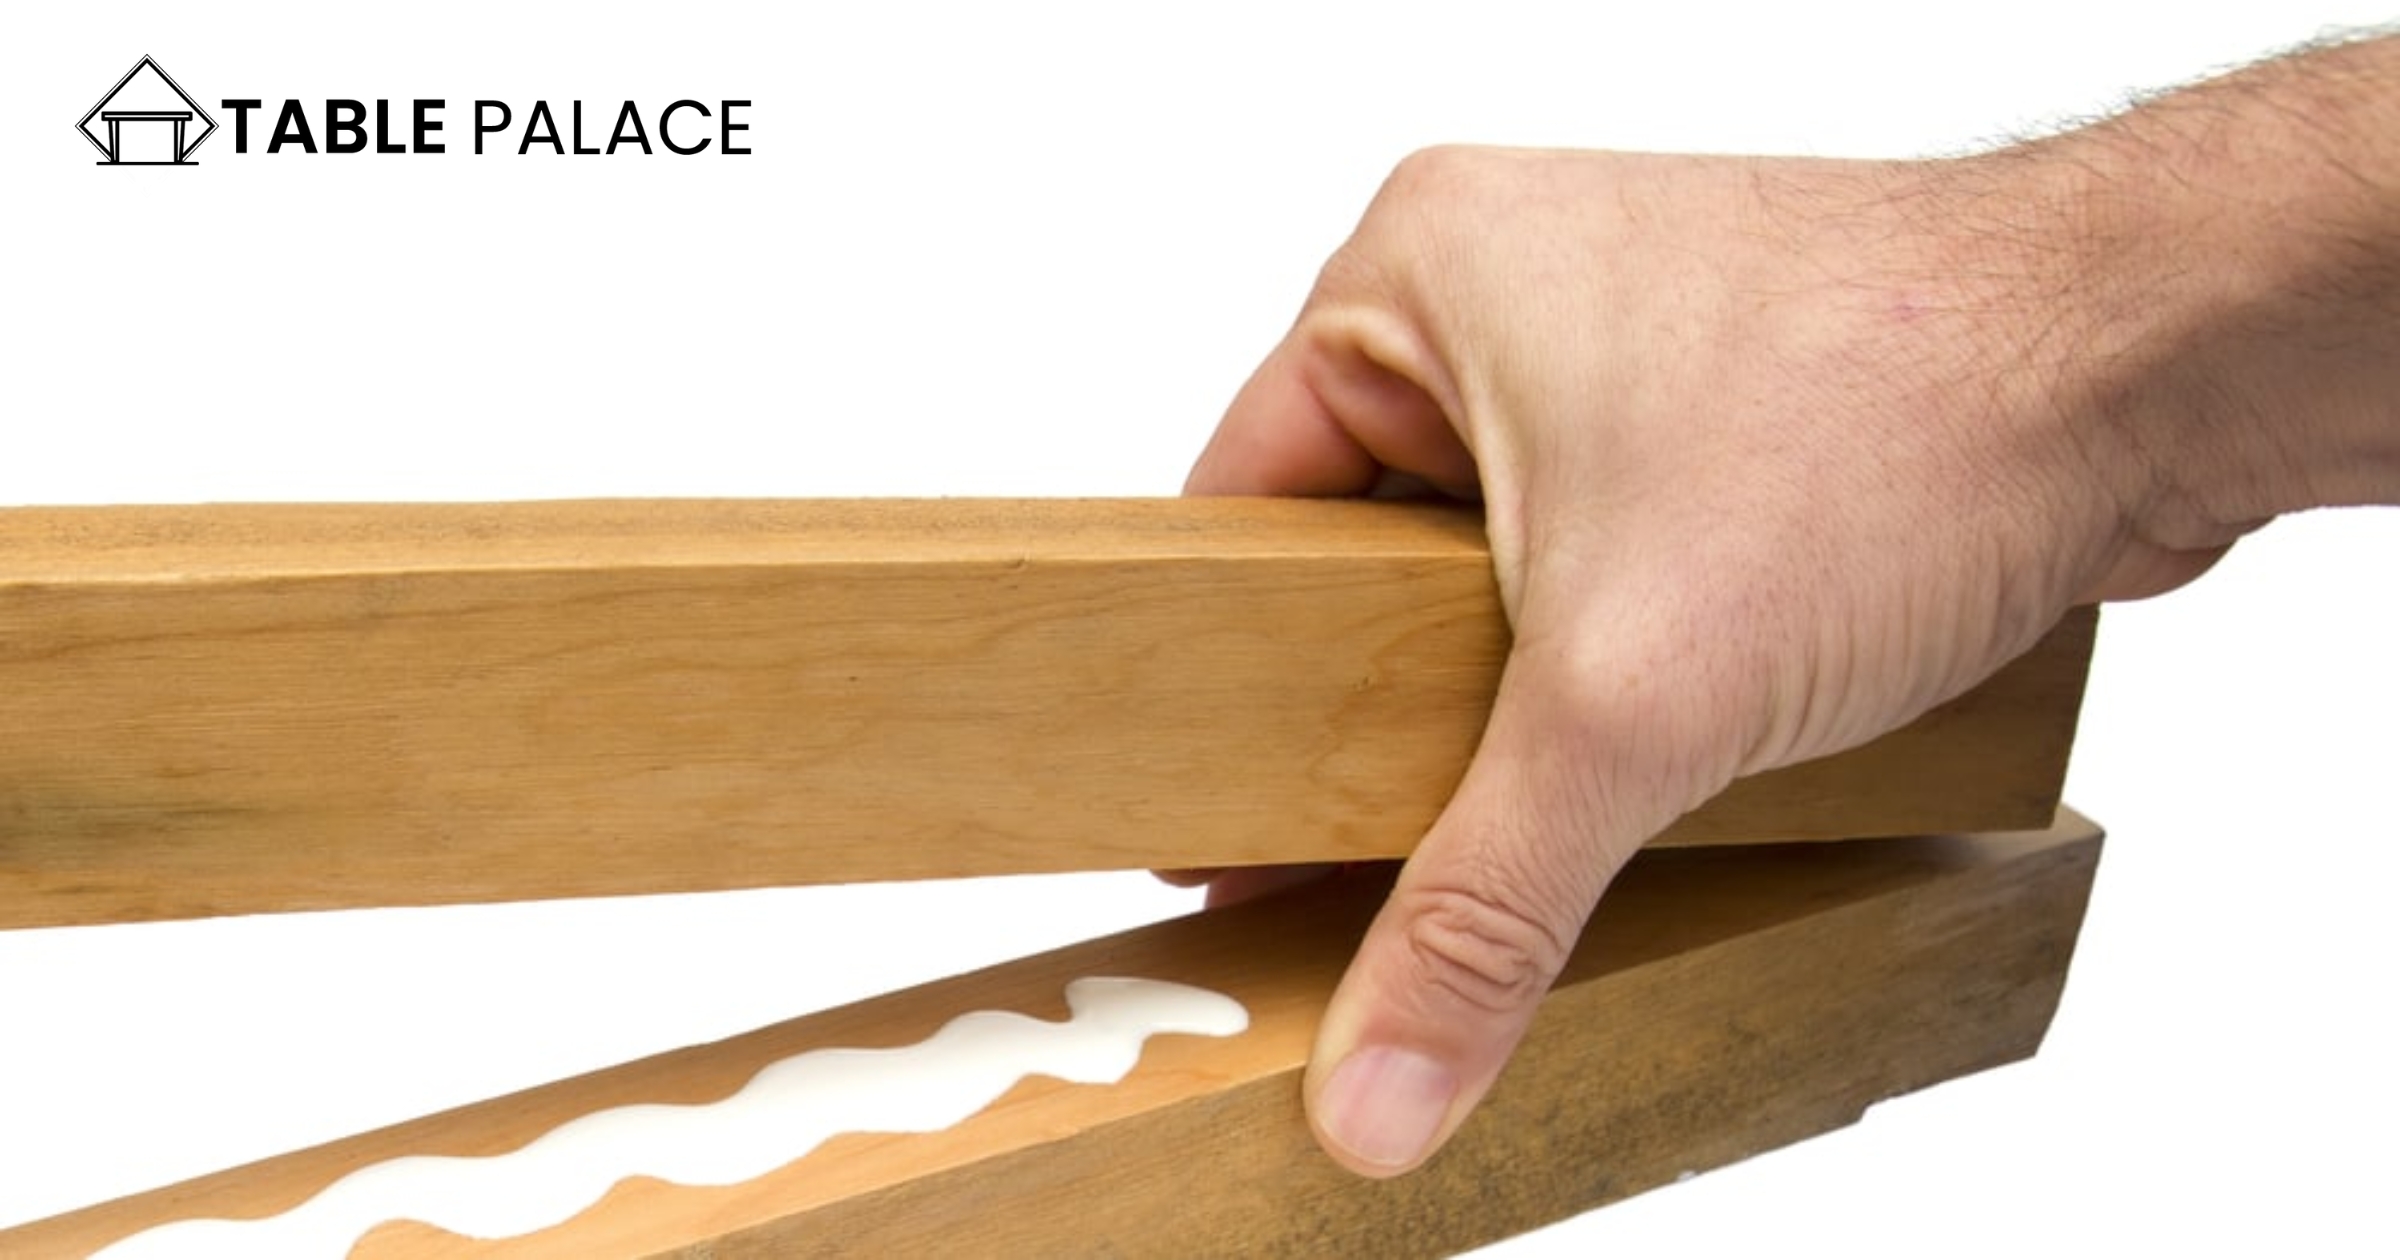
Apply wood glue to the edges of the gap and insert the dowel. Ensure the dowel is centered in the gap and the glue is evenly distributed. Use wood clamps to hold the dowel in place, and let the glue dry for at least 24 hours. If the gap is wider than the dowel, you can use wood shims to fill the gap and make a tight fit.
Step 4: Fill Gaps and Imperfections
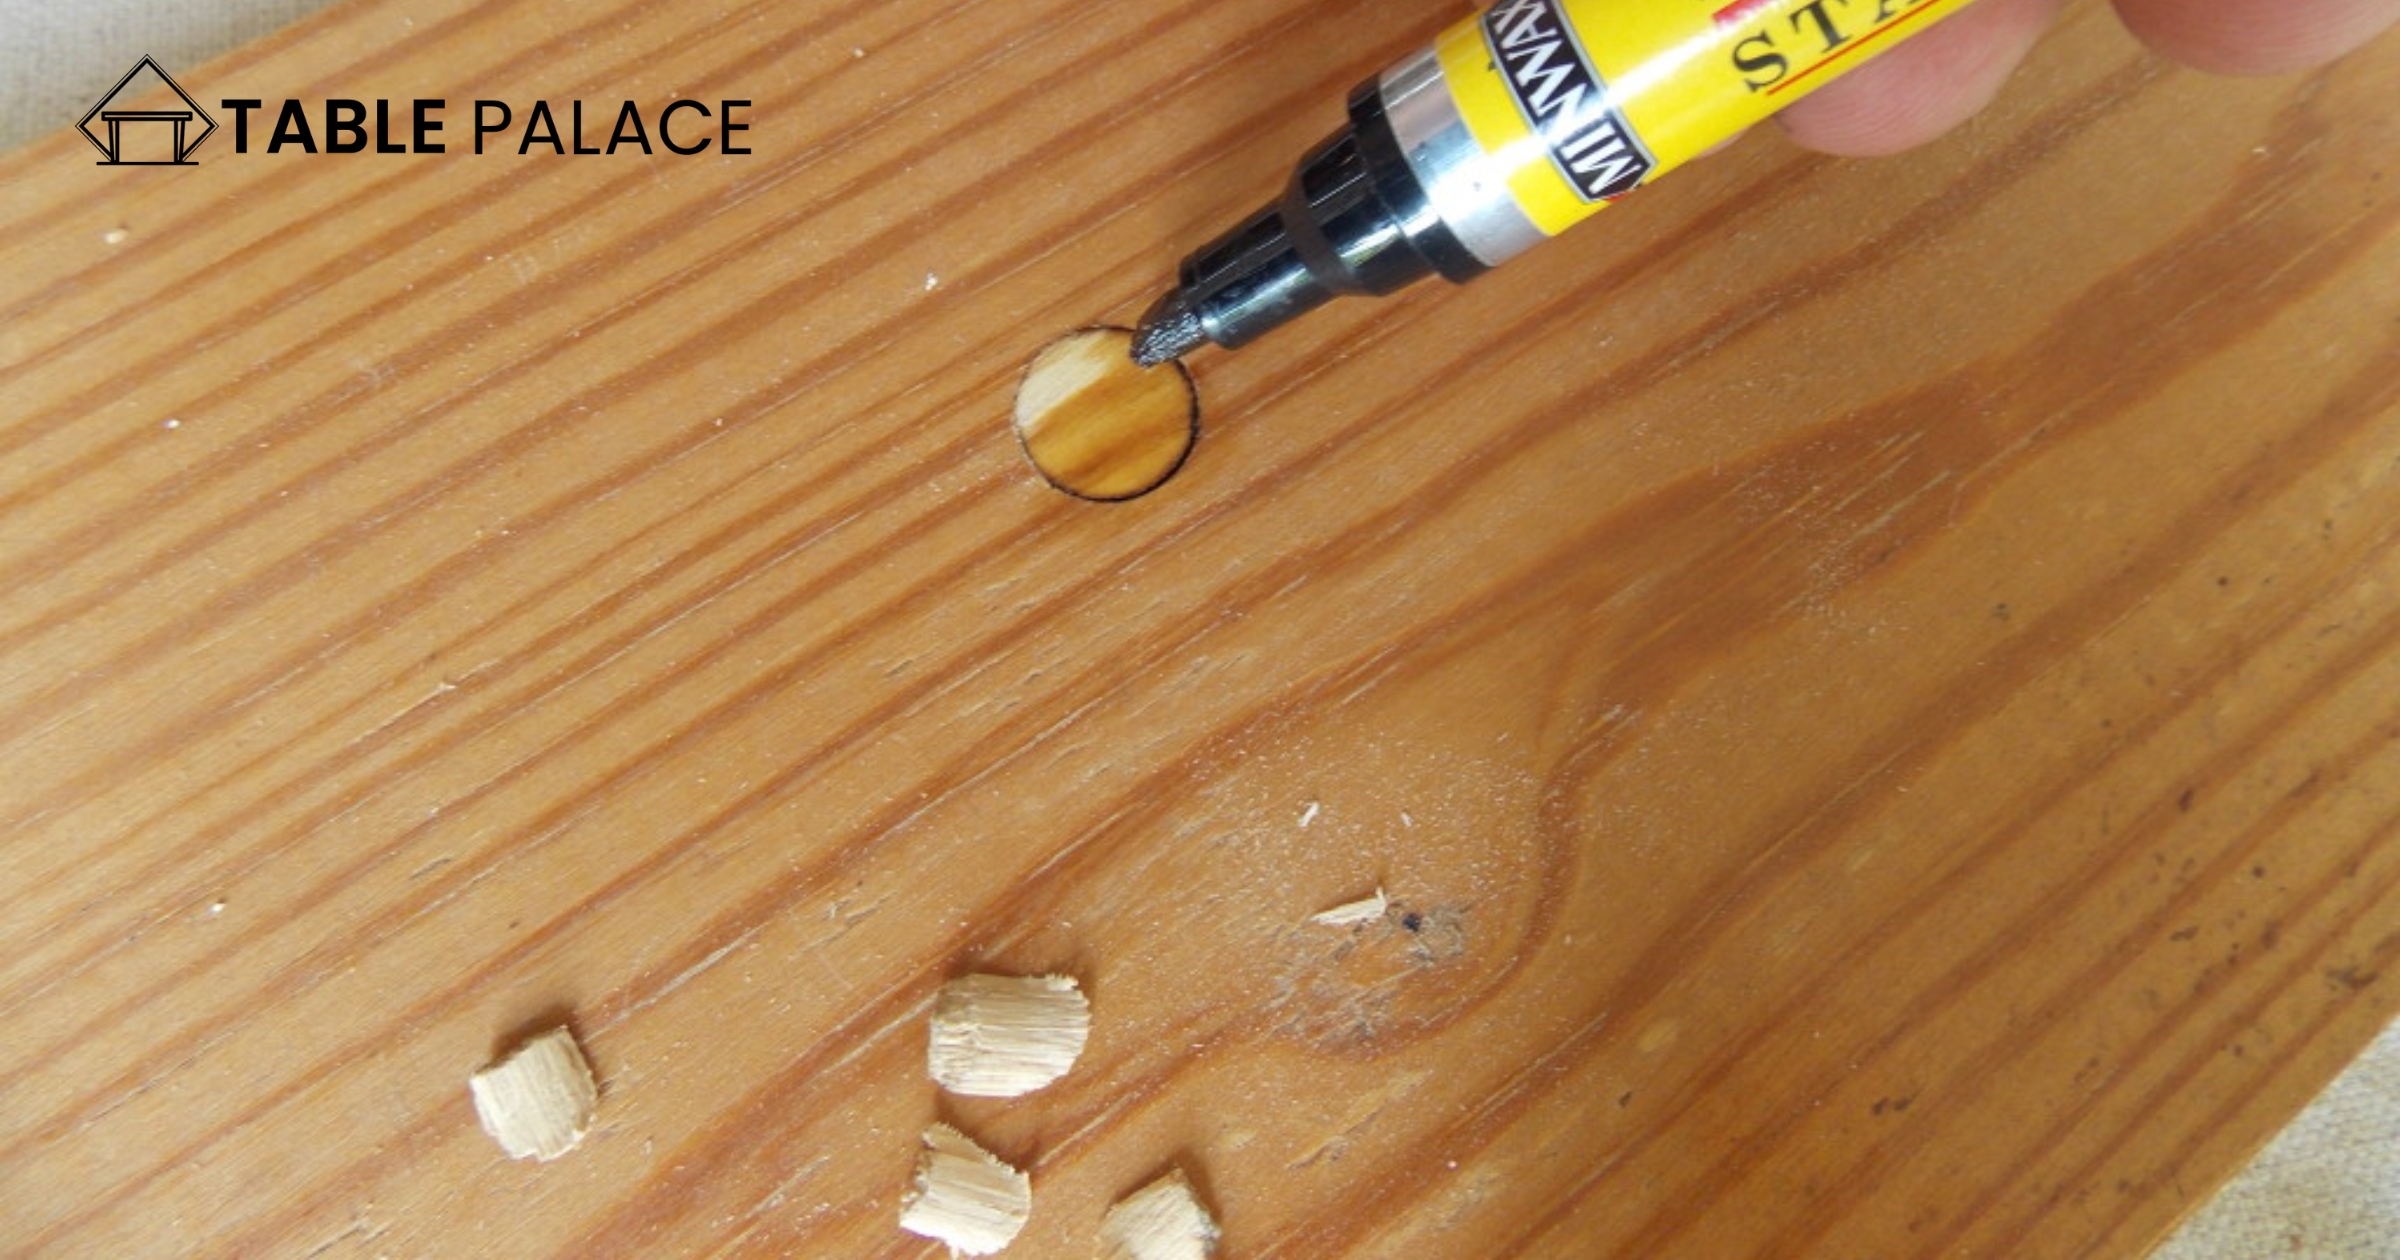
Once the glue has dried, use wood filler to fill any gaps or imperfections in the repair area. Apply the filler with a putty knife and let it dry according to the manufacturer’s instructions. Sand the filler smooth once it has dried. If necessary, apply a second filler coat and sand it to achieve a smooth surface.
Step 5: Sand and Paint/Stain
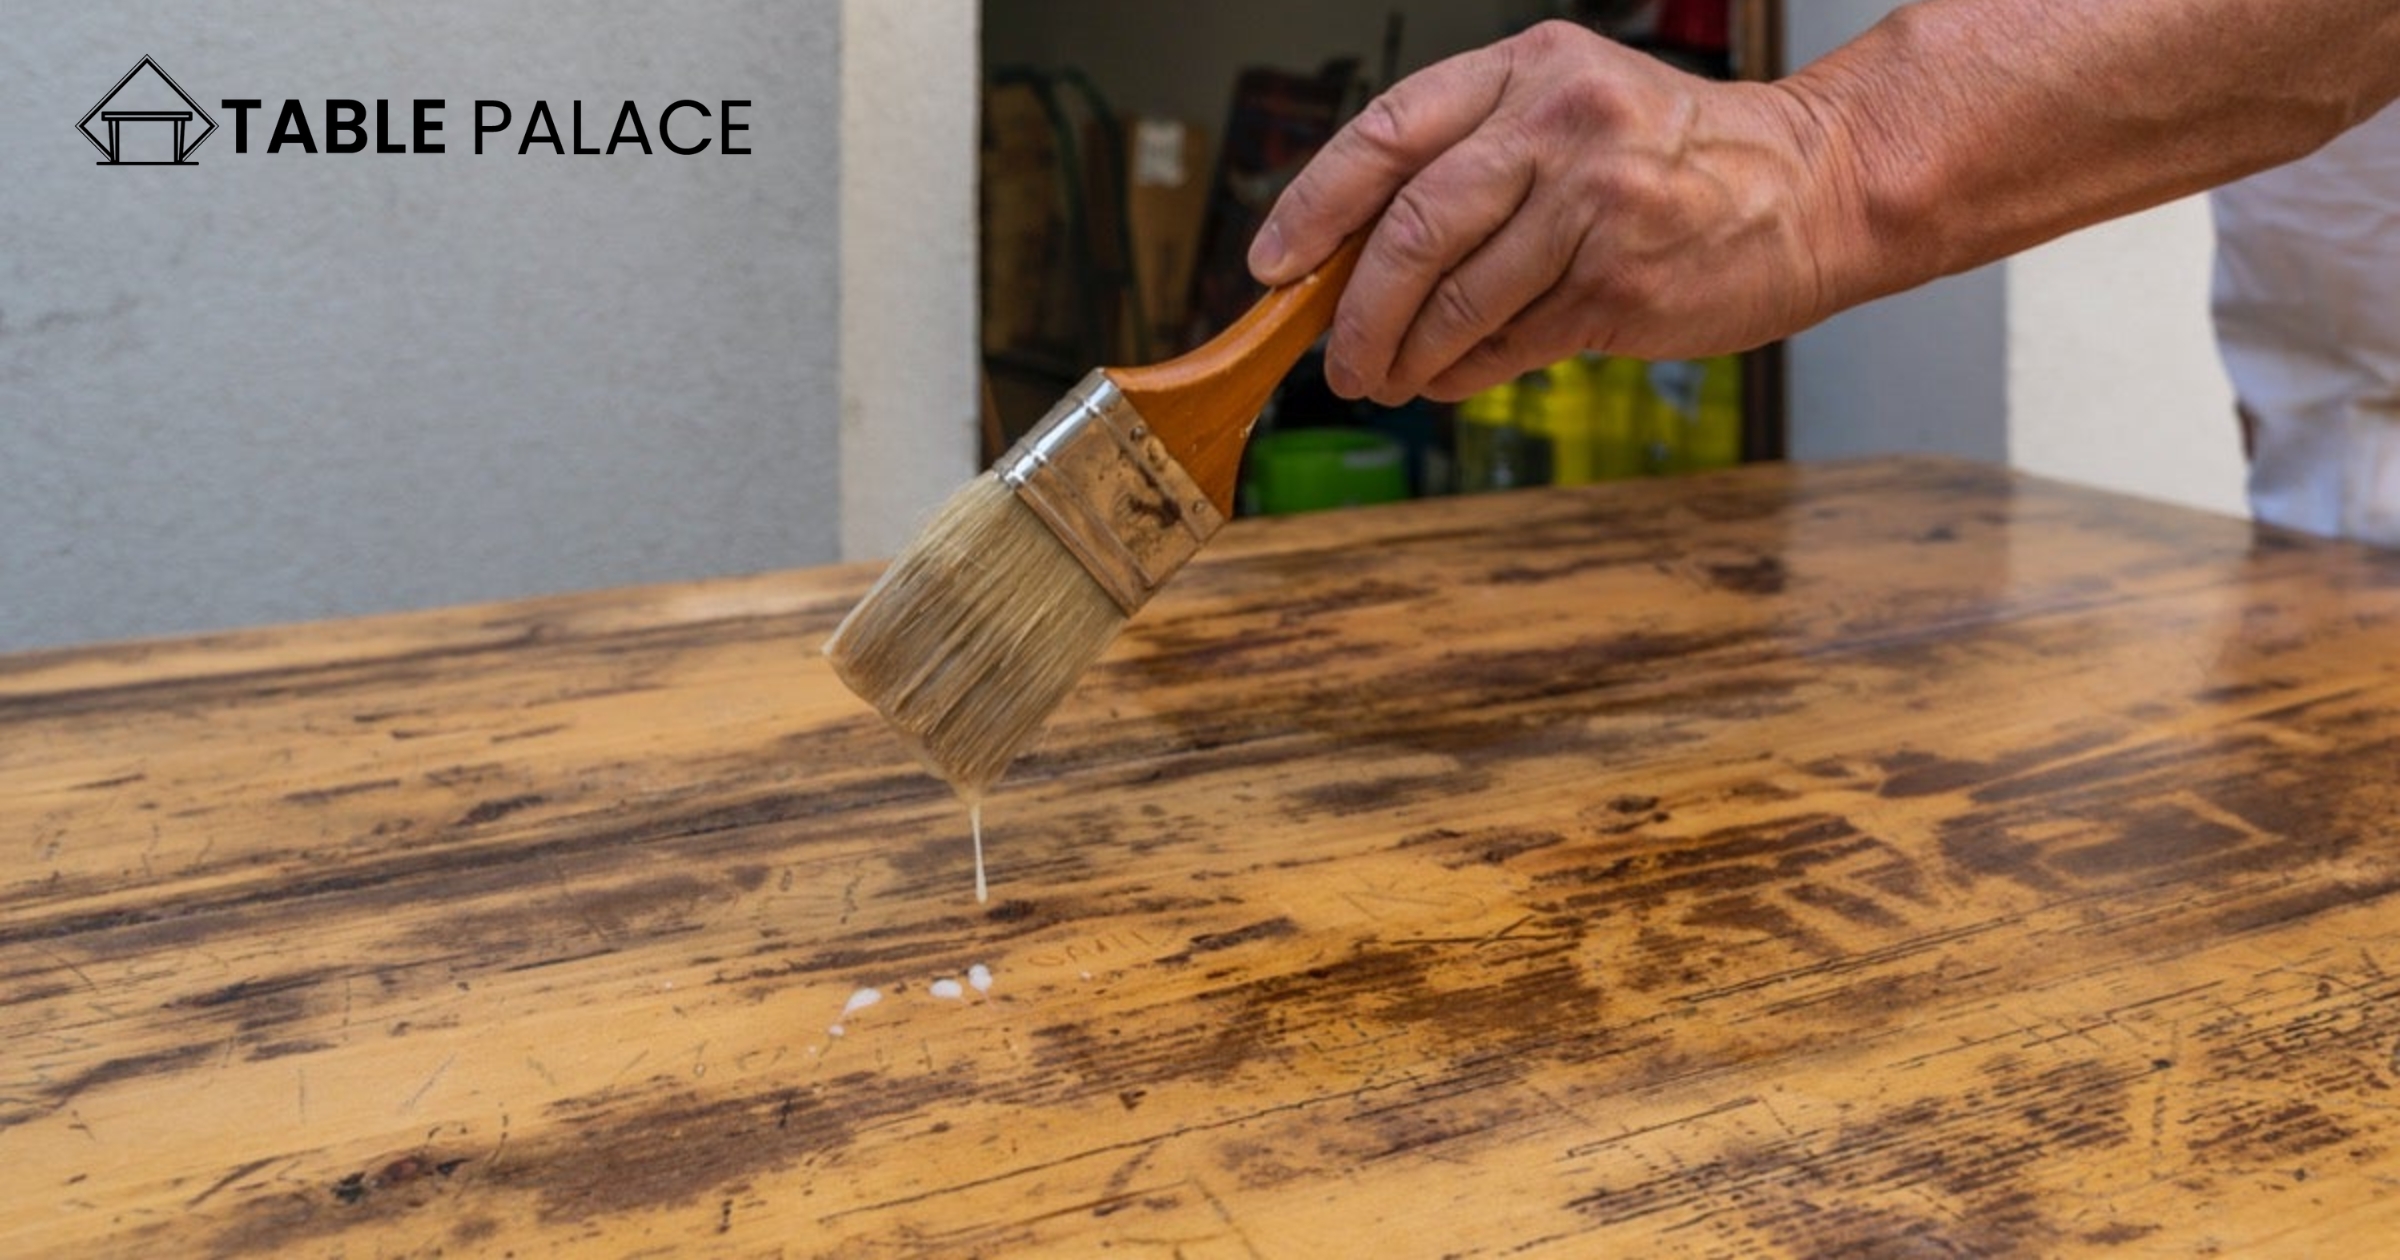
Sand the repair area to make it smooth and even with the rest of the leg. Use sandpaper with progressively finer grits to avoid leaving scratches. If necessary, paint or stain the repair area to match the rest of the table. You can use a brush or a cloth to apply the paint or stain and let it dry according to the manufacturer’s instructions.
By following these steps carefully and patiently, you can successfully repair a broken table leg and extend the life of your favorite piece of furniture. With a little effort and attention to detail, you can restore the table to its former glory and enjoy it for years to come.
Video Guide
Conclusion
With these simple steps, you can successfully repair a broken table leg and extend the life of your favorite piece of furniture. Whether a professional or a DIY enthusiast, this guide will help you get the job done right. The key is to work carefully and patiently and to take your time to ensure a strong and lasting repair.
FAQs
What is the best glue to repair a broken chair leg?
PVA (polyvinyl acetate) glue, also known as white glue or carpenter’s glue, is a popular choice for repairing broken chair legs. It is a type of water-based glue that dries clear and is accessible to sand, making it ideal for wood repair projects. PVA glue dries quickly and forms a strong bond, making it ideal for repairing broken furniture legs. When combined with wood clamps and filler, PVA glue can provide long-lasting repair.
Can I glue a table leg?
Yes, you can glue a table leg back together. To do so, you’ll need to clean and dry the damaged area, then apply wood glue to the edges of the gap and insert a piece of wood dowel to fill the gap. Clamps can hold the dowel in place and allow the glue to dry. Once the glue has dried, you can use wood filler to fill any gaps or imperfections, then sand and paint or stain the repair area to match the rest of the table. Using the correct type of glue, such as PVA (polyvinyl acetate), can ensure a solid and lasting bond.
How do you stabilize old table legs?
Here are the steps to stabilize old table legs:
1: Check the joints: Examine them to see if they are loose. Tighten any loose screws or bolts with a screwdriver or wrench.
2: Add reinforcements: If the legs are wobbly, add a reinforcement bracket underneath the table. These brackets can be found at hardware stores and attached to the legs and tabletop to provide additional support.
3: install glides: Installing glides on the bottom of the legs can help distribute the table’s weight evenly and prevent wobbling. Choose glides that are appropriate for the surface of your floor.
4: Use felt pads: Placing felt pads under the legs can help absorb shock and prevent the legs from moving.
5: Stabilize with a brace: If the legs are severely wobbly, you can stabilize them by adding a brace between them. This brace can be made of metal or wood and can be attached to the legs with screws or brackets.
Following these steps, you can stabilize old table legs and prevent further damage to your furniture. It’s essential to address any wobbling issues promptly to ensure the longevity and stability of your table.
What can I use instead of table legs?
Some alternatives to table legs include:
1: Stumps or tree trunks
2: Baskets or crates turned upside down
3: Stools or ottomans
4: Stack of books or bricks
5: Wall-mounted shelves or brackets
6: Tripod legs
7: X-shaped metal supports
8: Concrete blocks or sculptures
9: Barrels or drums
How do you strengthen furniture legs?
Here are some ways to strengthen furniture legs:
1: Reinforce with braces or brackets.
2: Install metal plates on the bottom of the legs to distribute weight evenly.
3: Fill legs with a dense material such as concrete or epoxy.
5: Replace current legs with sturdier ones made of solid wood or metal.
6: Secure legs to the furniture’s frame with screws or dowels.
7: Add caster wheels to distribute weight and allow for more effortless mobility.
How do you fix wobbly furniture legs?
Here are some ways to fix wobbly furniture legs:
1: Tighten any loose screws or bolts.
2: Add felt pads or furniture glides to level the legs and prevent wobbling.
3: Fill gaps between the legs and the floor with wood shims.
4: Replace any damaged legs with new ones of the same size and style.
5: Use adjustable leg levelers or furniture coasters to level the legs.
6: Wrap the legs with adhesive tape to fill any cracks or gaps.
Can damaged wood be repaired?
Yes, damaged wood can often be repaired. Depending on the extent of the damage, there are several methods for repairing wood, including:
1: Filling cracks and holes: Small cracks and holes can be filled with wood filler and sanded smooth once dry.
2: Splicing broken pieces: Broken pieces can be rejoined using glue and clamps. A spline or dowel can also be inserted to reinforce the joint.
3: Replacing damaged sections: Severely damaged sections can be removed and replaced with a new piece of wood, which can be glued and clamped into place.
4: Refinishing: In some cases, the damaged area can be sanded and refinished to blend in with the rest of the piece.
Using these techniques, repairing damaged wood and restoring its strength and appearance is often possible. However, it’s essential to properly assess the extent of the damage and choose the appropriate repair method to ensure a successful outcome.

