Welcome to our comprehensive guide on repairing concrete tables! Whether you’re dealing with cracks, chips, or other forms of damage, concrete table repair is a manageable process that you can tackle with the right tools and techniques. Concrete is a durable material, but it’s not indestructible, and over time, even the toughest tables can suffer wear and tear. Fortunately, repairing your concrete table is a cost-effective solution extending its lifespan and restoring it to its former glory. In this blog post, we’ll walk you through the steps you need to take to repair your concrete table, including identifying the type of damage, gathering the necessary tools and materials, and executing the repair with precision. So, let’s get started!
Is it Easy and Good to Repair Concrete Tabletops?
Visualize you’re thinking about replacing your old, worn-out concrete tabletop. But wait, before you start browsing online for a new one, did you know that repairing your current one is easy and cost-effective? With a few tools and materials, you can fix cracks, chips, and other damage, making your table look as good as new.
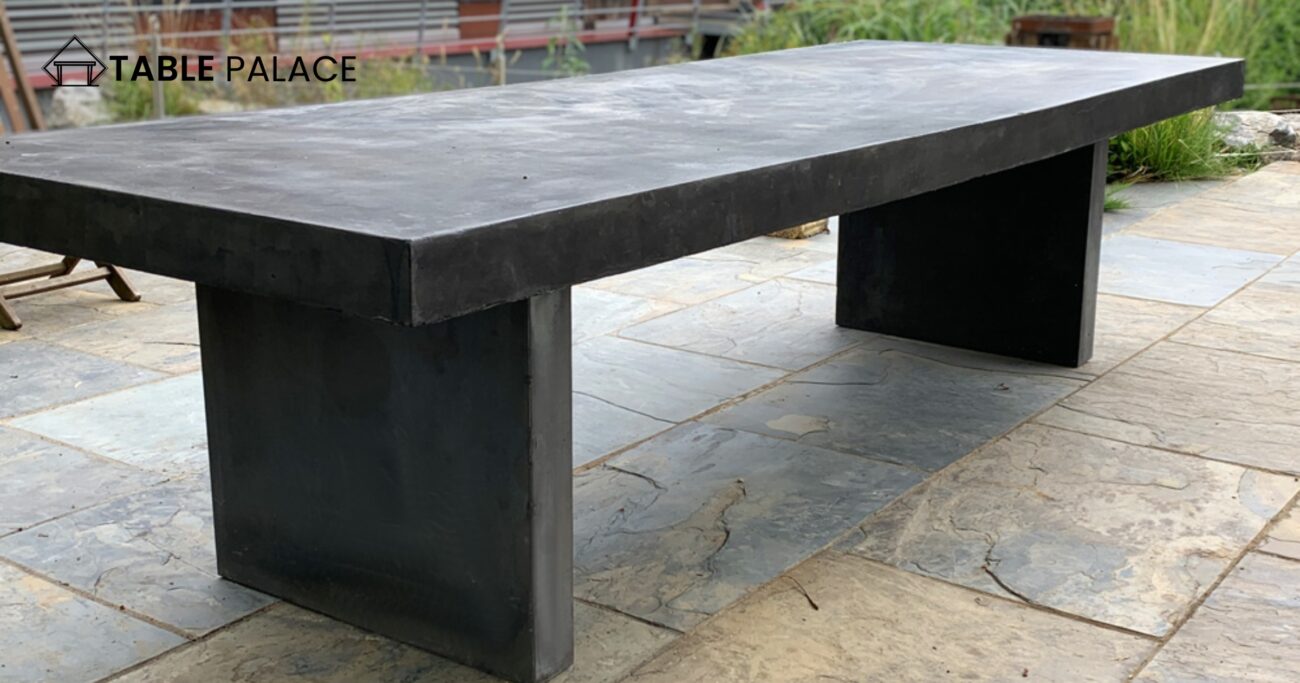
Repairing a concrete tabletop is like a DIY project that anyone can do. It’s like putting together a puzzle, but you fix cracks and chips instead of matching colors and shapes. Plus, it can save you money compared to buying a brand-new table. Think of all the other things you could spend that saved money on – a fancy dinner, a weekend getaway, or a new outfit.
Before buying a new table, why not repair your old one? You might surprise yourself with your DIY skills and end up with a table that’s even better than the original.
How to Repair Concrete Table: Step-by-Step Guide
Assess the Damage
Imagine you’re in your backyard, enjoying a beautiful sunny day. You go to sit at your trusty concrete table only to realize it’s seen better days. Cracks, chips, and other damage have made their mark, leaving it looking worn out and sad. But don’t worry, and all hope is not lost! You can bring your beloved table back to life with some TLC.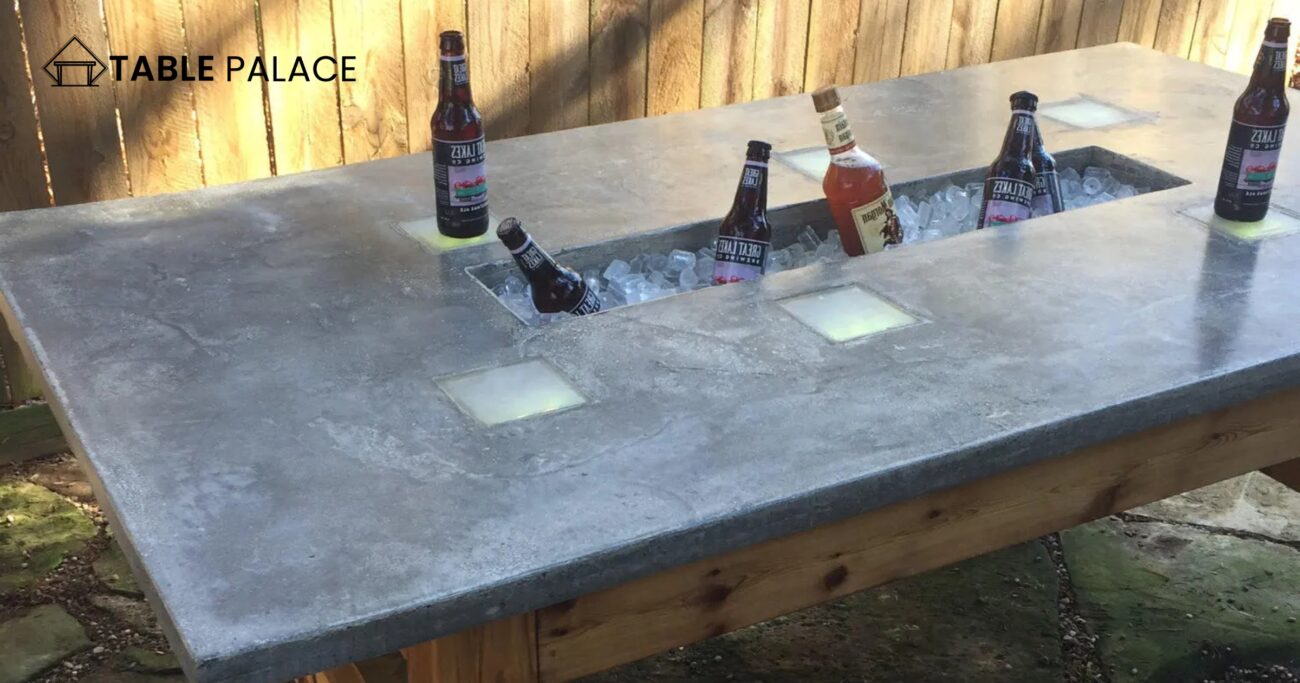
The first step in this concrete table repair journey is to assess the damage. It is like playing detective, but instead of solving a mystery, you’re figuring out what needs to be fixed. Look closely at the table and identify any cracks, chips, or other damage. Once you’ve found them, grab a measuring tape and measure the length and width of each crack. It will help you determine how much repair material you’ll need to return your table to its former glory.
So, wear your detective hat and prepare to bring your concrete table back to life!
Clean the Surface
Once you’re ready to give your concrete table a facelift, just like any good makeover, the first step is to clean up the surface. It is like giving your table a spa treatment, but instead of mud masks and cucumber slices, you use a wire brush or a pressure washer to remove any loose debris, dirt, or grime from the surface.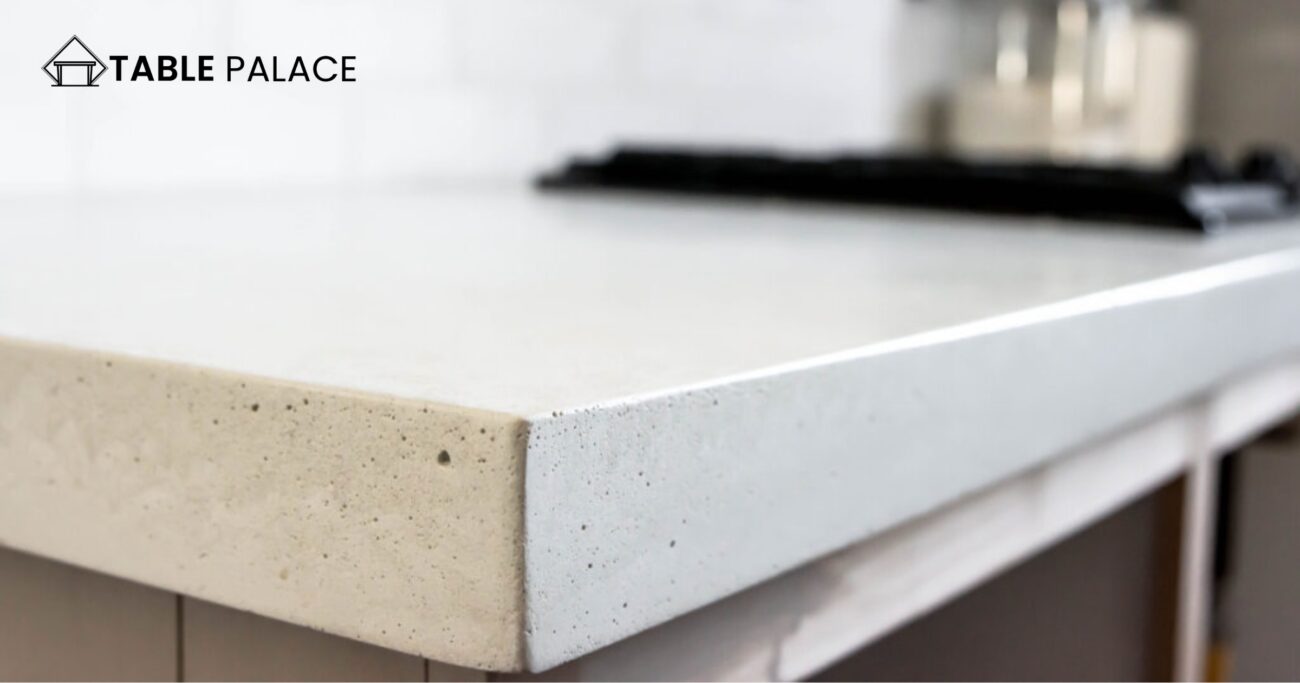
The wire brush or pressure washer is like a superhero power washing away all the dirt and grime from the table’s surface. Getting rid of all the loose debris before moving on to the next step is essential because it ensures that the repair material will bond properly to the table. Think of it like trying to apply makeup on a dirty face – it just won’t work out.
So, give your concrete table the spa treatment it deserves and eliminate all that dirt and grime. Your table will thank you for it by looking fresh and ready for its next chapter.
Prepare the Area
You’re getting ready to start repairing your concrete table, but you must prepare the area before getting your hands dirty. It’s like setting the stage for a big performance, but instead of curtains and lights, you cover the surrounding area with plastic or drop cloths to protect it from the repair material.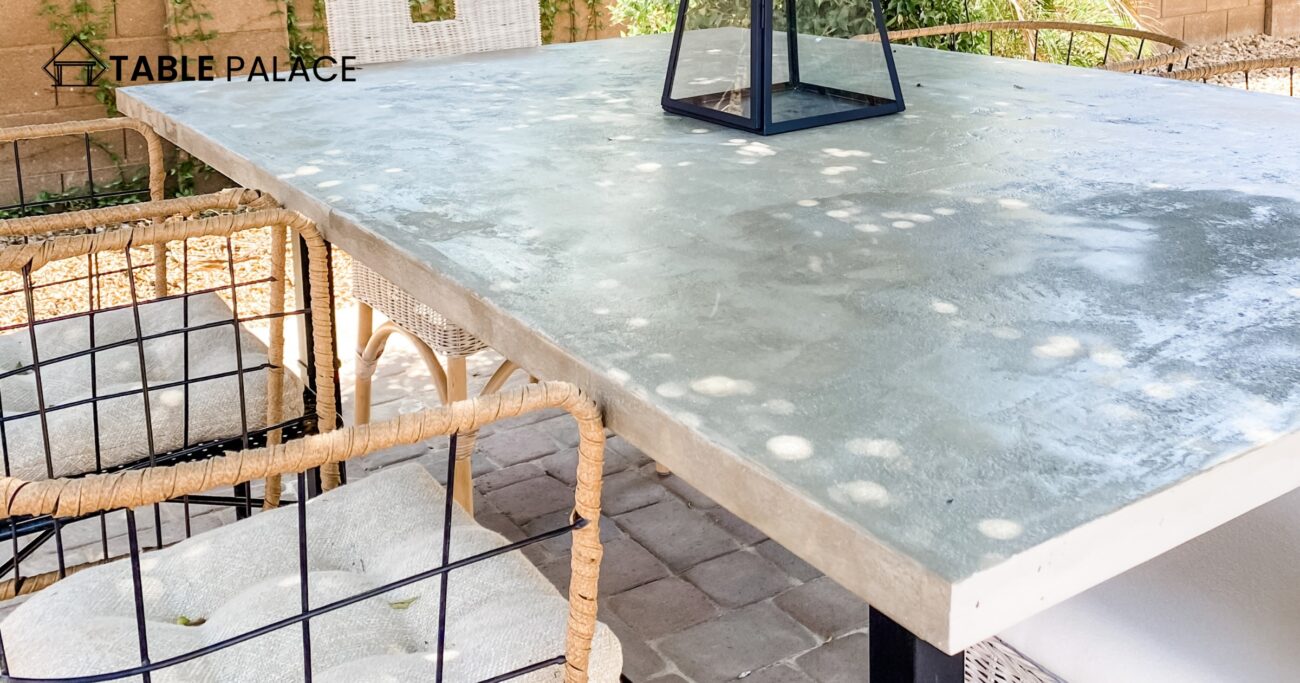
This step is like laying the groundwork for a successful repair. Covering the surrounding area with plastic or drop cloth ensures that any stray repair material won’t damage or stain anything nearby. It’s like putting on a raincoat before heading out on a rainy day – you’re prepared for anything coming your way.
So, before you start mixing your concrete, take a moment to prepare the area. Plus, you won’t have to worry about any accidental messes or damage to your surrounding area. It’s a win-win situation!
Mix the Concrete
Imagine you’re a mad scientist in a lab, mixing up the perfect concoction for your concrete table repair. Instead of bubbling beakers and test tubes, you’re working with concrete repair products that you can find at most home improvement stores. But, like a mad scientist, you must follow the manufacturer’s instructions to create the perfect mixture.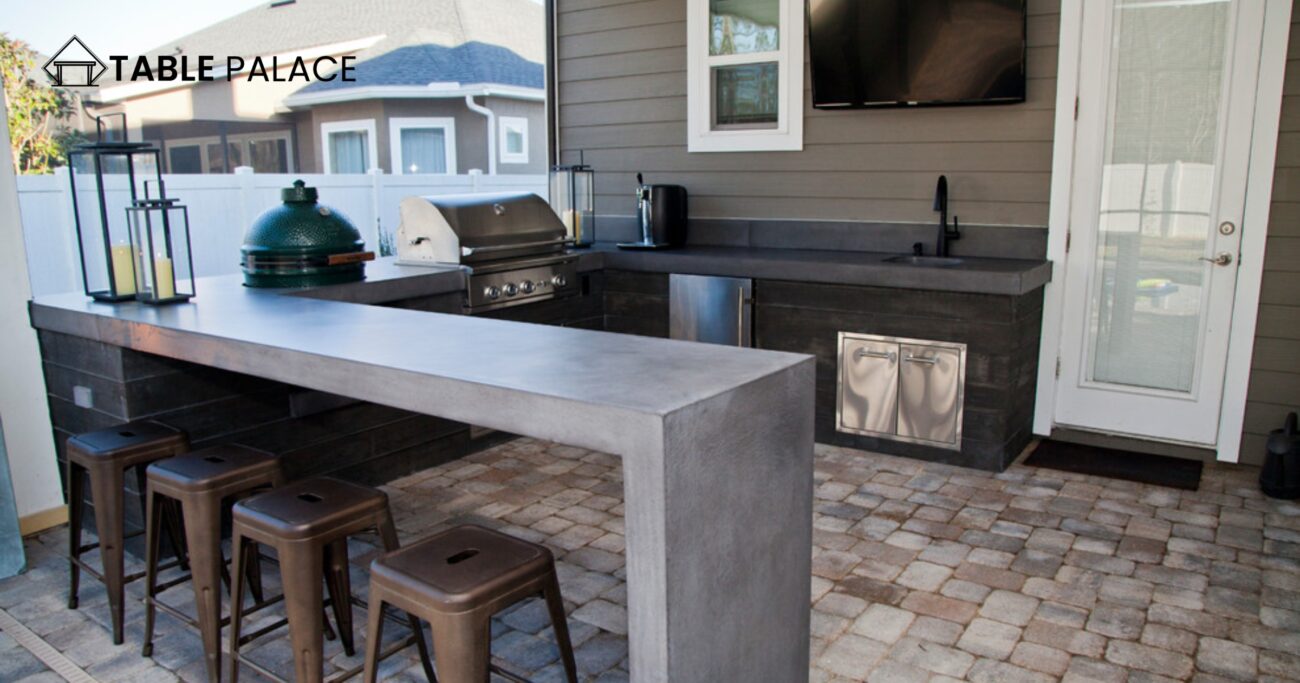
Mixing the concrete repair material is like making a cake batter, but you’re mixing concrete instead of flour and sugar. It’s essential to follow the instructions carefully to end up with a smooth mixture free of lumps. Think of it like making the perfect chocolate chip cookie dough – you don’t want any lumps of flour ruining the texture!
So, put on your mad scientist hat and mix up the perfect repair material. Follow the instructions carefully; before you know it, you’ll have a smooth and perfect mixture ready for your concrete table repair.
Apply the Concrete
Instead of paint, you use the concrete repair material, carefully applying it to the damaged areas. It’s like sculpting a masterpiece out of clay, but you use concrete instead of clay.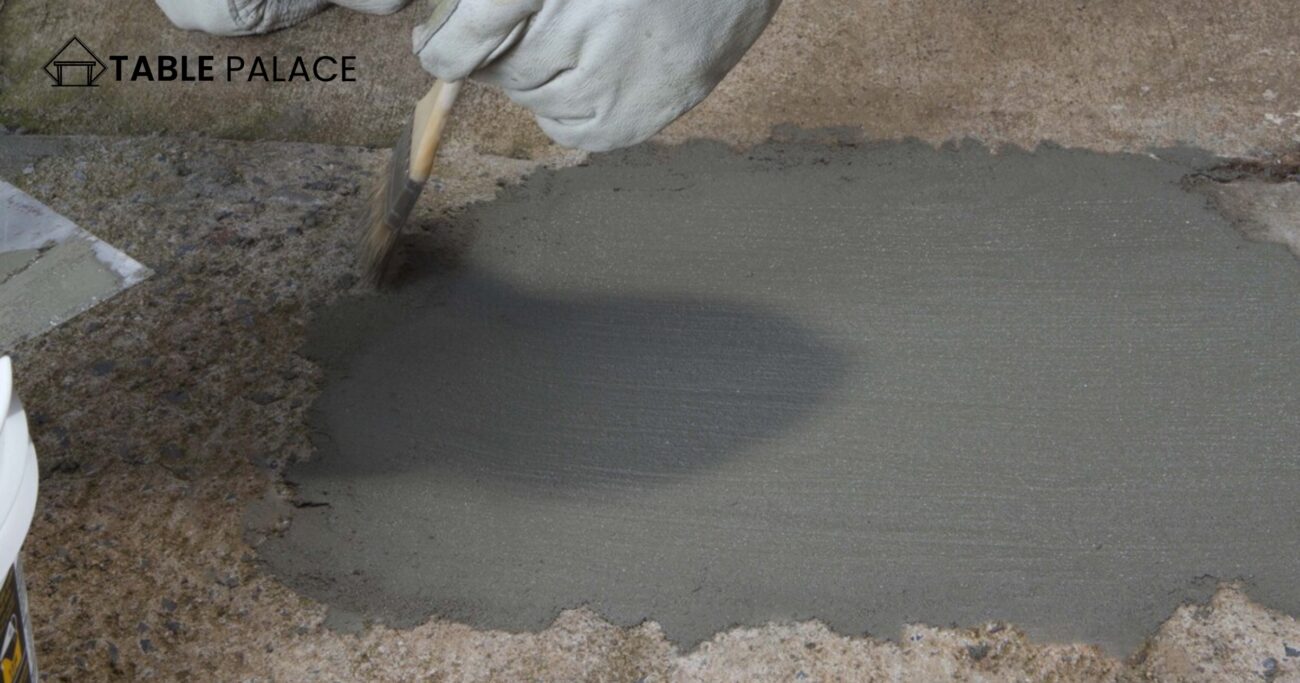
Applying the repair material to the damaged areas is like filling in the gaps of a puzzle, making everything fit perfectly together. Using your trowel as your paintbrush, you carefully apply the material, smoothing it until it’s level with the table’s surface. It’s like icing a cake, ensuring everything is smooth and even.
So, get ready to channel your inner artist and apply the repair material like a pro. With your trusty trowel, you can create a seamless repair to make your concrete table look new. It’s like turning a rough sketch into a finished masterpiece!
Smooth and Level
Once you’ve applied the repair material to the damaged areas, it’s time to refine and perfect the repair. Think of it like sanding down rough edges to create a smooth finish. Achieving a seamless blend between the repaired area and the rest of the table is crucial for restoring its original appearance.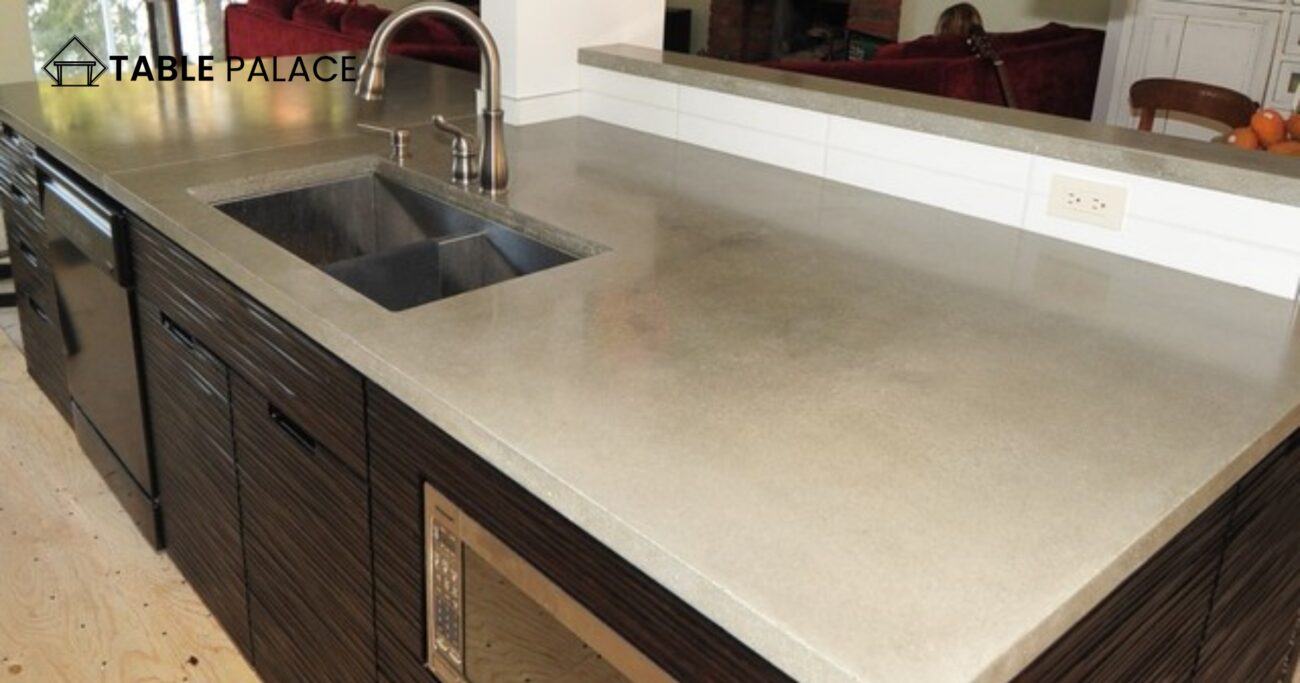
You’ll need to use a float, a tool resembling a trowel with a flat surface. You’ll use the float to smooth and level the surface of the repair material, ensuring that it’s even with the rest of the table. It’s like smoothing out a wrinkled shirt, making everything look neat.
This step is crucial for achieving flawless repair. If you don’t smooth and level the surface properly, the repaired area will be prominent and stick out like a sore thumb. But, by using the float to perfect the surface, you’ll create a practically invisible repair.
So, take your time and use the float to smooth and level the surface of the repair material. With patience and attention to detail, you’ll have a concrete table that looks as good as new!
Let It Cure
Congratulations on repairing your concrete table! Now, it’s time to exercise patience and let the repair material cure properly.
Curing is the process by which the repair material hardens and gains strength. Let the repair material cure for at least 24 hours to ensure it is fully set. During this time, you’ll want to avoid putting any weight on the table or using it for any purpose.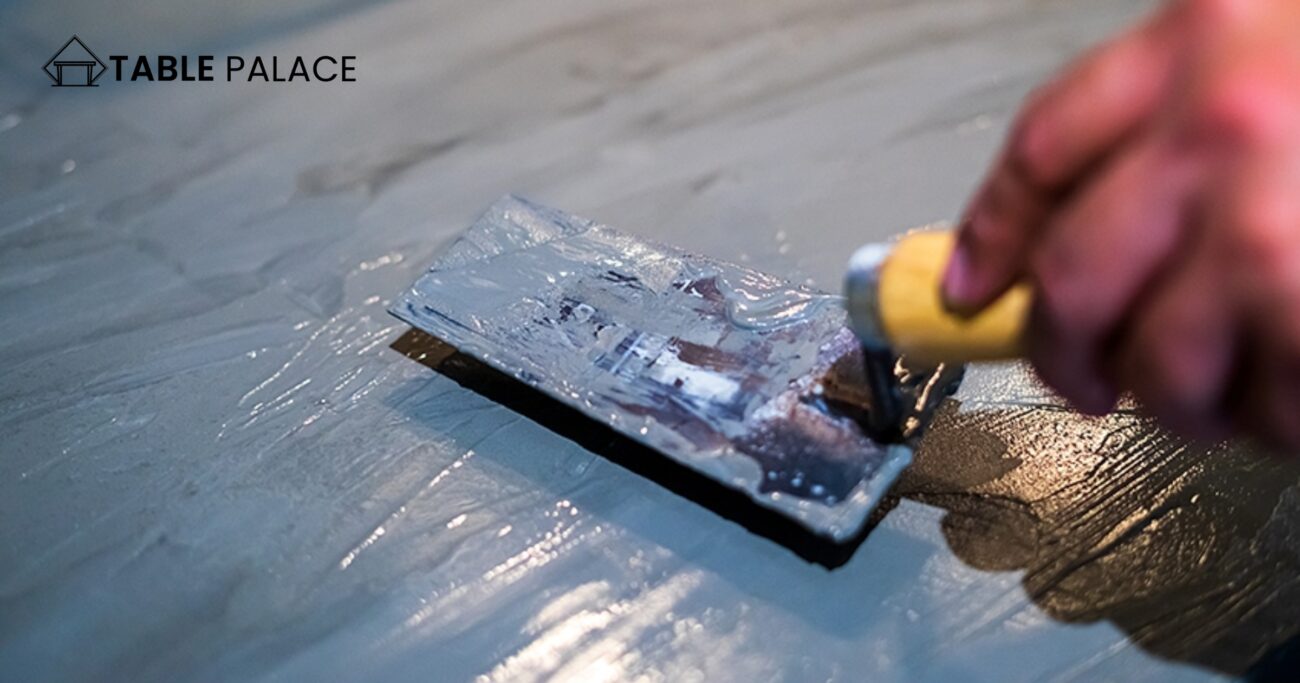
Similarly, if you let the repair material cure properly, it will be as strong and durable as possible. So, resist the temptation to use your table for at least 24 hours. Find something else to do, like reading a book or walking outside. It’ll be worth it when you have a concrete table that’s as good as new and ready for use!
Finish the Surface
Congratulations, you’re almost done repairing your concrete table! But before you put it back into use, there’s one final step to ensure it looks its best – finishing the surface.
After the repair material has fully cured, you may notice some rough spots or imperfections on the surface. It is entirely normal and can be fixed by using a concrete polisher. A concrete polisher is a tool that uses abrasives to grind and smooth the surface of the concrete.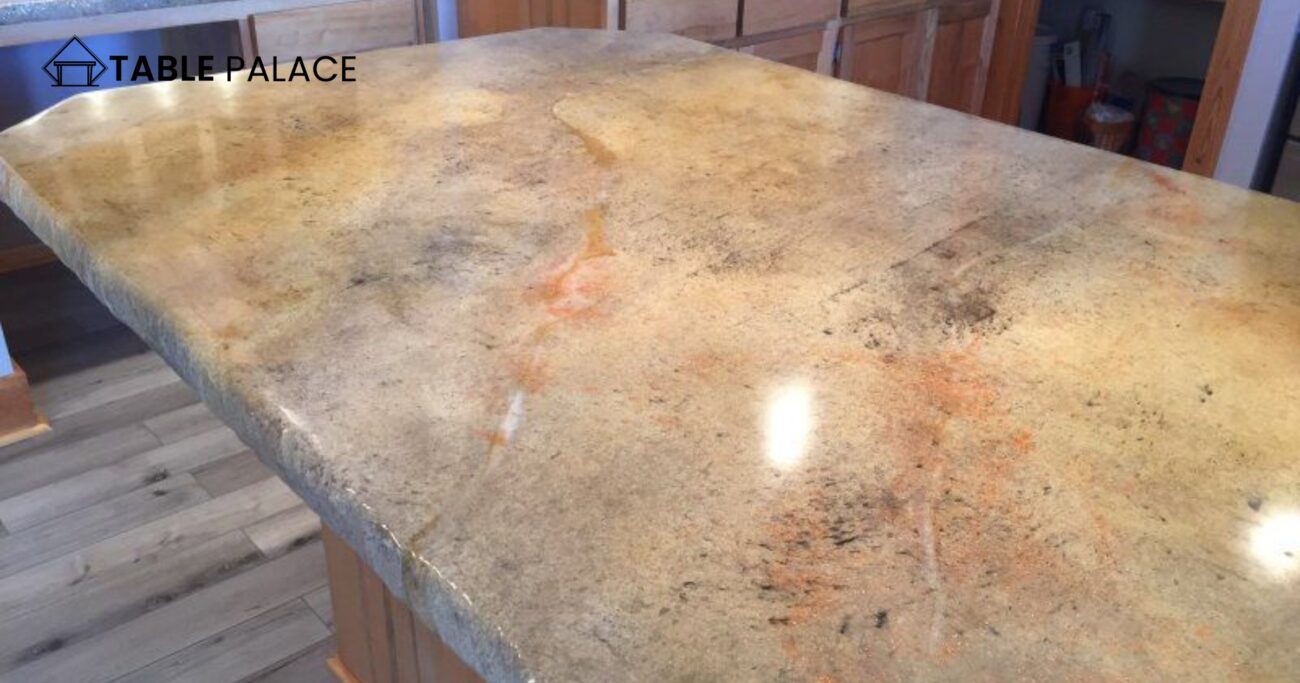
Starting with a coarse abrasive, work your way up to a finer abrasive until the surface is perfectly smooth. It may take some time and effort, but the result will be worth it. You’ll have a table that not only looks great but is also functional.
A concrete polisher can help you achieve a smooth, polished surface that will make your table look new. So, grab your concrete polisher, put in a bit of elbow grease, and get ready to admire your handiwork. Your repaired concrete table is ready for use and will impress anyone who sees it.
Apply a Sealant
A sealant is a protective coating that will prevent moisture and other substances from seeping into the concrete, which can cause damage over time. Many types of sealants are available, so be sure to choose one appropriate for outdoor use if your table will be exposed to the elements.
Applying a sealant is easy. Brush or spray it onto the table’s surface, covering the entire area. Be first to follow the manufacturer’s instructions for application and drying times.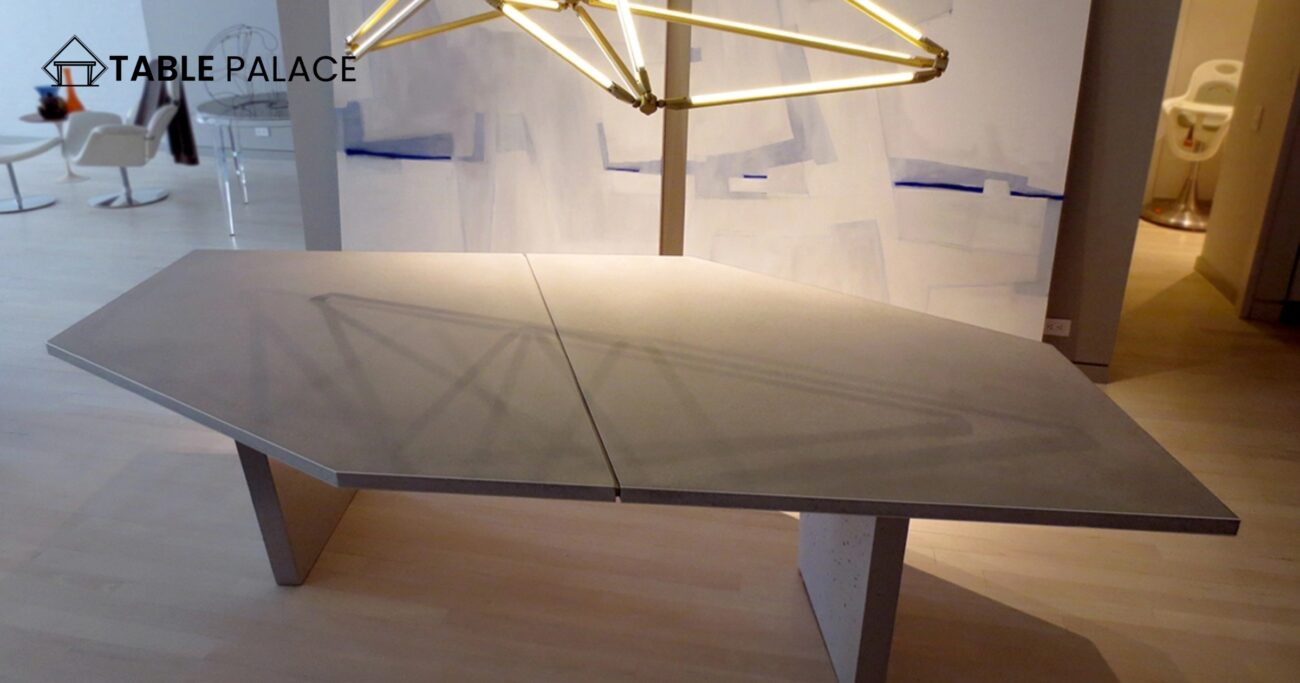
A sealant will protect your concrete table from the elements. It’s an essential step in keeping your table looking great for years.
So, take the time to apply a sealant to your newly repaired concrete table. Taking the simple measure of covering it with plastic or drop cloths can significantly impact the success of your repair. It’s a simple step that makes a big difference in the table’s longevity and appearance.
Conclusion
Repairing a concrete table is a relatively straightforward process that can save you money compared to buying a new one. With the right tools and materials, you can fix cracks, chips, and other damage to make your table look as good as new.
FAQs
Can you repair a concrete table top?
Yes, you can repair a concrete table top. With the right tools and materials, you can fix cracks, chips, and other damage to make your table look as good as new.
How do you fix a broken concrete table top?
You must use a concrete repair product to fix a broken concrete table top. Follow the manufacturer’s instructions to mix and apply repair material to the damaged areas. Smooth and level the surface with a float, and let the repair material cure for 24 hours. Finally, apply a sealant to protect the table from future damage.
Can a concrete table be repaired?
Yes, a concrete table can be repaired. If the chip that came off the table is still available and intact, it’s possible to glue it back onto the surface using a strong adhesive designed for use with concrete. It’s essential to clean the surface thoroughly before applying the adhesive to ensure a strong bond. Once the chip is glued, any gaps or imperfections can be filled with a concrete filler and sanded down to create a smooth, even surface. With proper care and maintenance, the repaired area should blend seamlessly with the rest of the table, making the repair virtually invisible.
How do you repair a broken concrete table top?
A highly liquid granite epoxy fills cracks and breaks a broken concrete tabletop. Apply the epoxy carefully and follow the manufacturer’s instructions for the best results. It will help restore the table top’s strength and stability, making it look new again with minimal effort.
How do you restore a concrete tabletop?
To restore a concrete tabletop, grind the surface to bare concrete and address any defects. Clean and dry the surface, fill any exposed pinholes or cracks with a primer, apply a concrete restoration product, and let it cure before sealing. These steps can help restore your tabletop and ensure its longevity.

