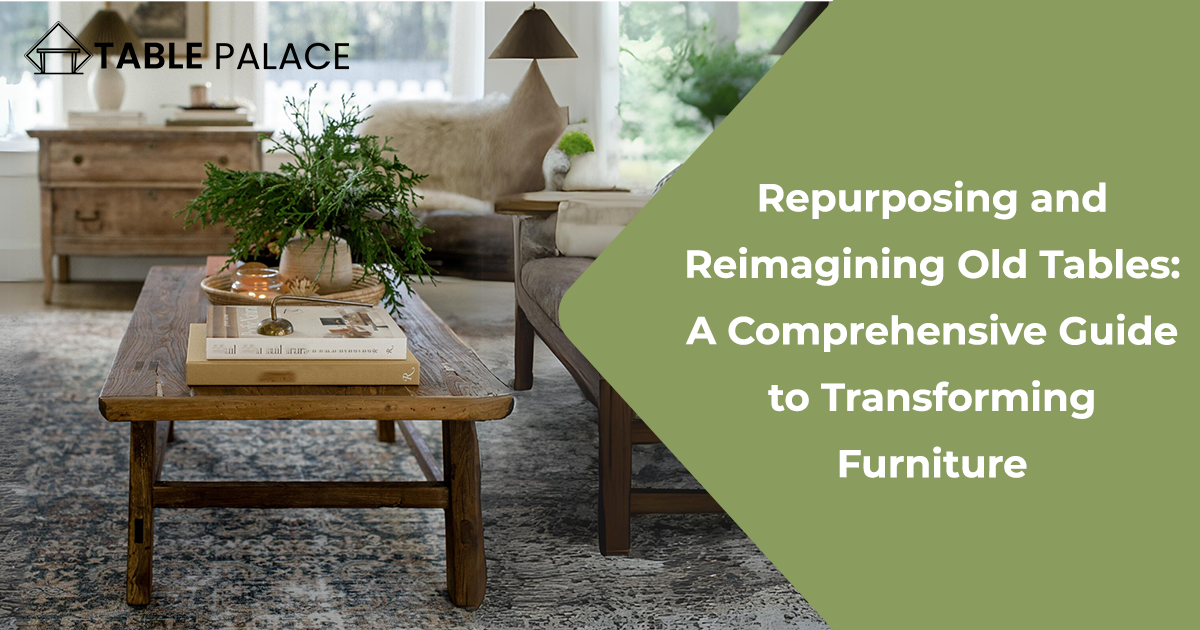
In an era where sustainability is at the forefront of our consciousness, repurposing and upcycling old furniture have emerged as transformative endeavors. Repurposing involves revitalizing tired items, adding value to the object itself, and fostering a sense of creativity and accomplishment. This article delves into the intricacies of repurposing, focusing on tables, exploring benefits, and emphasizing the environmental and personal value derived from transforming old tables into functional and aesthetically pleasing pieces.
Assessing and Preparing Your Old Table
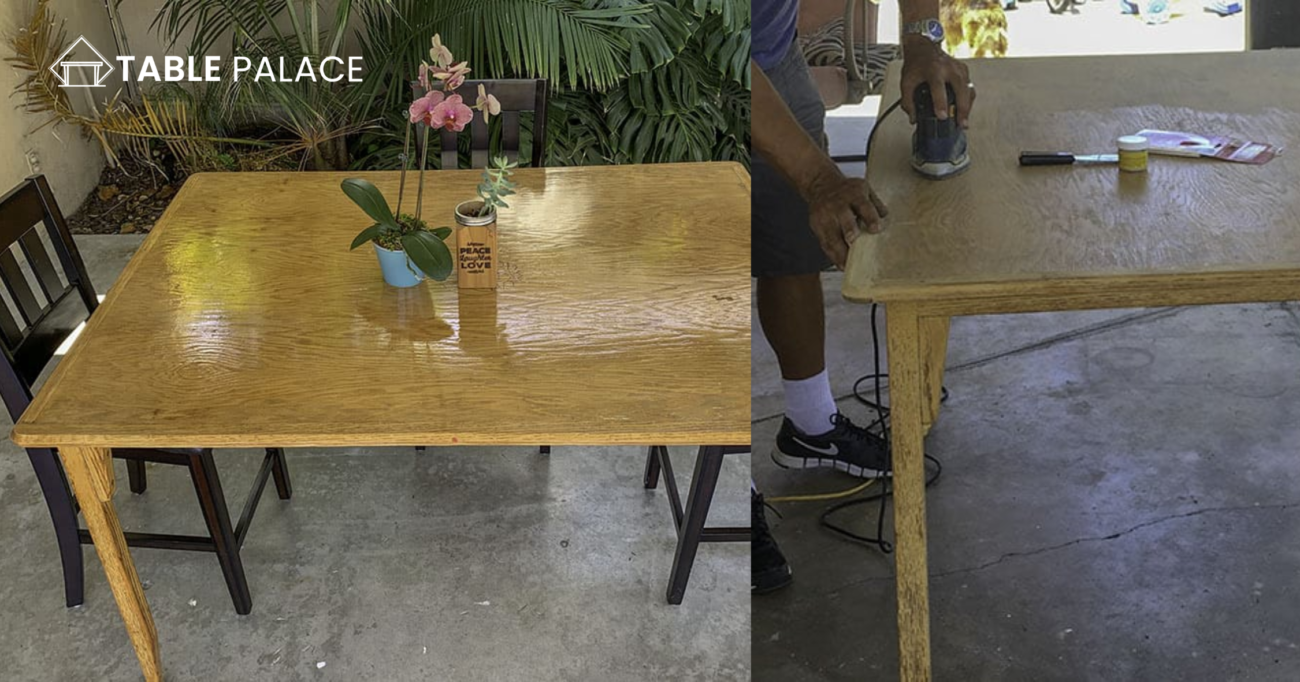
Comprehensive Examination of the Table’s Structure: Before delving into the imaginative endeavor of repurposing, it is imperative to conduct a detailed analysis of the old table. This involves a thorough assessment of the materials comprising the table, an evaluation of its structural integrity, and a keen identification of potential applications. A nuanced understanding of the table’s anatomy serves as the cornerstone for making well-informed decisions throughout the repurposing process.
Thorough and Systematic Preparations: Establishing a solid groundwork is paramount for the success of any repurposing project. This phase necessitates a meticulous approach to cleaning, sanding, and addressing any structural deficiencies that may exist. This section will intricately guide readers through a comprehensive preparation checklist, encompassing a range of tasks to ensure the table is not only visually appealing but also structurally sound and ready for its transformative journey.
Idea Generation: Inspiration for Repurposing Tables
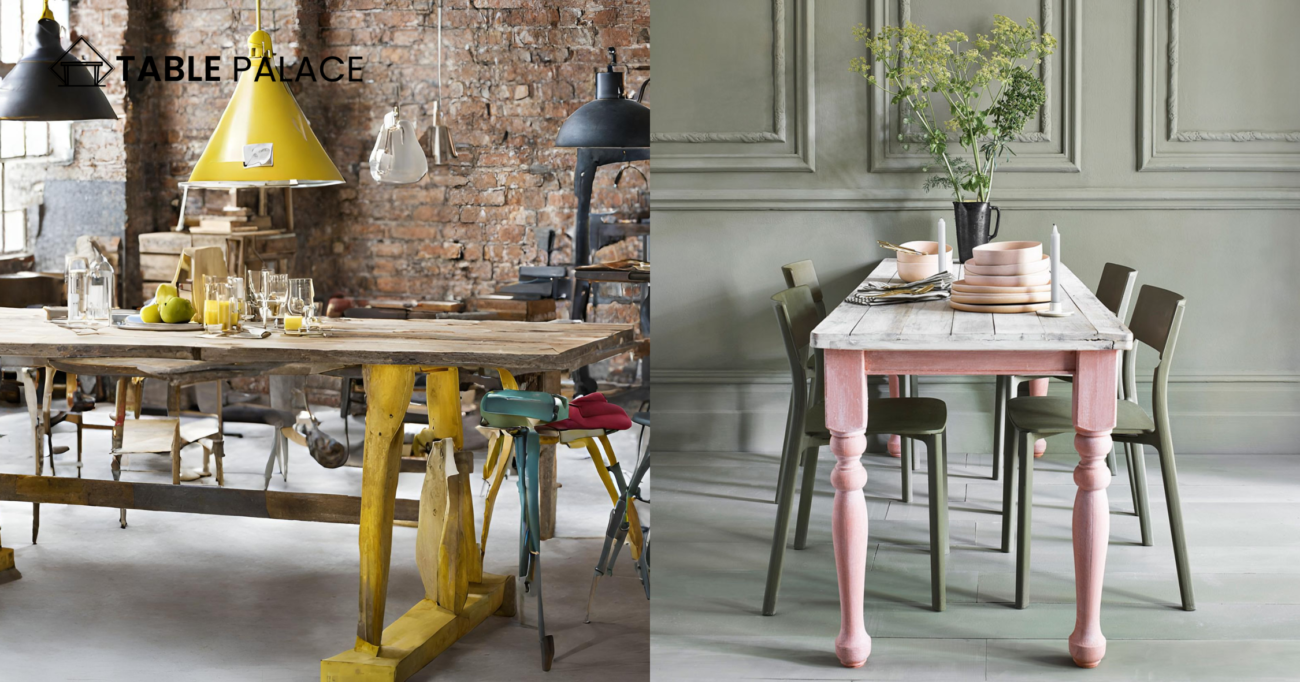
Transformation from Table to Desk: The conversion of aging dining tables into functional workspaces demands meticulous planning and artistic consideration. The focus is on creating a workspace that not only exudes visual appeal but also fosters productivity and comfort, ensuring an ideal environment for various tasks.
Assessing the Table:
- Begin by evaluating the size, height, and structure of your table. Ensure it’s suitable for conversion into a desk, considering the space where it will be placed and the tasks it will accommodate.
Planning for Ergonomics:
- The height of the desk should be comfortable for typing and writing. The standard desk height is around 29 to 30 inches from the floor. If necessary, adjust the table legs.
- Consider the placement of the monitor, keyboard, and other equipment to ensure a comfortable and ergonomic setup.
Adding Functional Features:
- Storage: Add drawers or shelves underneath the tabletop for storage. Use small baskets or organizers to keep supplies tidy.
- Cable Management: Install cable grommets or clips to manage and hide computer cords and wires.
Surface Preparation and Finishing:
- Sand the table down to remove old paint or varnish. Apply a new coat of paint or stain to match your decor. Consider a durable finish or glass top to create a smooth writing surface.
Personalizing Your Workspace:
- Add personal touches like a custom drawer handle, unique legs, or decorative elements to make the desk truly your own.
Outdoor Adaptation: When repurposing indoor tables for outdoor use, thoughtful deliberation is paramount. This section offers a comprehensive guide, delving into essential aspects such as weatherproofing techniques, judicious material selection, and innovative design ideas. By following this detailed guide, you can ensure the creation of durable and stylish outdoor furniture that withstands the elements while enhancing the outdoor living experience.
Choosing the Right Table:
- Select a table made from materials that can withstand outdoor conditions. Hardwoods, metal, or tables with a stone top are more durable for outdoor use.
Weatherproofing Techniques:
- Sealing Wood: Apply a waterproof sealant to protect wood tables from moisture and prevent rot.
- Rust-Proofing Metal: Use a rust-inhibitor primer and paint for metal tables to prevent corrosion.
- UV Protection: Apply UV-resistant finishes to protect the table from sun damage.
Adapting Design for Outdoor Use:
- Consider adding a hole in the center of the table for an umbrella if it will be used in sunny areas.
- Choose or create legs that are stable on uneven outdoor surfaces.
Inventive Shelving and Storage Solutions: For those in search of novel storage alternatives, repurposing table components for shelving units or under-bed storage presents a distinctive approach. Detailed design concepts, structural recommendations, and step-by-step instructions are provided to guarantee the development of effective and imaginative storage solutions. Explore the realm of creative possibilities as you repurpose table elements to meet your unique storage needs.
Deconstructing the Table:
- Carefully disassemble the table, preserving the parts you plan to repurpose, such as the tabletop, legs, or frame.
Designing Your Storage:
- Shelving Units: Use the tabletop or larger sections as shelves. Attach the legs or other support structures to the wall or create freestanding units.
- Under-Bed Storage: Cut the tabletop into smaller sections to fit under beds or other furniture. Add casters for easy movement.
Structural Considerations:
- Ensure the repurposed parts can support the weight of the items you plan to store. Reinforce with additional supports or brackets if necessary.
Finishing Touches:
- Sand, paint, or stain your new shelving or storage to match your decor. Consider decorative finishes or patterns for added visual interest.
Installation and Use:
- Securely mount shelving units to walls, ensuring they are level and well-supported. For under-bed storage, add handles and wheels for easy access.
Step-by-Step Guides for Popular Repurposing Projects
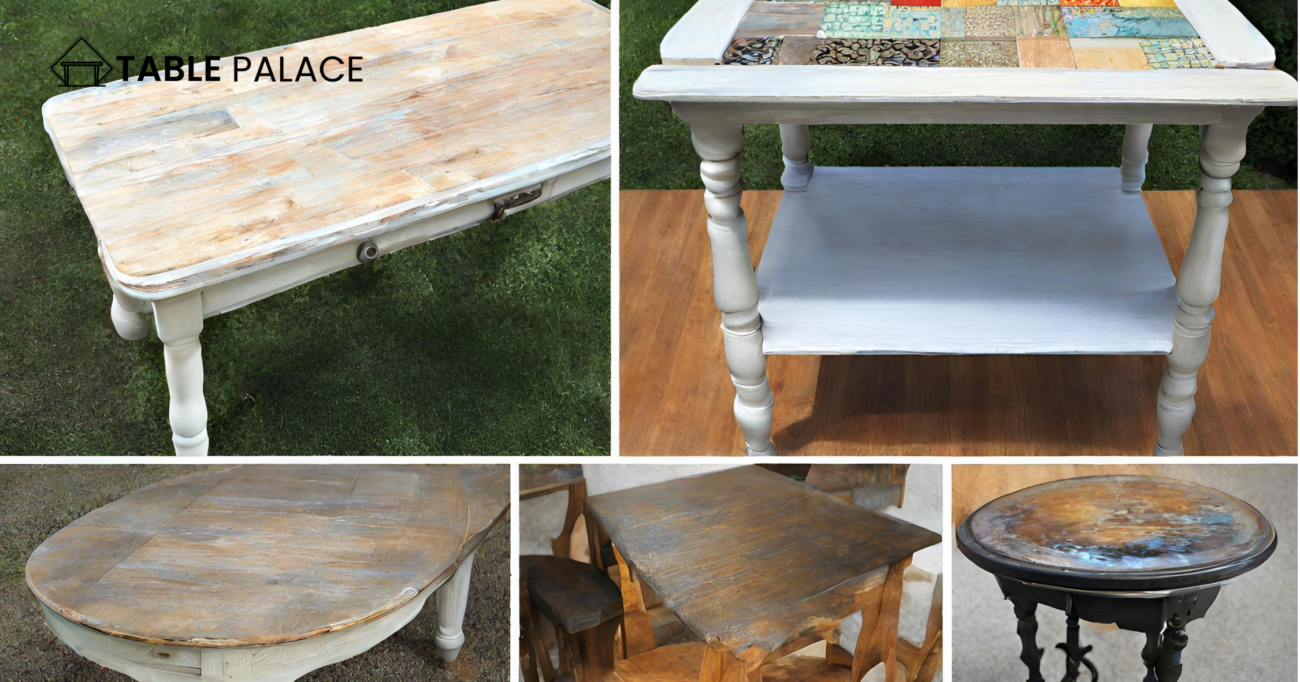
In-Depth Project Transformation: Immerse yourself in the intricacies of transformative projects with this guide offering detailed step-by-step instructions for carefully selected endeavors. Whether you’re envisioning the conversion of a coffee table into a chic ottoman or repurposing a side table into a snug pet bed, each project is meticulously outlined.
Coffee Table to Ottoman Transformation:
Materials:
- Coffee table
- Upholstery fabric
- Foam padding
- Wood glue
- Staple gun
- Screwdriver
Begin by disassembling any unnecessary components of the coffee table. b. Cut the foam padding to fit the tabletop, securing it with wood glue. c. Stretch the upholstery fabric tightly over the foam, securing it to the underside of the table using a staple gun. d. Trim excess fabric and reassemble any removed components. e. Your stylish ottoman is ready for use!
Side Table to Pet Bed Conversion:
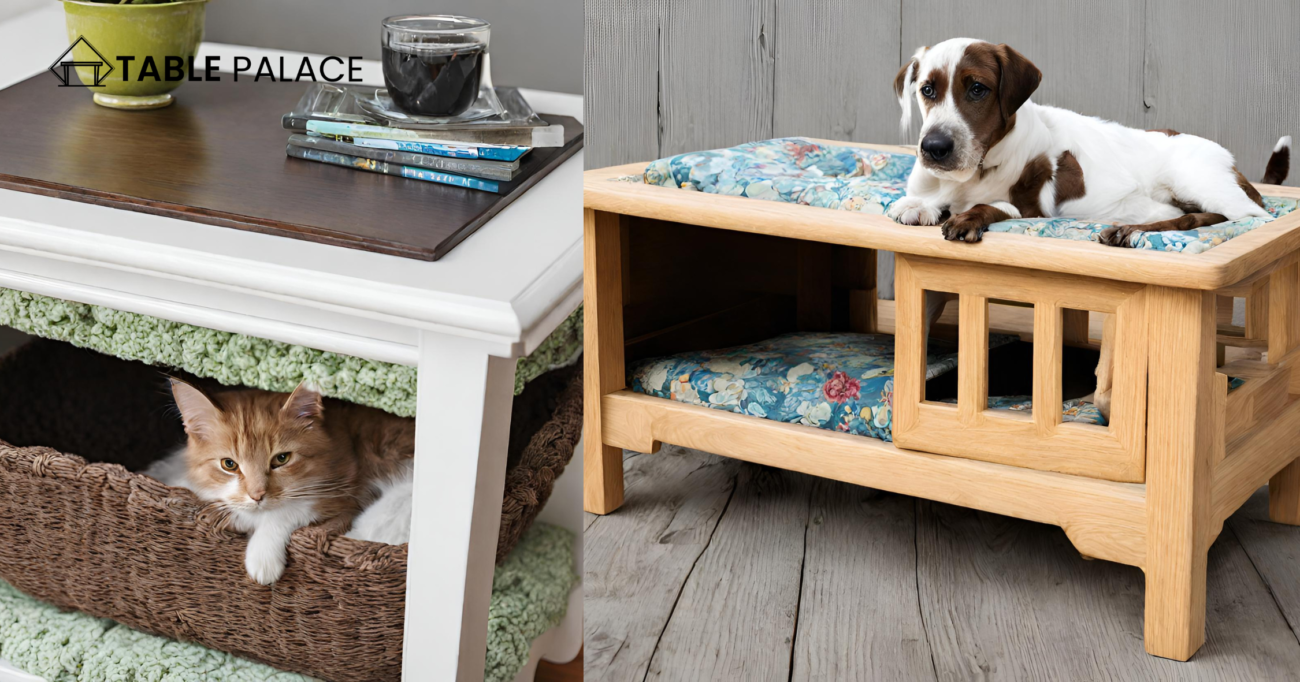
Materials:
- Side table
- Pet-safe paint or finish
- Cushion or pet bed
- Sandpaper
- Paintbrush
- Sand the side table to create a smooth surface for painting.
- b. Apply a pet-safe paint or finish to protect the wood and add a touch of style.
- c. Once the paint is dry, place a comfortable cushion or pet bed on the tabletop.
- d. Ensure the pet bed is secure, and your cozy pet bed is ready for your furry friend’s enjoyment!
Finishing Touches
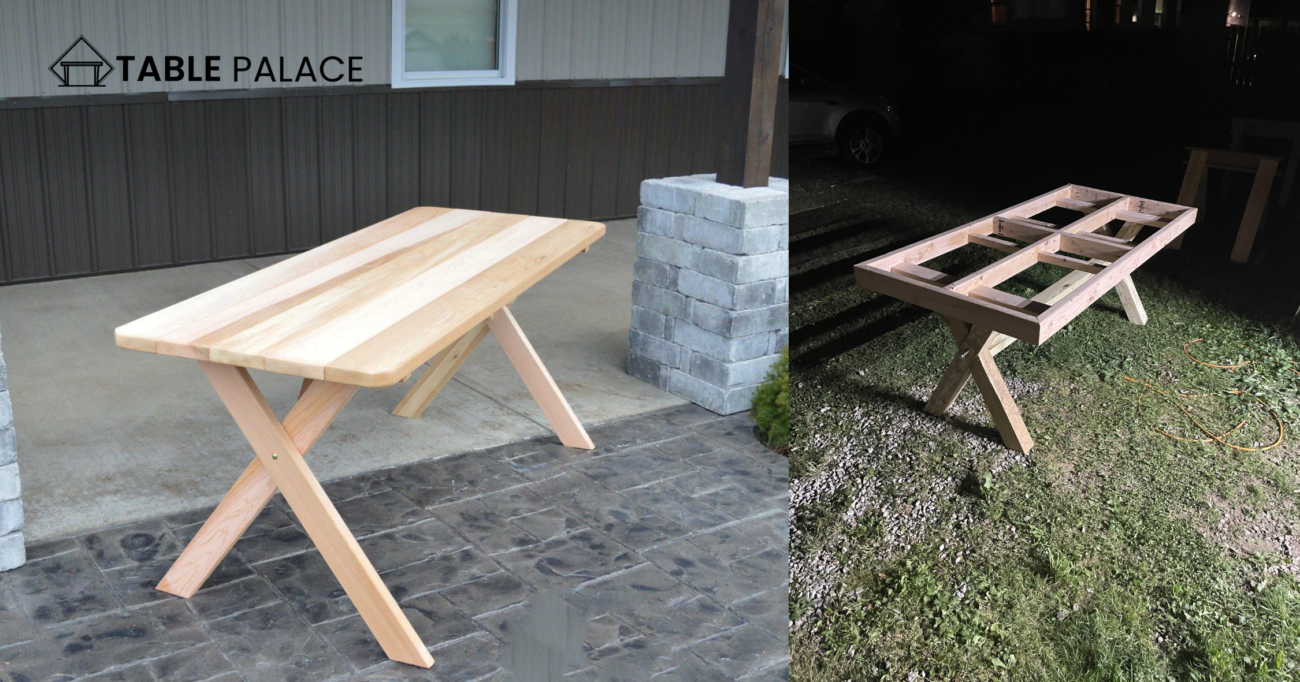
Evaluate the Material:
- Before applying any finish, assess the material of the repurposed table. Different materials may react differently to finishes, so understanding the base material is crucial.
Cleaning and Sanding:
- Ensure the table’s surface is clean and smooth by thoroughly cleaning and sanding it. This provides a proper foundation for the finish to adhere to and enhances the overall result.
Selecting the Appropriate Finish:
- Consider the desired aesthetic and functionality when choosing a finish. For a natural look, you might opt for clear varnish, while painted finishes or stains can add color and character. Sealers provide additional protection.
Testing on a Small Area:
- Before applying the finish to the entire table, test it on a small, inconspicuous area. This allows you to observe how the finish interacts with the material and ensures you achieve the desired outcome.
Application Technique:
- Whether brushing, spraying, or wiping on the finish, follow the recommended application technique for the chosen product. Even consistent application is key to a professional-looking finish.
Drying and Curing Time:
- Allow each coat to dry completely before applying subsequent layers. Also, adhere to the recommended curing time before placing any objects on the table to prevent damage.
Decorative Techniques:
Surface Preparation:
- Clean and prepare the table surface as mentioned before starting any decorative technique. This ensures a smooth canvas for intricate designs.
Choose the Right Technique:
- Depending on your preferences, explore techniques like stenciling, decoupage, or hand-painting. Choose a method that aligns with your vision for the repurposed table.
Practice on Scrap Material:
- Before applying decorative techniques to the table, practice on scrap material to refine your skills and experiment with different patterns and colors.
Layering and Detailing:
- For techniques like decoupage or stenciling, consider layering and detailing to add depth and complexity to the design. Pay attention to precision and consistency.
Sealing Decorative Finishes:
- Once the decorative elements are applied and dried, consider sealing them with an appropriate finish to protect against wear and tear, ensuring the longevity of the artistic embellishments.
Safety and Tools
When embarking on a repurposing project, it’s crucial to prioritize safety. Here are some key safety precautions and the necessary gear:
Protective Gear:
- Safety Glasses: Protects eyes from flying debris, dust, and splinters.
- Gloves: Use heavy-duty gloves to protect hands from splinters, cuts, and abrasions.
- Ear Protection: Especially important when using loud power tools.
- Dust Mask or Respirator: Necessary for sanding or painting to avoid inhaling dust or fumes.
Proper Ventilation:
- Ensure your workspace is well-ventilated, especially when painting, staining, or using any chemicals. Open windows and use fans to circulate air.
First Aid Kit:
- Keep a first aid kit nearby in case of minor injuries.
Fire Extinguisher:
- Have a fire extinguisher accessible, especially when working with flammable materials or in areas where sparks could ignite.
Tool Safety:
- Always use tools according to the manufacturer’s instructions.
- Inspect tools before use to ensure they are in good working order.
- Disconnect power tools when changing blades or making adjustments.
Workspace Safety:
- Keep your workspace clean and organized to prevent tripping or other accidents.
- Ensure good lighting to see what you are working on clearly.
Essential Tools
To successfully repurpose an old table or undertake any furniture project, you’ll need the right tools. Here’s a list of essential tools for various tasks:
Measuring and Marking Tools
- Tape Measure: For accurate measurements.
- Carpenter’s Square: To ensure right angles.
- Pencil or Marking Tool: For marking measurements and cut lines.
Cutting Tools
- Handsaw or Circular Saw: For cutting wood to size.
- Jigsaw: Useful for making curved cuts.
Sanding Tools
- Sandpaper or Sanding Blocks: For manual sanding.
- Orbital Sander: For larger projects or smoother finishes.
Fastening Tools
- Hammer: For nails and other basic fastening.
- Screwdriver Set: For various types and sizes of screws.
- Power Drill: With a variety of drill and screwdriver bits.
Finishing Tools
- Paintbrushes and Rollers: For applying paint or stain.
- Sealant and Paint Trays: For holding paint or stain.
Clamps
- Bar or C-Clamps: To hold pieces together while glue dries or when fastening.
Workbench
- A sturdy workbench or table to hold your project at a comfortable working height.
Cleaning Supplies
- Rags or Cloths: For wiping away dust and debris.
- Mild Detergent: For cleaning surfaces before painting or staining.
By adhering to the safety precautions and utilizing the essential tools listed, you’ll be well-equipped to tackle any repurposing project safely and effectively. Remember, the key to a successful DIY project is preparation and patience, so take your time to understand the process and work carefully to create something you’ll be proud of.
Maintenance and Longevity Tips
To ensure the longevity and beauty of your repurposed table, regular care and maintenance are essential. Here are some tips to help you keep your table looking its best for years to come:
Cleaning
Regular Dusting
Use a soft, dry cloth or a microfiber duster to regularly remove dust and debris from the surface of your table.
Spill Management
Clean spills immediately to prevent stains. Use a damp cloth and mild detergent for sticky or stubborn spills, followed by a dry cloth to remove any moisture.
Deep Cleaning
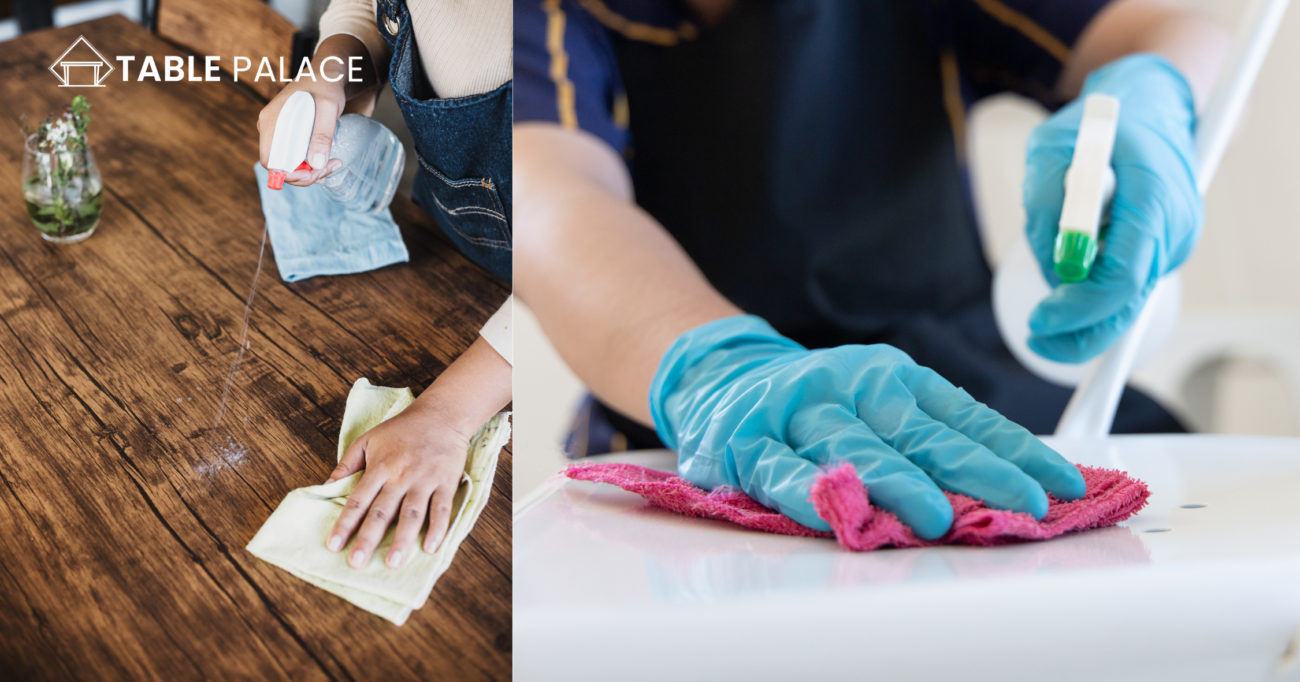
Occasionally, give your table a deeper clean with a wood cleaner or mild detergent solution. Always test any cleaning product on an inconspicuous area first.
Protecting Against Environmental Elements
Avoid Direct Sunlight
Prolonged exposure to direct sunlight can fade and damage the finish of your table. Use curtains or blinds to protect it from harsh UV rays.
Manage Humidity
Extreme changes in humidity can cause wood to expand and contract, leading to warping or cracking. Use a humidifier or dehumidifier to maintain a stable environment.
Use Coasters and Placemats
Protect the surface of your table from heat, moisture, and scratches by using coasters, placemats, and tablecloths.
Addressing Common Wear-and-Tear Issues
Scratches and Nicks:
For minor scratches, use a matching wood marker or crayon to fill in and camouflage the damage. For deeper scratches, you may need to sand and refinish the affected area.
Loose Joints and Components:
Periodically check and tighten any screws or fastenings. If any joints become loose, you may need to re-glue or clamp them until secure.
Refreshing the Finish:
Over time, the finish of your table may wear down. Refresh it with a new coat of paint, stain, or sealant. Always prepare the surface properly by cleaning and sanding as needed.
Avoid Harsh Chemicals:
Never use harsh chemicals or abrasive cleaners on your table, as they can damage the finish and the underlying material.
Professional Help for Major Issues:
If your table suffers significant damage or you’re unsure how to address a particular issue, consult a professional furniture restorer for advice and repair.
By following these care and maintenance tips, you can enjoy your repurposed table for many years. Regular attention and a little bit of effort will go a long way in preserving the function and beauty of your unique piece.
Conclusion
Reflecting on the personal satisfaction and profound environmental benefits of repurposing old tables, readers are encouraged not only to embark on their creative journeys but also to see repurposing as a lifestyle choice. It allows individuals to connect with the past while actively contributing to a more sustainable future, fostering a sense of responsibility and creativity in every DIY enthusiast. Repurposing is not just a trend; it’s a transformative and fulfilling way of life.

