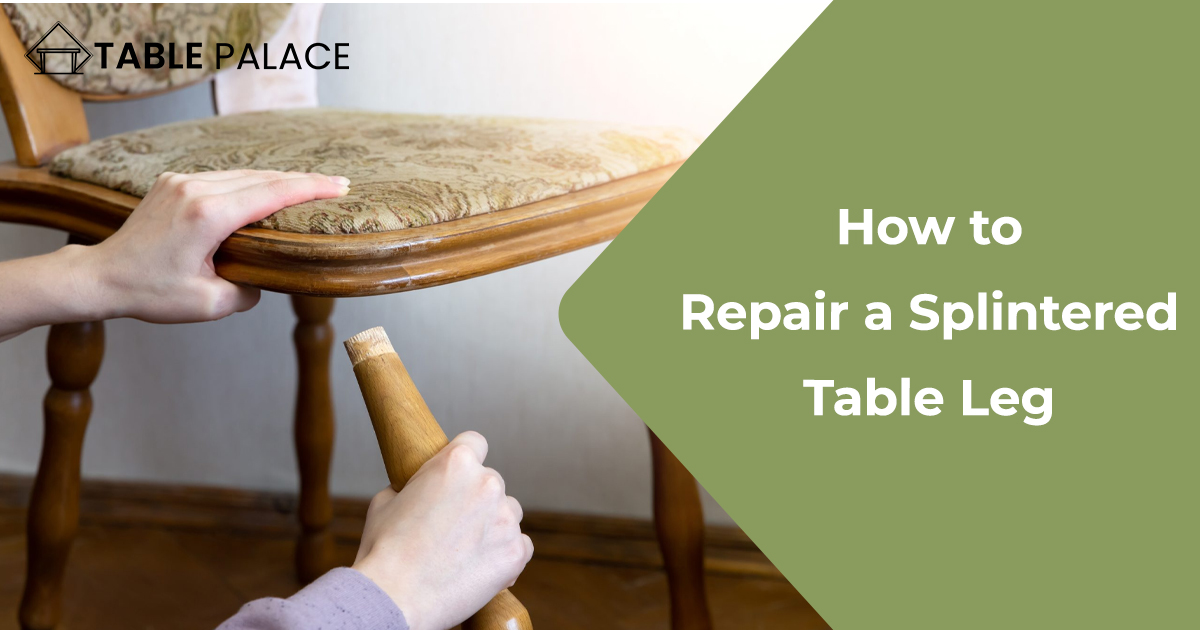
If you’re the owner of a wooden table, you may have encountered the frustrating problem of a splintered table leg. Not only is it unsightly, but it can also be dangerous if left unrepaired. Fortunately, repairing a splintered table leg is a task that you can tackle with a few simple tools and some basic knowledge. In this blog post, we’ll guide you through the step-by-step process of how to repair a splintered table leg, so you can restore your table to its former beauty and functionality. So, let’s get started!
How to Repair a Splintered Table Leg:
Have you ever had a favorite table that suffered from a splintered leg? Throwing it away and spending money on a new one can be disheartening. But here’s some good news – repairing a splintered table leg is not as difficult as it may seem!
You can restore your beloved table to its former glory with basic woodworking skills and tools. It’s a DIY project that can save money and give you a sense of accomplishment.
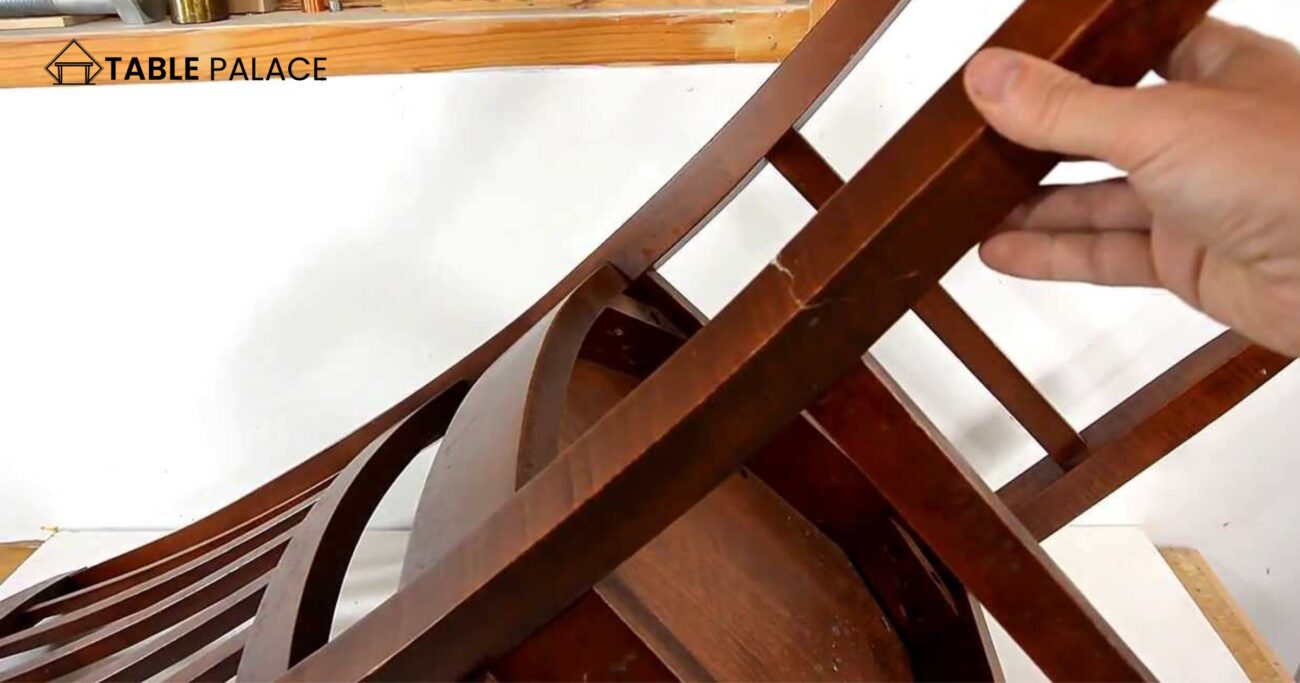
Although it may require some patience, the process is relatively straightforward. By assessing the extent of the damage, removing old glue and splinters, drilling new holes, inserting new dowels, and joining the pieces with wood glue, you can repair the table leg and have it look new again.
So, don’t give up on your table just yet. You can restore it to its former beauty and functionality with a little effort and some basic woodworking skills.
Is It Easy to Repair a Splintered Table Leg?
Are you hesitant to tackle a splintered table leg repair on your own? Don’t be! It’s easier than you might think. You can restore your table leg to its former glory with some patience and the right tools:
- Assess the damage and determine the best approach.
- Carefully remove old glue and splinters and drill new holes for new dowels.
- Join the pieces with wood glue and clamp until dry.
Once you sand and repaint or refinish the leg, it will be new!
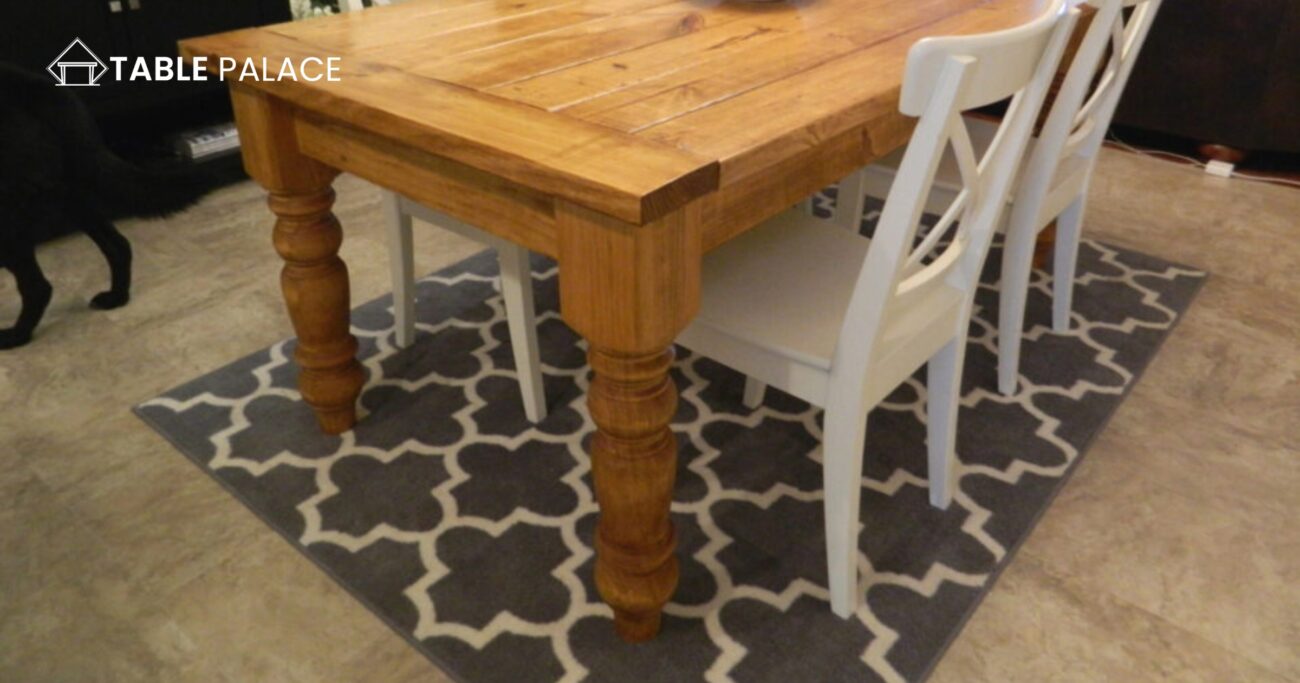
Not only is repairing your table leg a rewarding DIY project, but it can also save you money and help reduce waste. Plus, you’ll be satisfied knowing that you fixed something independently. So, roll up your sleeves and get started!
Repairing Splits or Cracks in Table Legs:
Repairing splits or cracks in table legs is a common issue many homeowners face. A damaged table leg can be an eyesore and a safety hazard, whether caused by wear and tear, accidental damage, or old age. The good news is that repairing a split or crack in a table leg is relatively easy as long as the damage is minor.
Before you begin, it’s crucial to assess the extent of the damage to your table leg. If the crack or split is significant, you may need to replace the entire leg. However, if the damage is minor, you can quickly fix it with simple steps, such as removing old glue, drilling new holes, inserting new dowels, and joining the pieces with wood glue. With patience and attention to detail, you can restore your table leg to its original strength and beauty, saving you the cost and hassle of replacing it.
Tools used:
You will need essential tools to repair a splintered table leg, including a hammer, drill, drill bits, dowels, wood glue, clamps, and a handsaw.
Remove the Old Glue:
Repairing a splintered table leg may sound daunting, but don’t worry – it’s easier than you might think. With a few simple steps and the right tools, you can fix your table leg and make it look as good as new. The first and critical step is to remove the old glue from the broken pieces. It is critical because any remaining glue can prevent the new glue from bonding correctly, compromising the leg’s strength and durability.
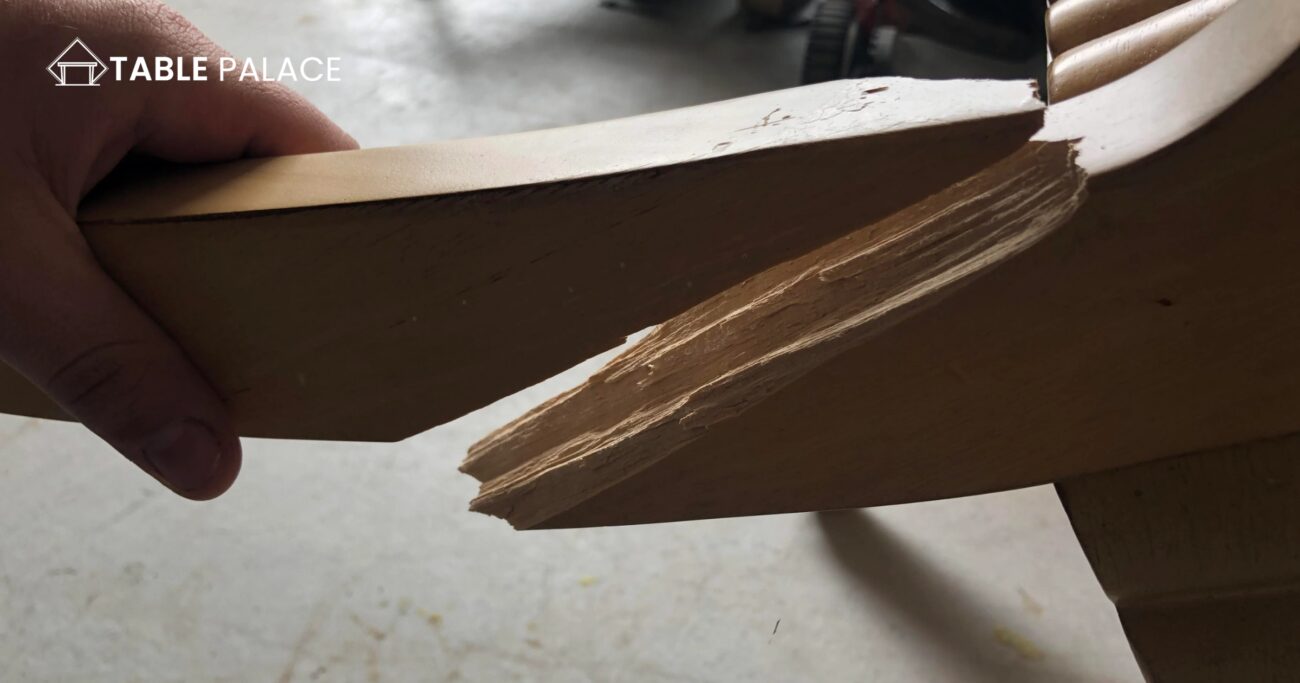
To remove the old glue, use a hammer and chisel to gently chip away at the glue and any splinters around the damaged area. Be careful not to damage the wood further, and take your time to ensure that all the old glue has been removed. Once the old glue has been removed, you can shift to the next step – drilling new holes. Stay tuned to learn more about repairing a splintered table leg and how to restore your furniture to its former glory.
Drill New Holes:
When repairing a splintered table leg, one of the essential steps is drilling new holes. It may seem straightforward, but it’s crucial to do it correctly. You’ll need to ensure that the drill bit you use is the same size as the dowels you plan to use to join the pieces. If the drill bit is too tiny, the dowels won’t fit correctly, and the leg won’t be strong enough. On the other hand, if the drill bit is too large, the dowels won’t have enough grip, and the leg will still be wobbly. So, taking your time and ensuring you get the measurements right is vital.
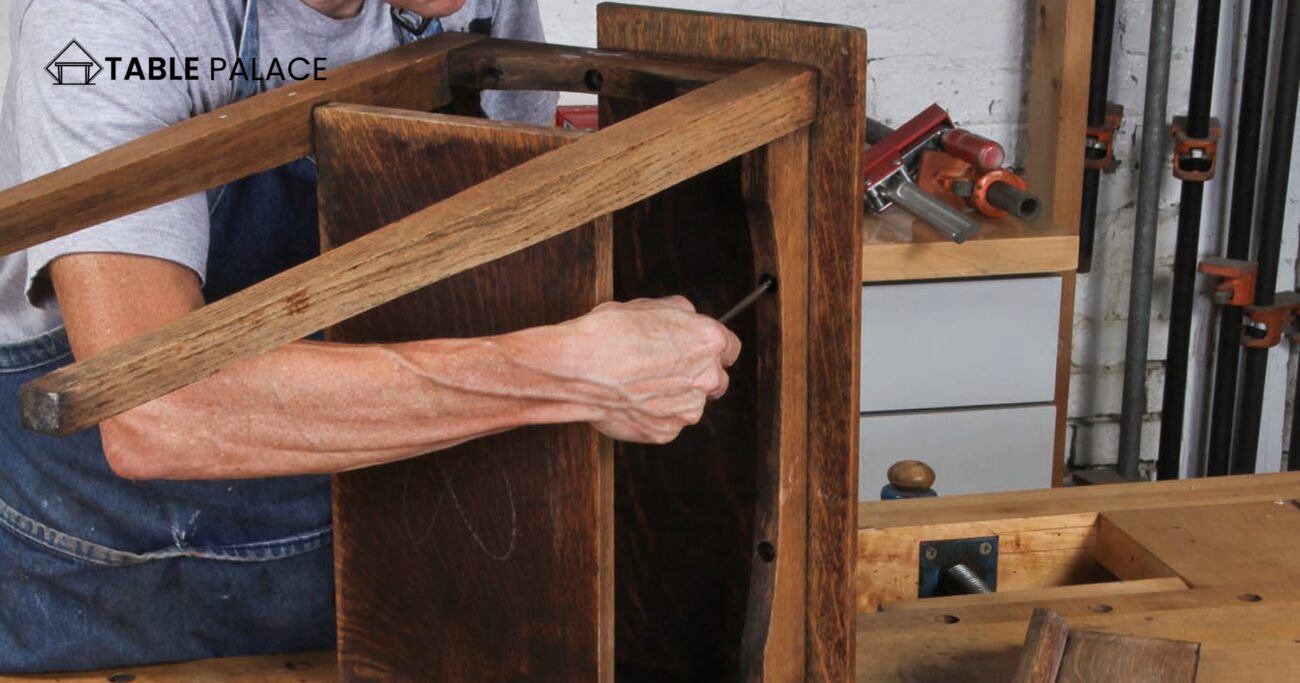
Additionally, it’s worth noting that drilling new holes is just one of the many steps involved in repairing a splintered table leg. The process requires attention to detail and patience. But, with the proper technique, you can restore your damaged table leg and make it as good as new.
Put in New Dowels:
Put in new dowels for a splintered table leg. These small wooden rods can help reinforce the leg and make it more vital than ever before. You’ll need to drill new holes in the broken leg and the companion piece. Once the holes are drilled, inserting the new dowels is time.
To ensure a tight fit, you may need to trim the dowels down to size using a saw or other cutting tool. Once the dowels are the right size, coat them with wood glue and insert them into the holes. Be sure to push the dowels in as far as they will go to ensure a secure fit. Wipe away any excess glue and let the leg dry overnight or for the recommended time specified by the glue manufacturer.
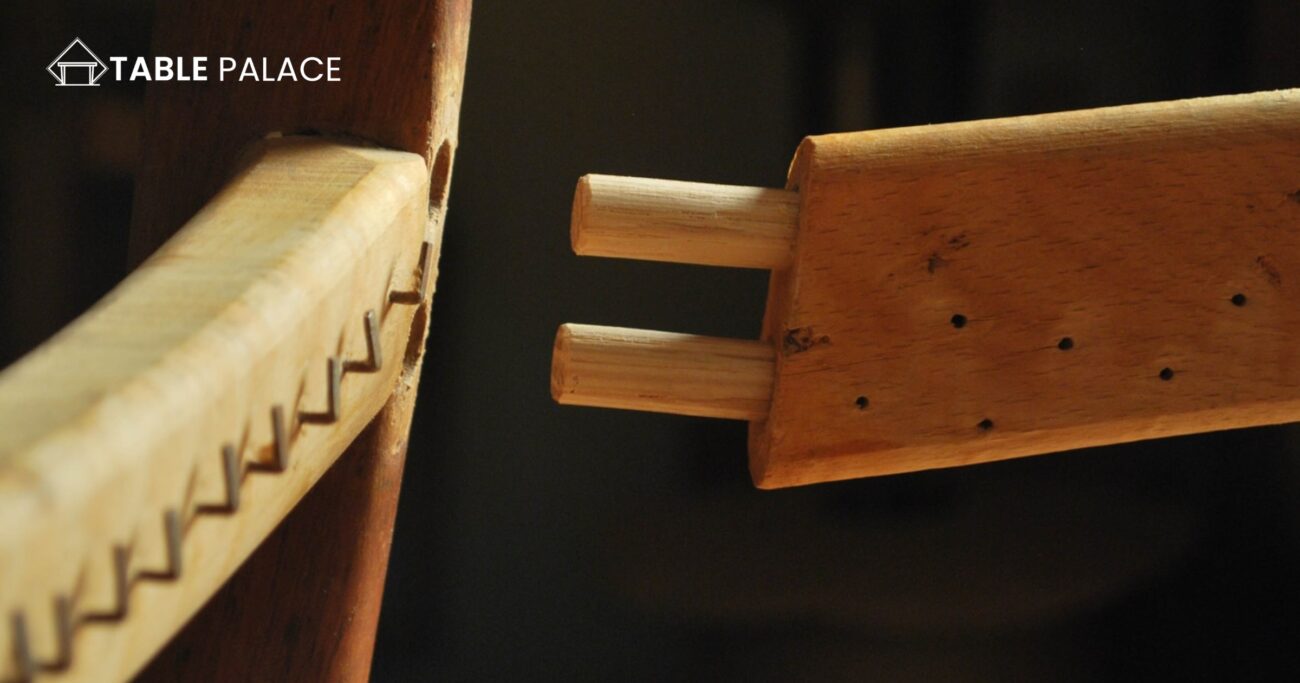
By putting in new dowels, you can help repair a splintered table leg and give it a new lease on life. This and the other steps outlined in this guide can help you restore your table to its former glory and make it solid and sturdy again.
Putting It Together:
Now comes the exciting part – putting the table leg back together! After removing any old glue and splinters and drilling new holes, it’s time to insert the new dowels and apply the wood glue. Apply heavy glue to the broken leg pieces and the dowels for a strong bond. Then, insert the dowels into the holes and carefully join the pieces together.
Once the pieces are aligned, clamp the leg tightly until the glue dries. Depending on your glue, it may take several hours or overnight. It’s essential to ensure the leg is clamped tightly to ensure a strong and sturdy bond between the broken pieces.
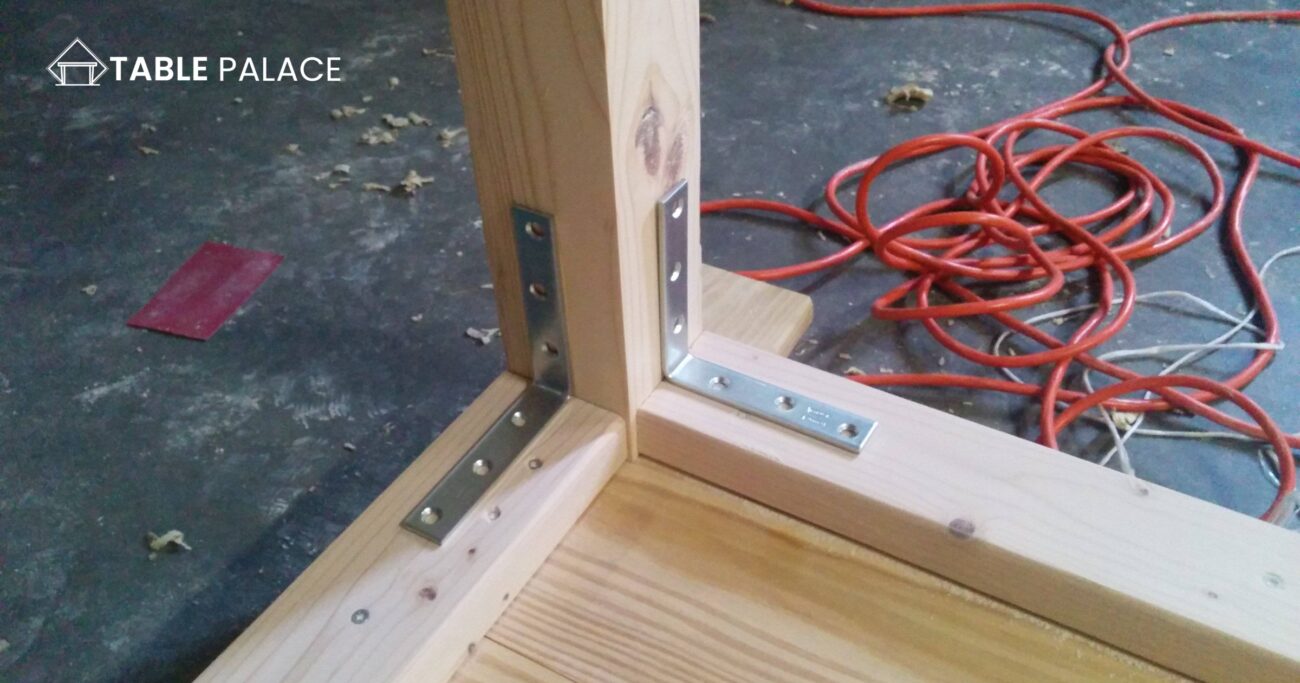
After the glue has dried, remove any excess glue with a scraper or sandpaper. Sand the leg smoothly and repaint or refinish as desired. You can restore your table leg to its former strength and beauty with a little effort and the same tools.
Finished Table:
There’s nothing quite as frustrating as having a beautiful table with a splintered leg. Luckily, repairing a splintered table leg is easier than you might think, and it’s a great way to save money and give new life to an old piece of furniture. After all, why throw away an excellent table just because of a minor imperfection?
You’ll need essential tools and patience to repair a splintered table leg. Following the steps in this blog, you can remove the old glue and splinters, drill new holes, insert new dowels, and join the pieces with wood glue. Once the glue has dried and the clamps have been removed, sand the repaired area and repaint or refinish the leg to match the rest of the table.
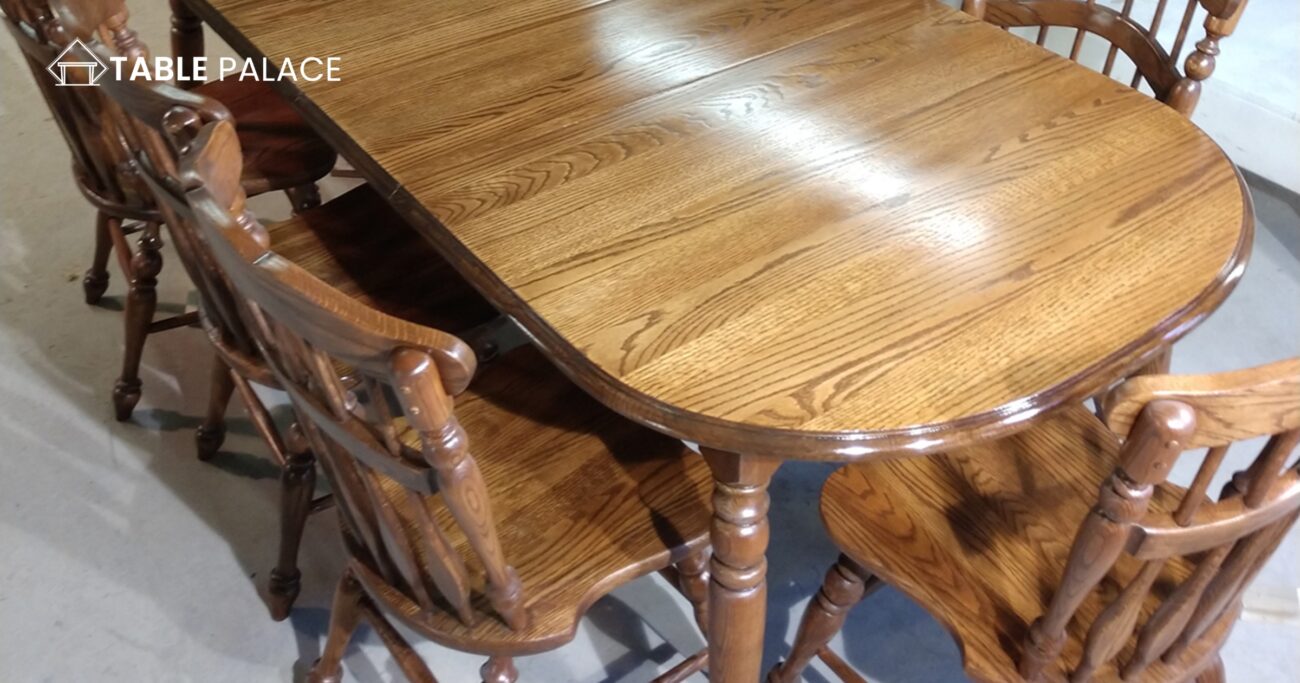
With a little effort and some essential tools, you save yourself the cost of a new table and breathe new life into an old favorite. Don’t let a splintered table leg get you down – with these simple steps, your table will look as good as new in no time.
Conclusion:
In conclusion, repairing a splintered table leg may seem daunting, but it’s a relatively straightforward process with some basic woodworking skills and the right tools. Assessing the extent of the damage, removing old glue and splinters, drilling new holes, inserting new dowels, and joining the pieces with wood glue are essential steps to repair a table leg. This DIY project can save money, reduce waste, and give you a sense of accomplishment. Following the steps in this blog, you can restore your beloved table to its former glory and ensure its continued usefulness for years.
FAQs:
How do you fix a split table leg?
To fix a split table leg, remove the old glue, drill new holes, insert new dowels, and join the pieces with wood glue. Clamp the leg until the glue dries, and then sand and repaint or refinish the leg.
How do you fix a splintered wood leg?
To fix a splintered wood leg, remove the old glue, drill new holes, insert new down els, and join the pieces with wood glue. Clamp the leg until the glue dries, and then sand and repaint or refinish the leg.
How do you fix a wooden leg on a table?
To fix a wooden leg on a table, follow the same steps as repairing a splintered table leg, including removing old glue, drilling new holes, inserting new dowels, and joining the pieces with wood glue. Clamp the leg until the glue dries, and then sand and repaint or refinish the leg.
How to repair dining room table legs?
To repair dining room table legs, assess the extent of the damage, remove old glue and splinters, drill new holes, insert new dowels, and join the pieces with wood glue. Clamp the leg until the glue dries, and then sand and repaint or refinish the leg. Repeat the process for each damaged leg.

