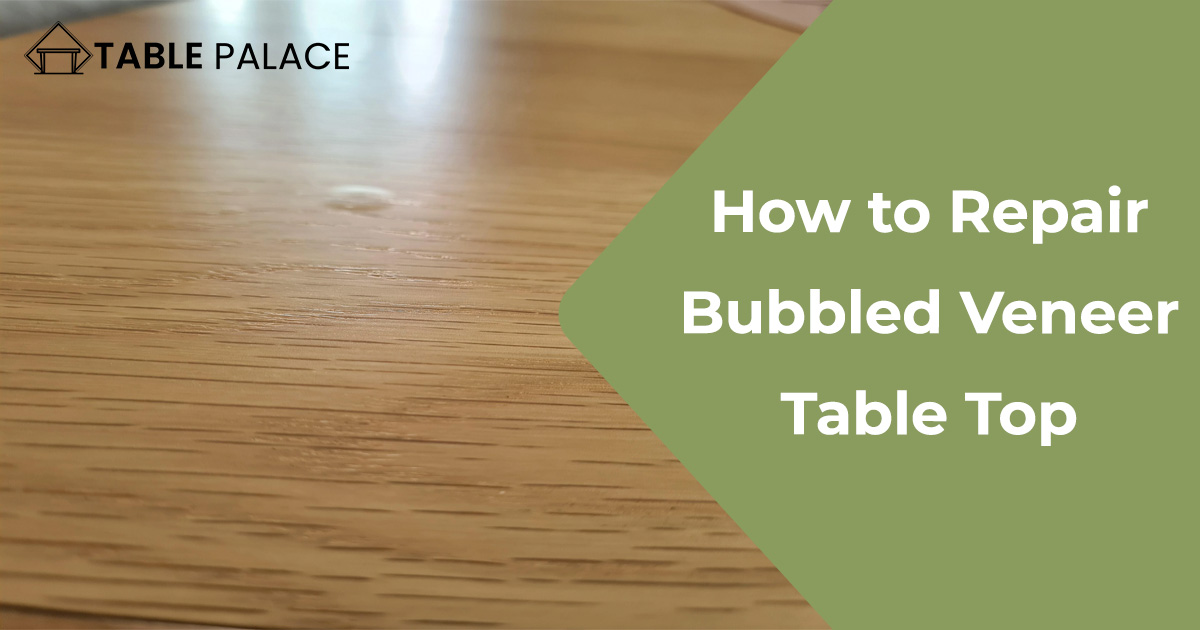
Veneer is a popular choice for table tops, but over time it can become damaged and bubbled. If your veneer table top is in need of repair, don’t worry – it’s a task that you can tackle on your own with the right tools and techniques. In this guide, we’ll walk you through the steps you need to take to repair a bubbled veneer table top and restore it to its former beauty. From identifying the cause of the damage to removing the bubbled veneer and applying a new layer, we’ll cover everything you need to know to get the job done right. Follow these tips and you’ll have your table looking like new in no time!
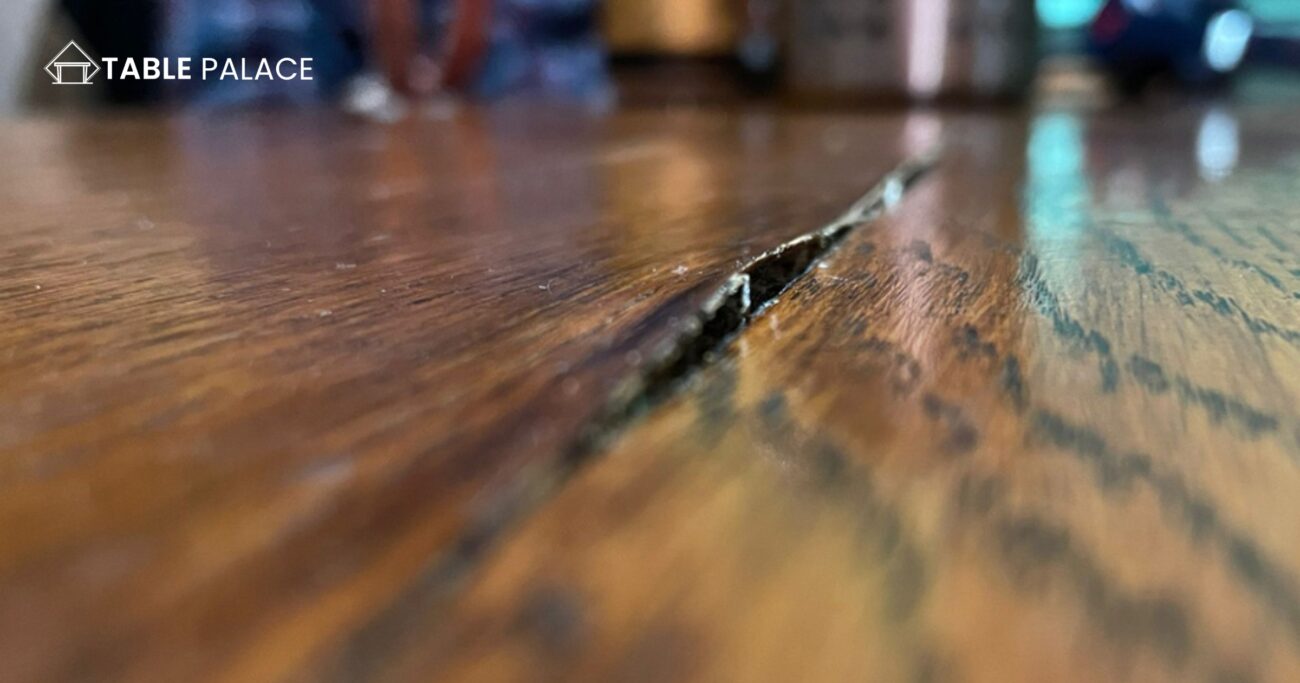
How to Repair Bubbled Veneer Table Top: A Step-by-Step Guide
Step 1: Gather Your Tools and Materials
Before you begin, you’ll need to gather the following tools and materials:
1: Veneer glue
2: A putty knife
3: A clean, dry cloth
4: A scraper or flat object with a hard edge (such as a ruler or credit card)
5: Sandpaper (220-grit or higher)
6: Polyurethane sealant
7: A paintbrush or foam brush
Step 2: Clean the Area
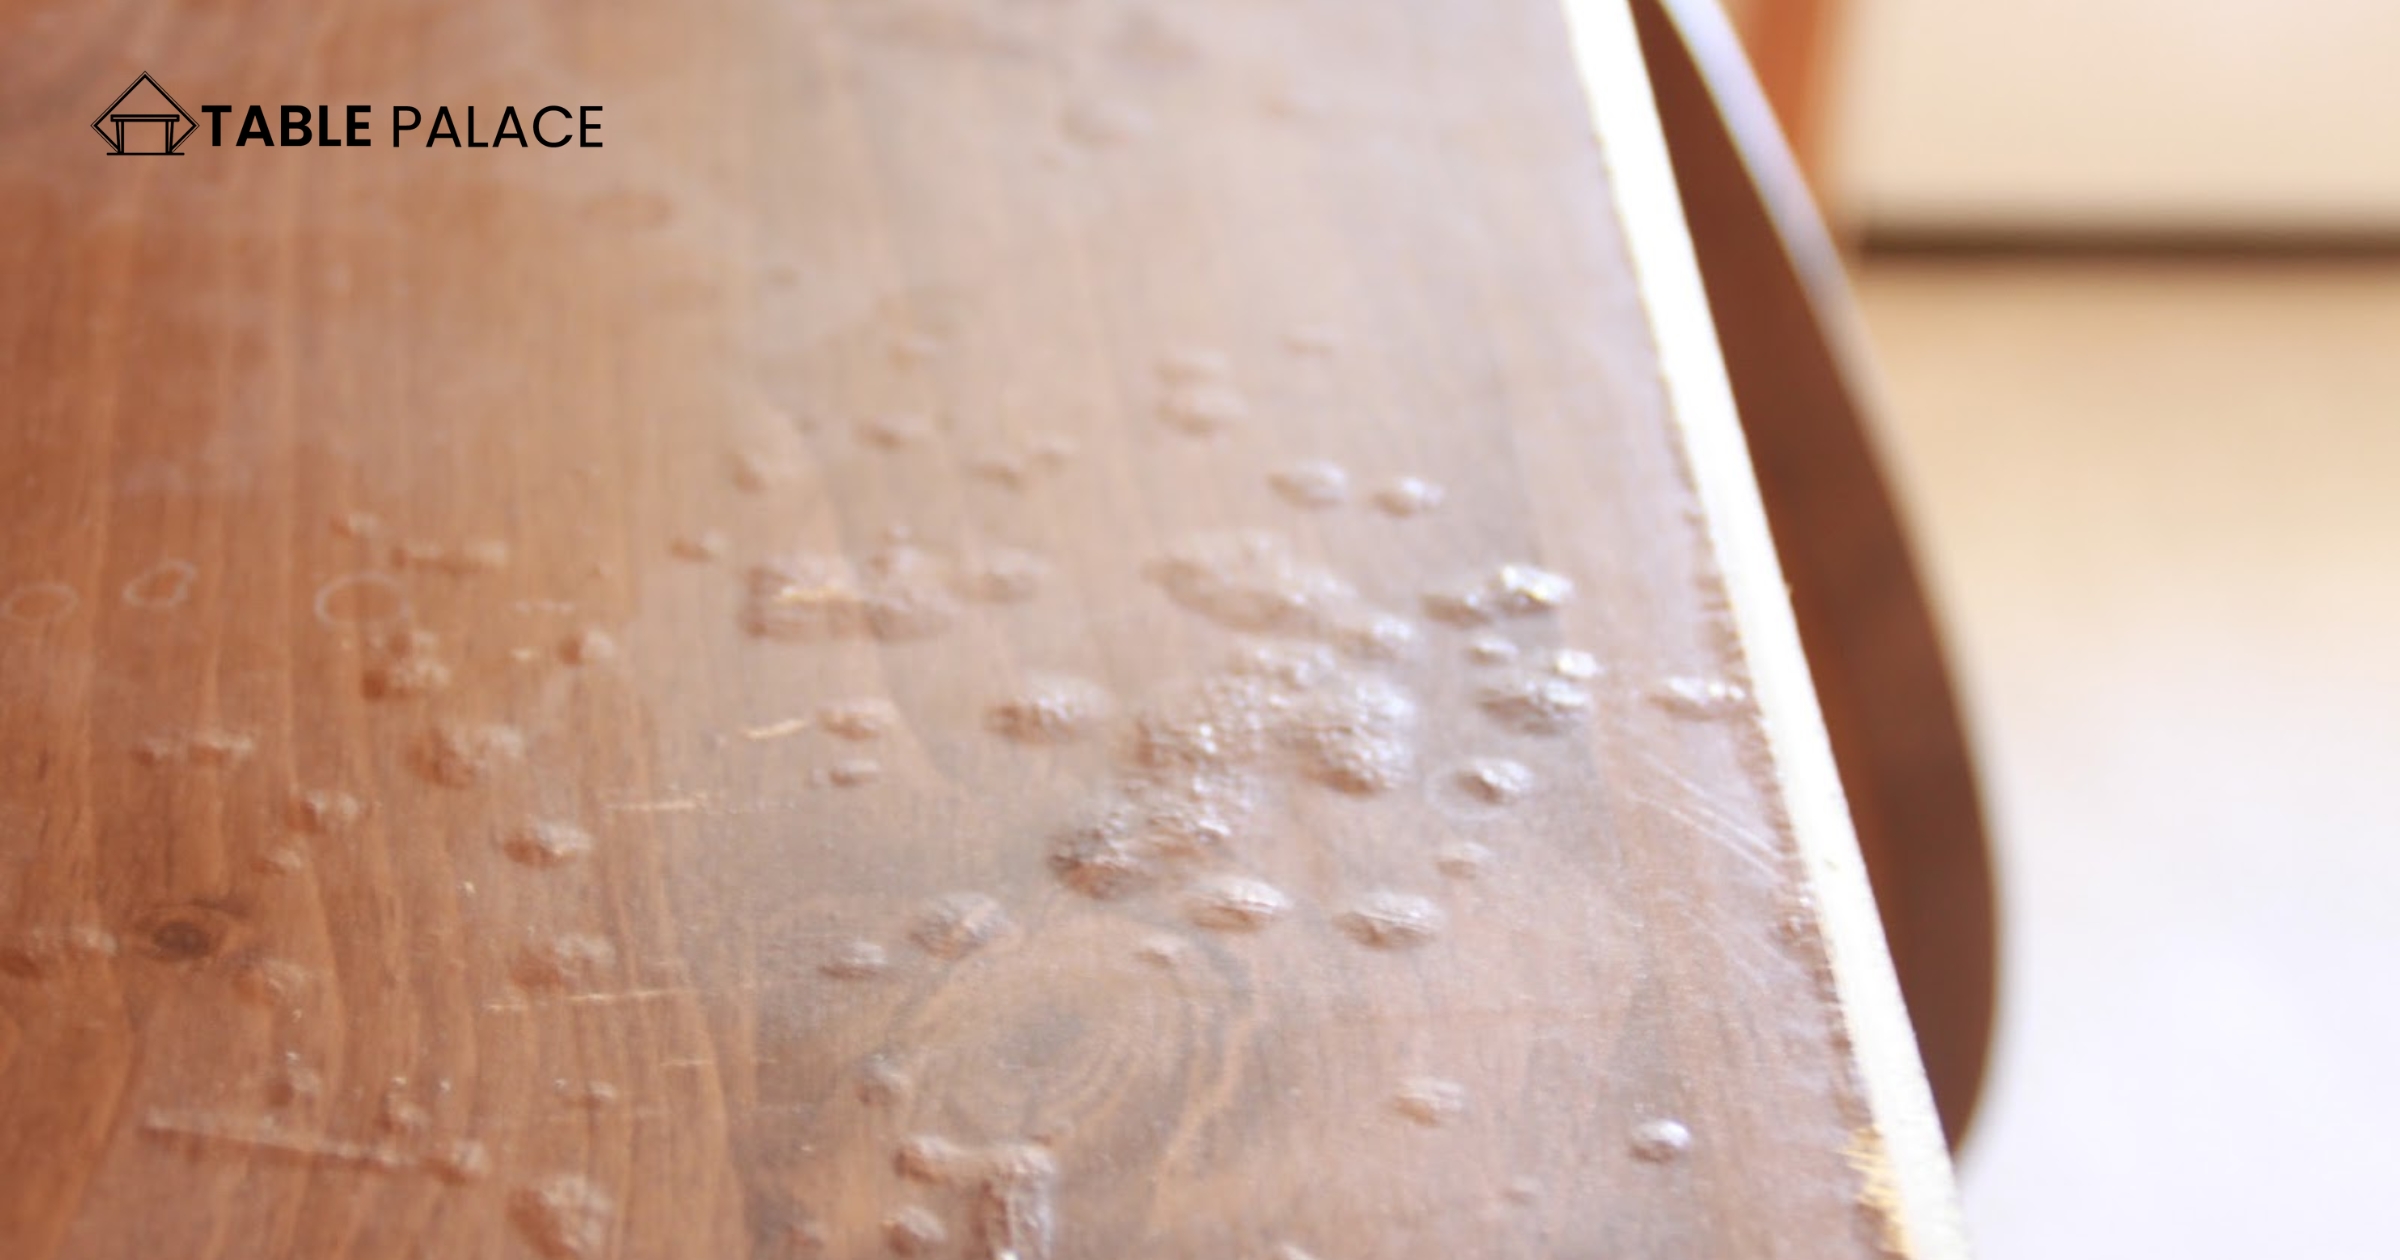
Remove any dirt or debris from the bubbled area using a clean, dry cloth. Make sure the surface is immaculate and free of any oil or moisture, as these can affect the adhesion of the glue.
Step 3: Apply the Veneer Glue
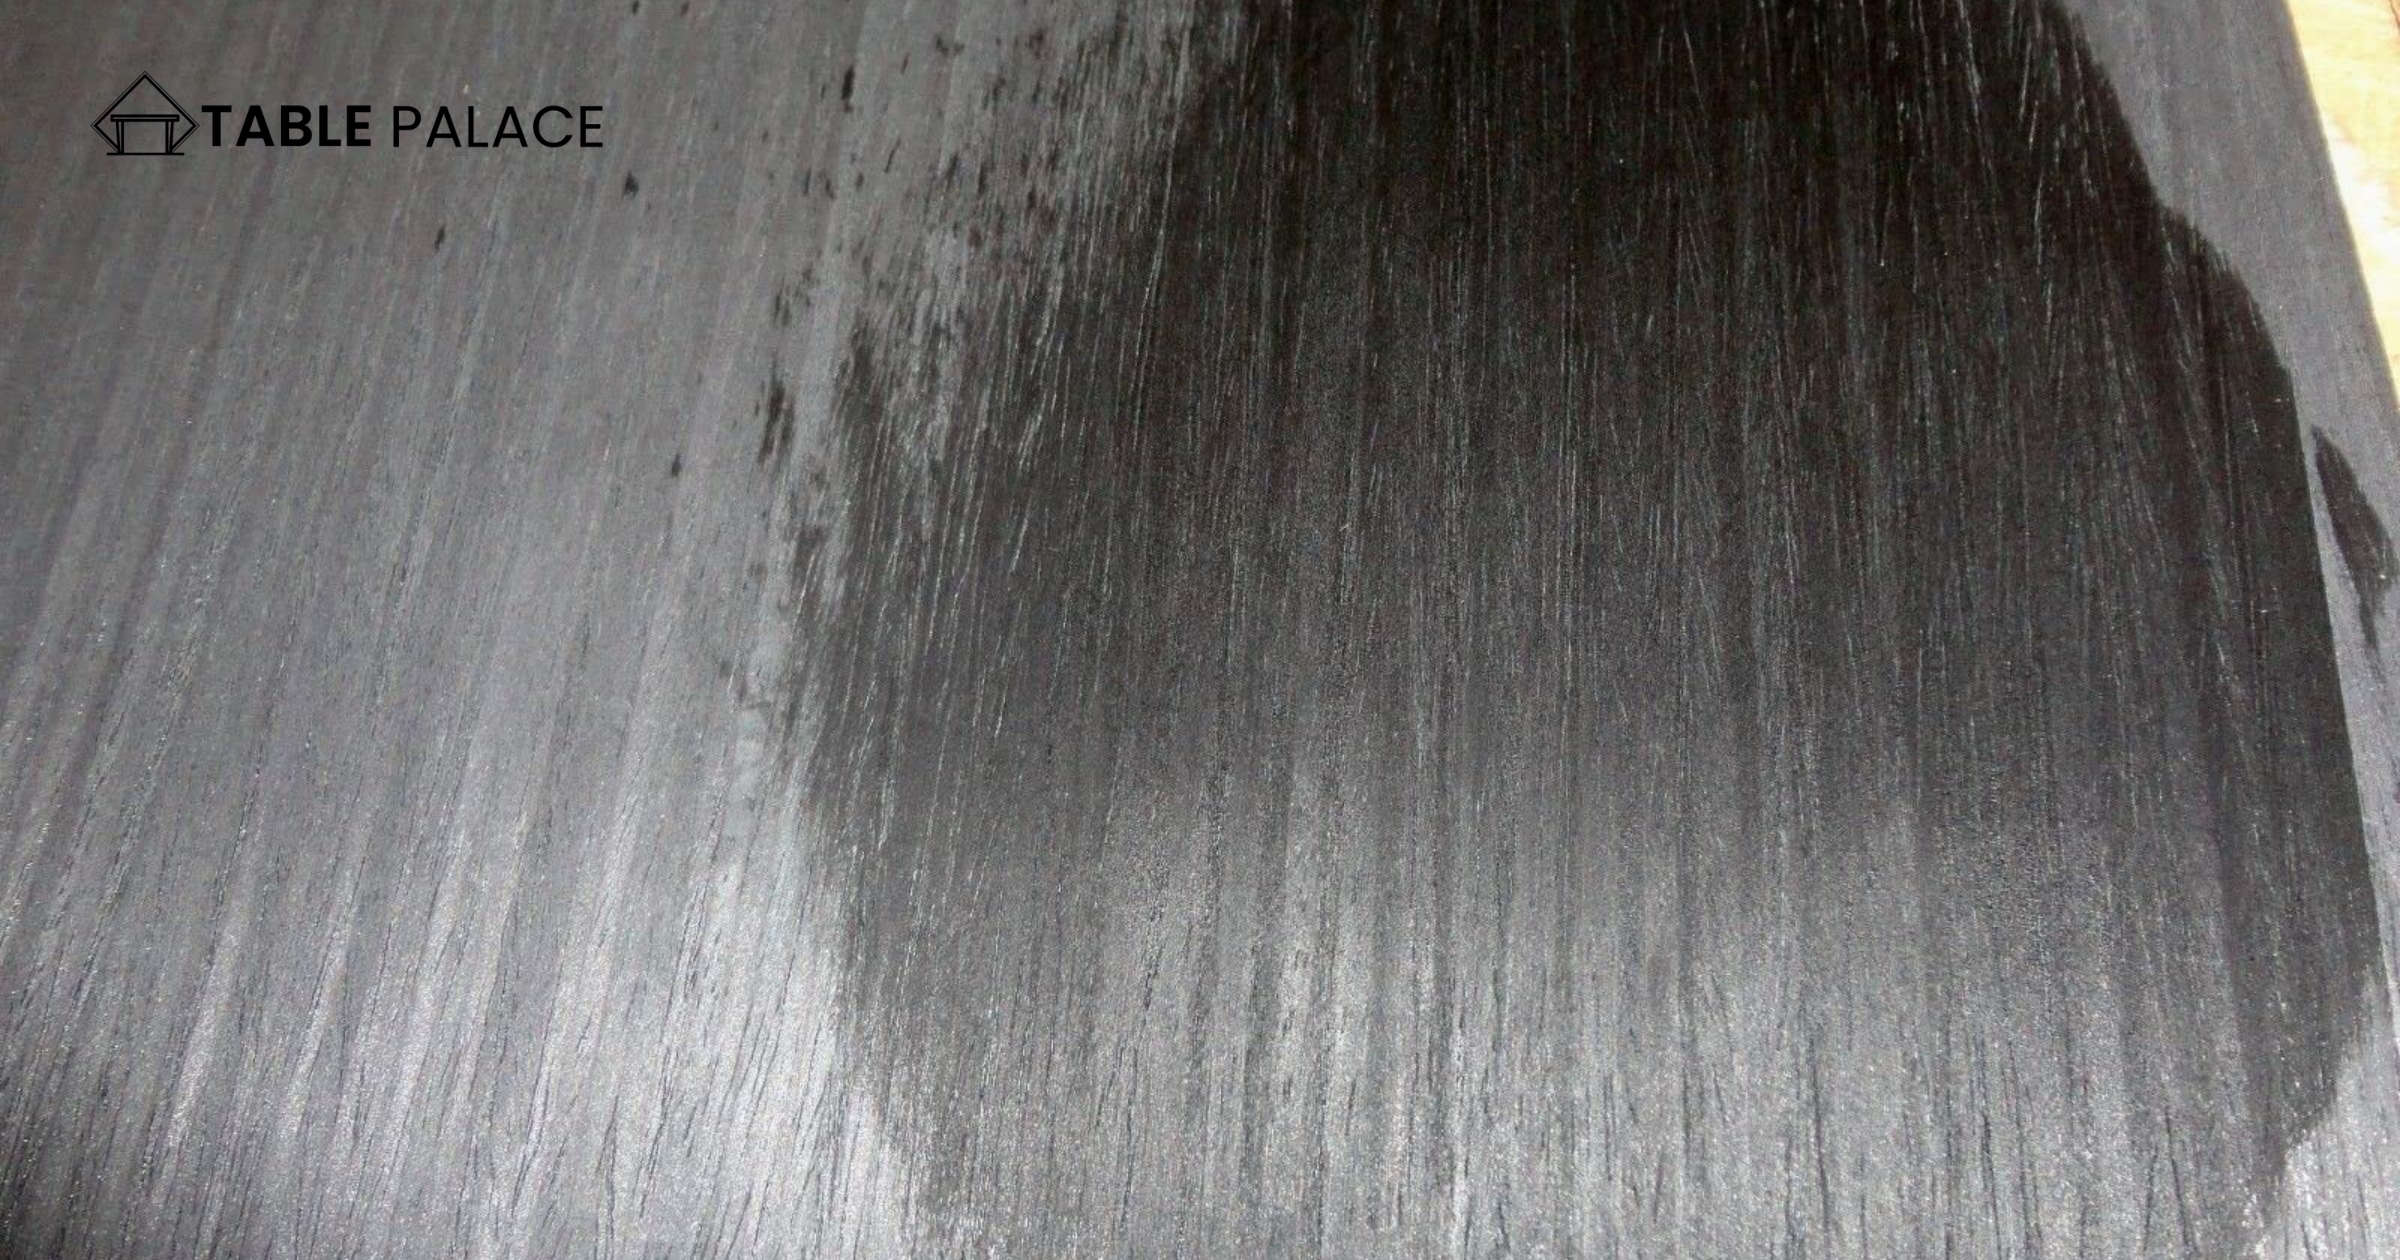
Using your putty knife, apply a thin, even layer of veneer glue to the bubbled area. Be sure to work the glue into the cracks and edges of the bubble, as this will help ensure a strong bond.
Step 4: Flatten the Bubble
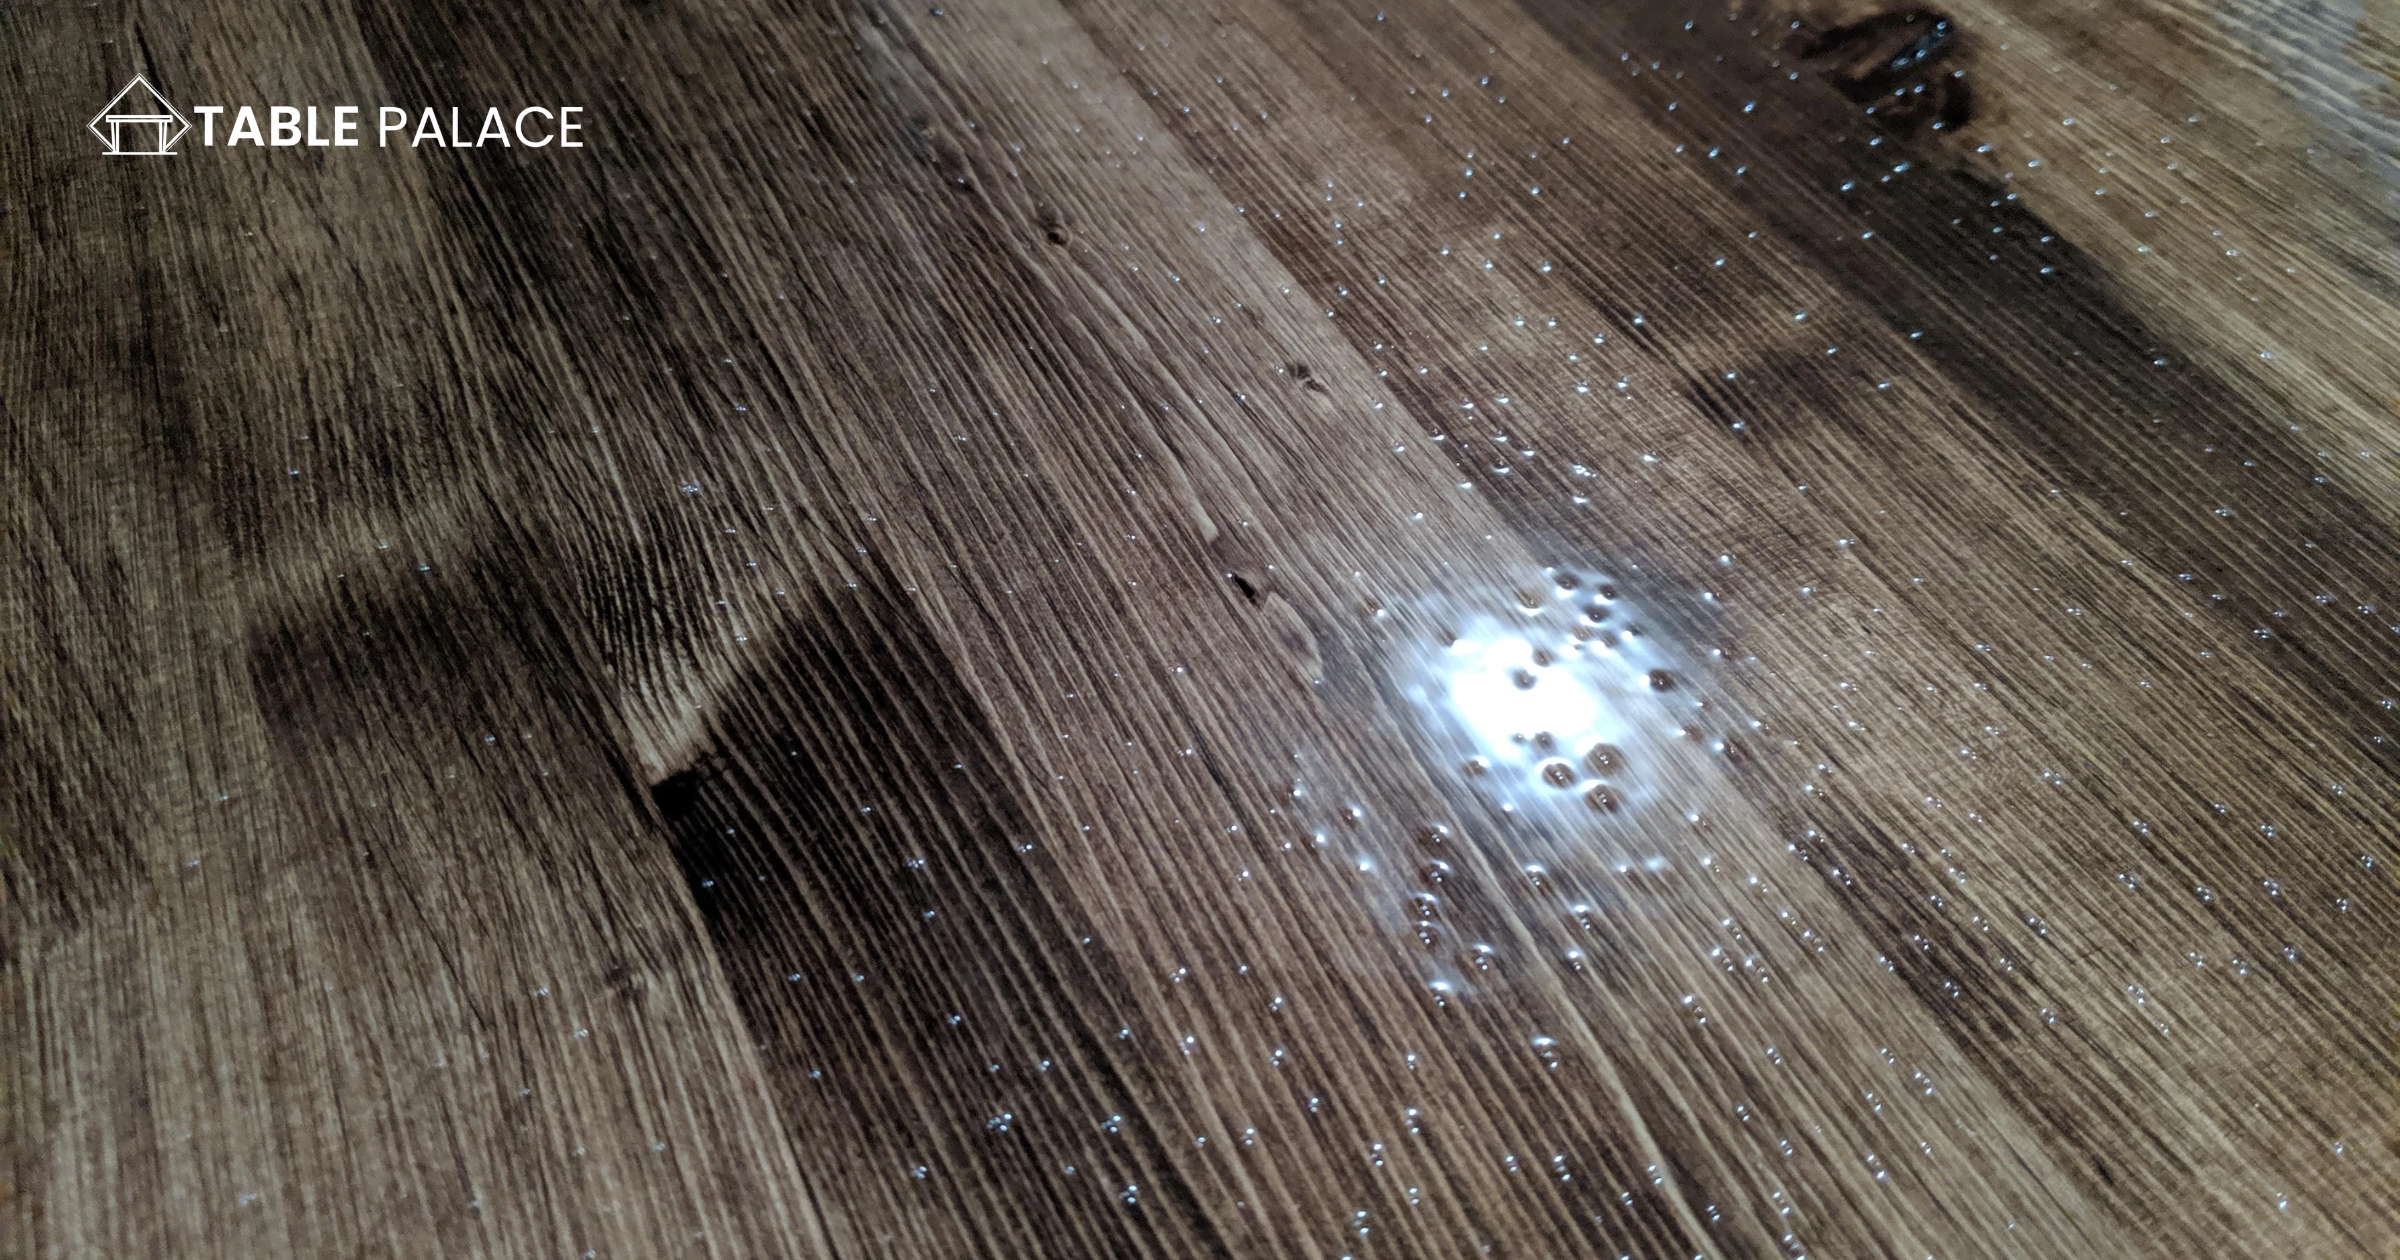
Using your scraper or flat object, gently press down on the bubble’s center, working from the center outwards. This will help distribute the glue evenly and remove any air pockets. Use gentle but firm pressure to avoid cracking the veneer.
Step 5: Wipe Off Excess Glue
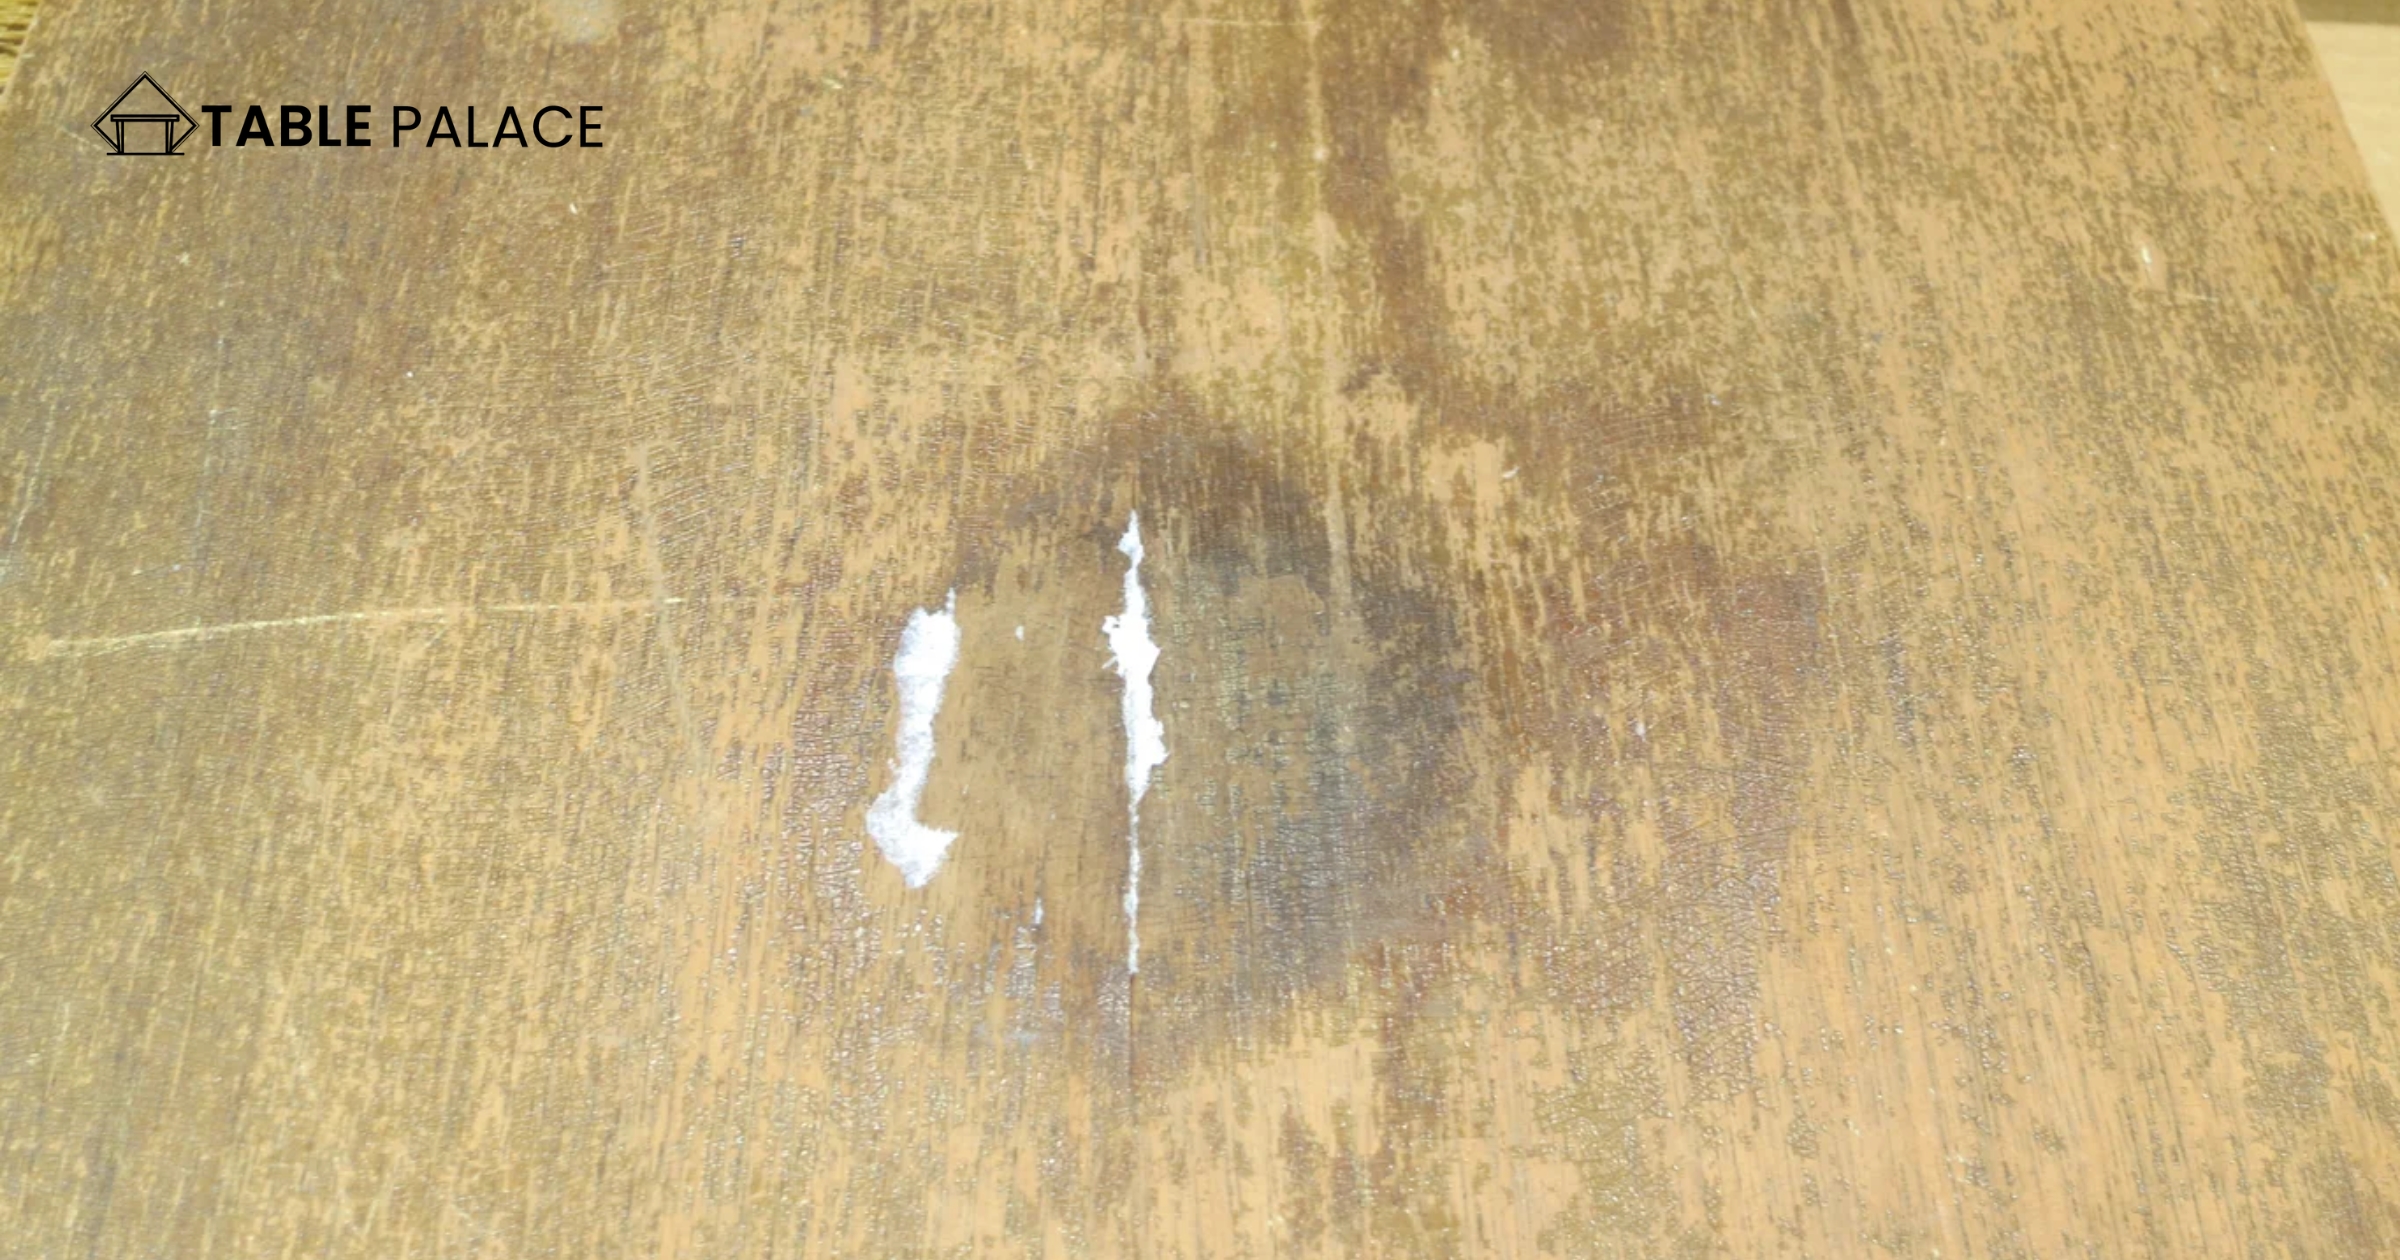
Using your putty knife, gently scrape away any excess glue seeped from the bubble. Be sure to work carefully so as not to disturb the glue already in place.
Step 6: Sand the Area
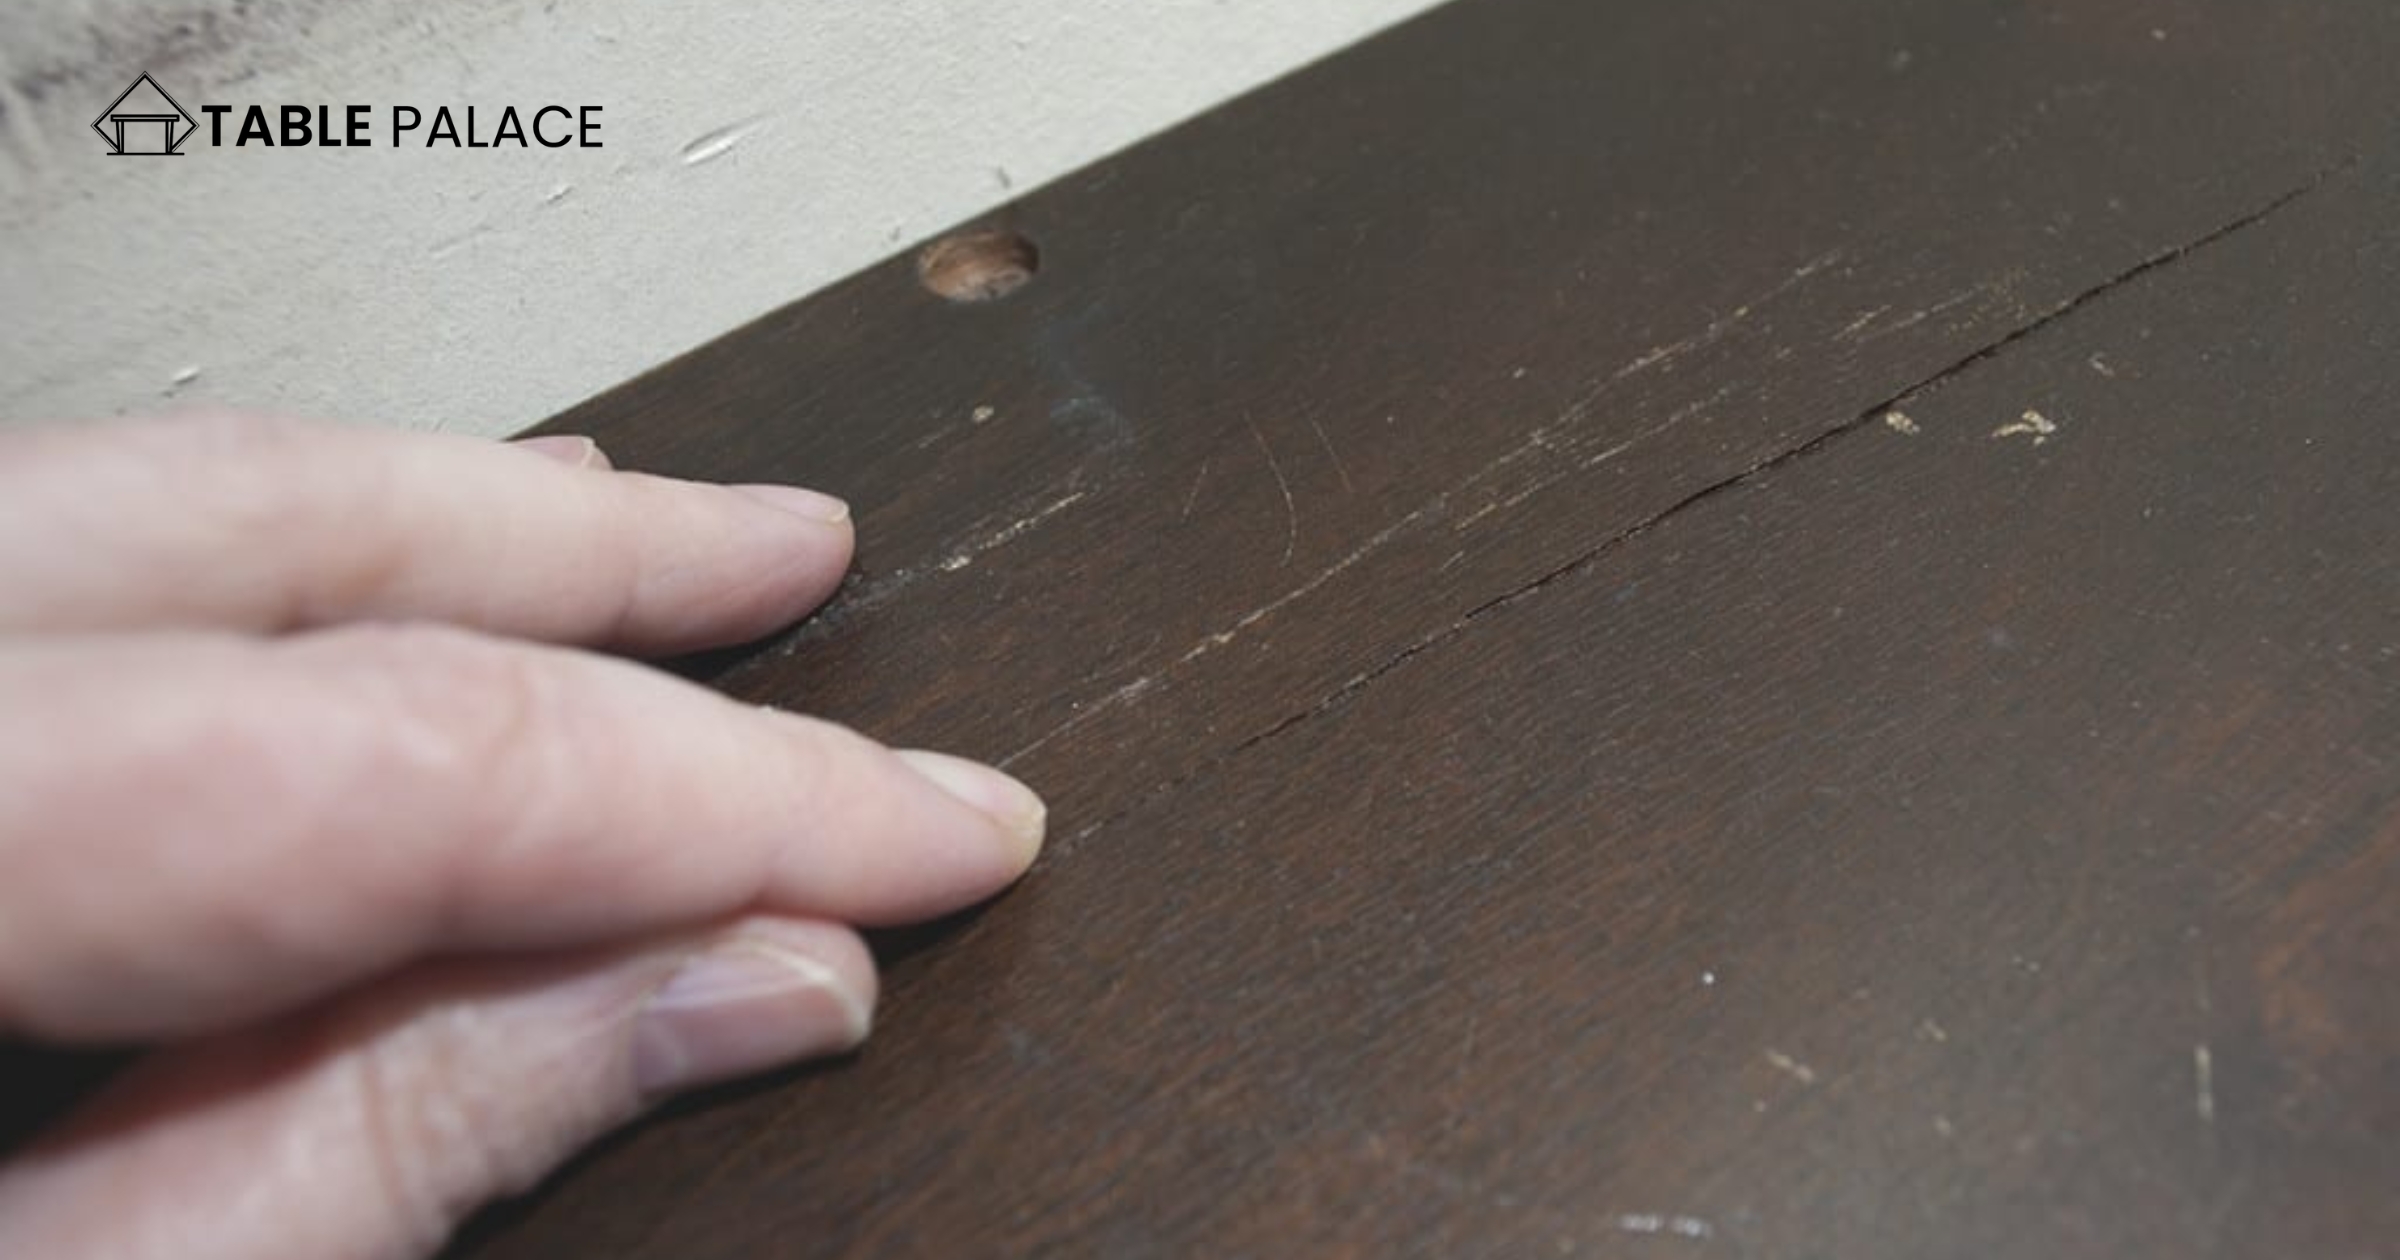
Once the glue has dried, use sandpaper to smooth the surface of the repaired area. Start with 220-grit sandpaper and work up to a higher grit (such as 320 or 400) until the surface is smooth and even.
Step 7: Apply the Sealant
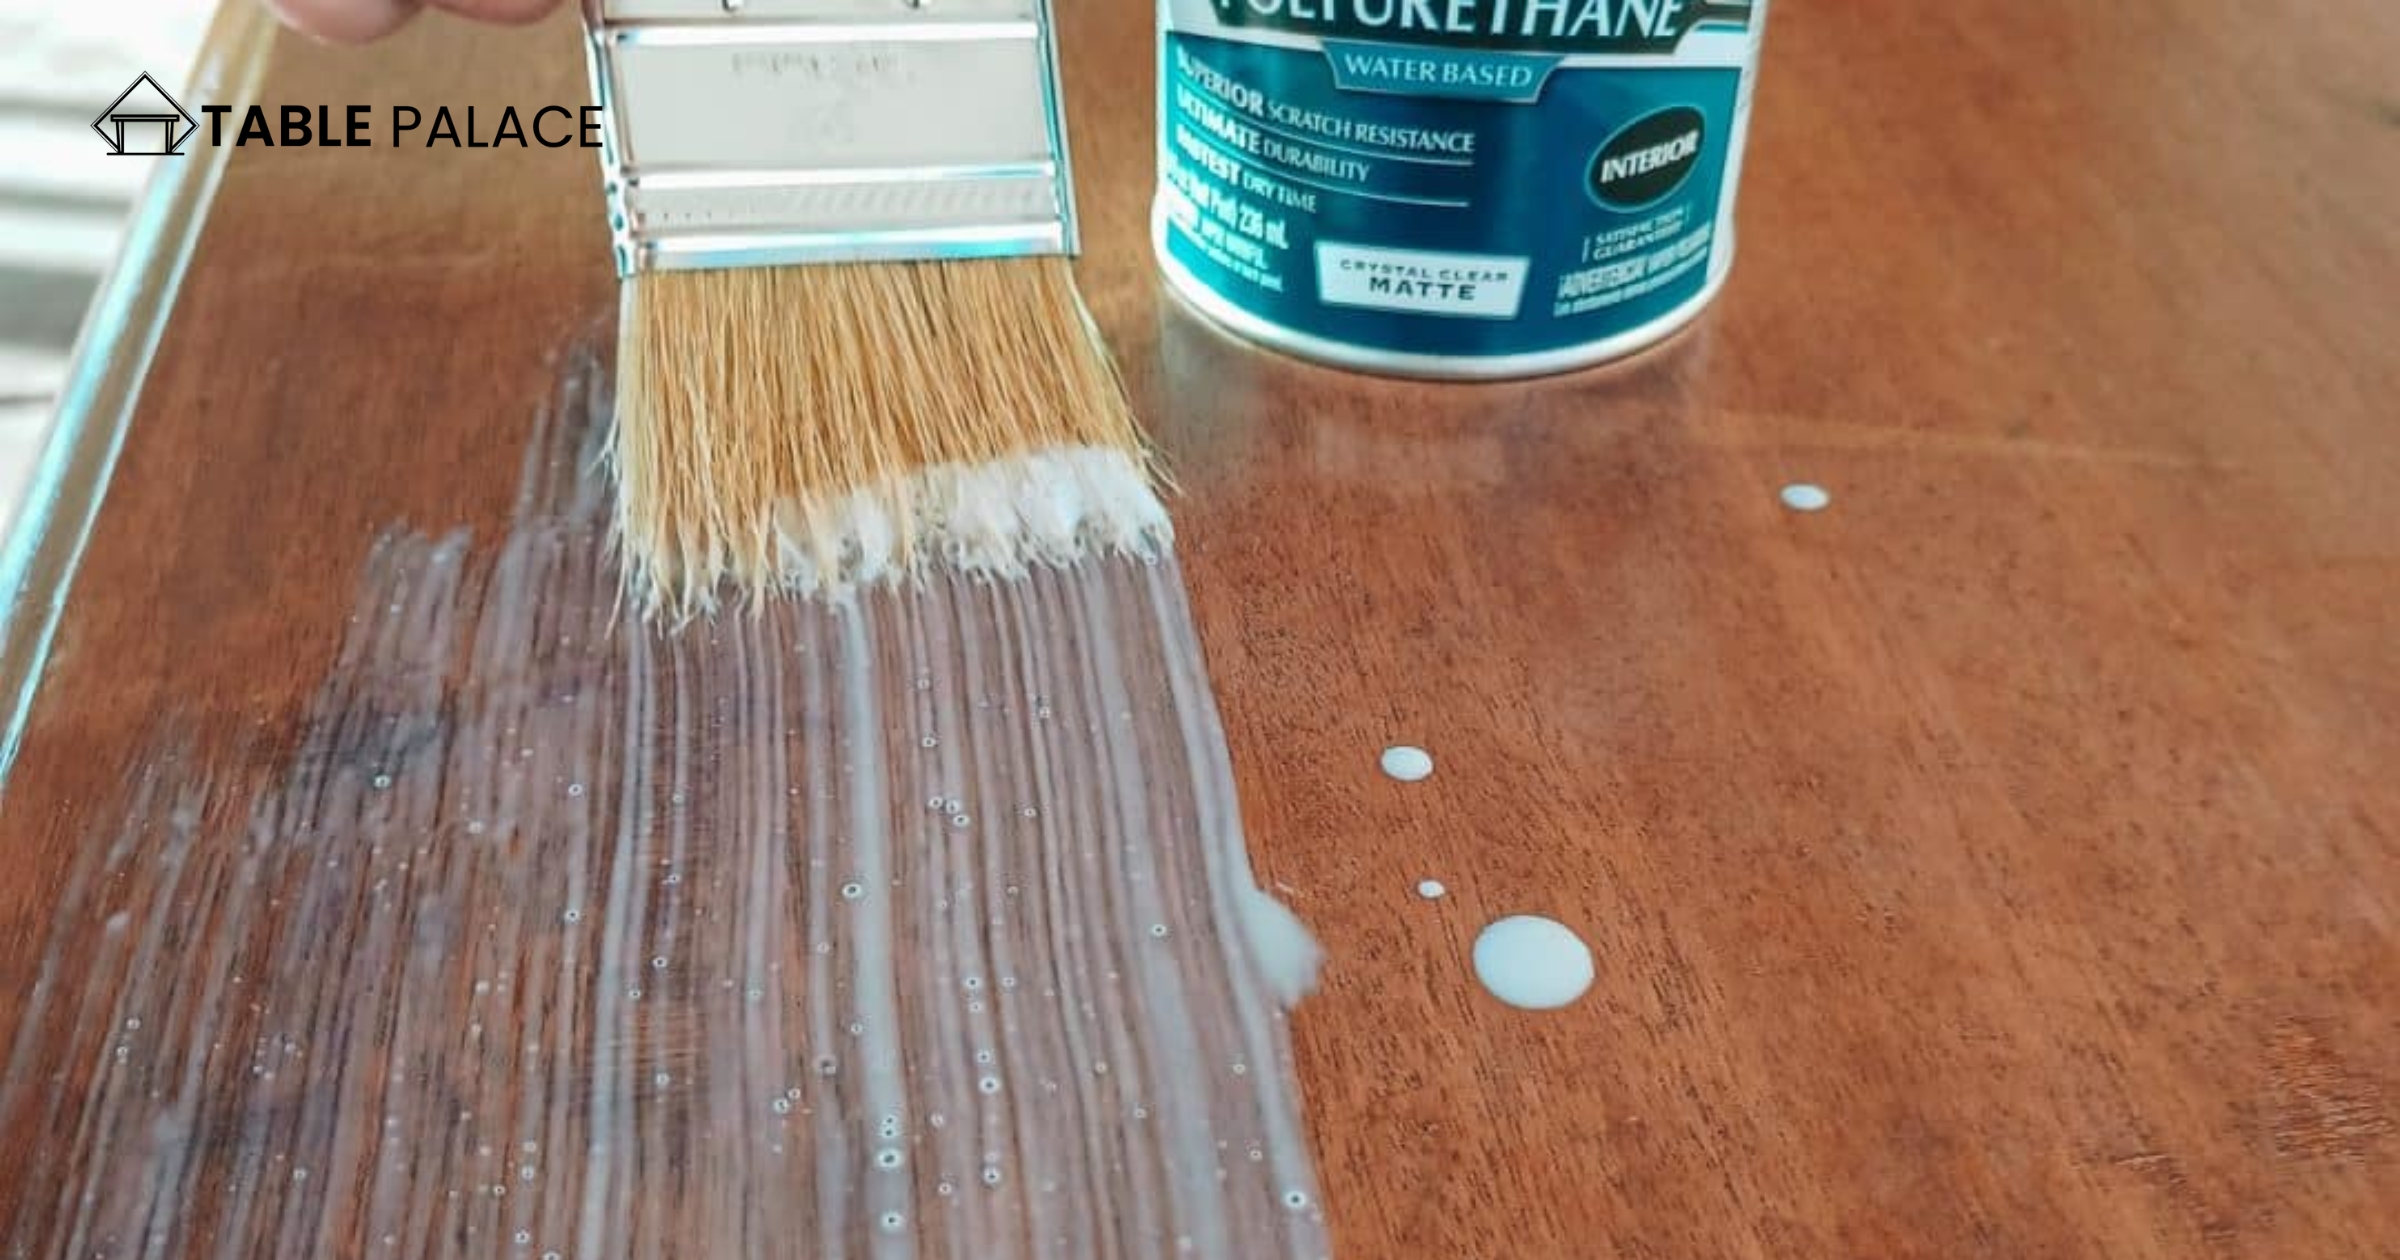
Using a paintbrush or foam brush, apply a thin, even layer of polyurethane sealant over the repaired area. This will protect the veneer and help it blend seamlessly with the surrounding surface.
Step 8: Allow the Sealant to Dry
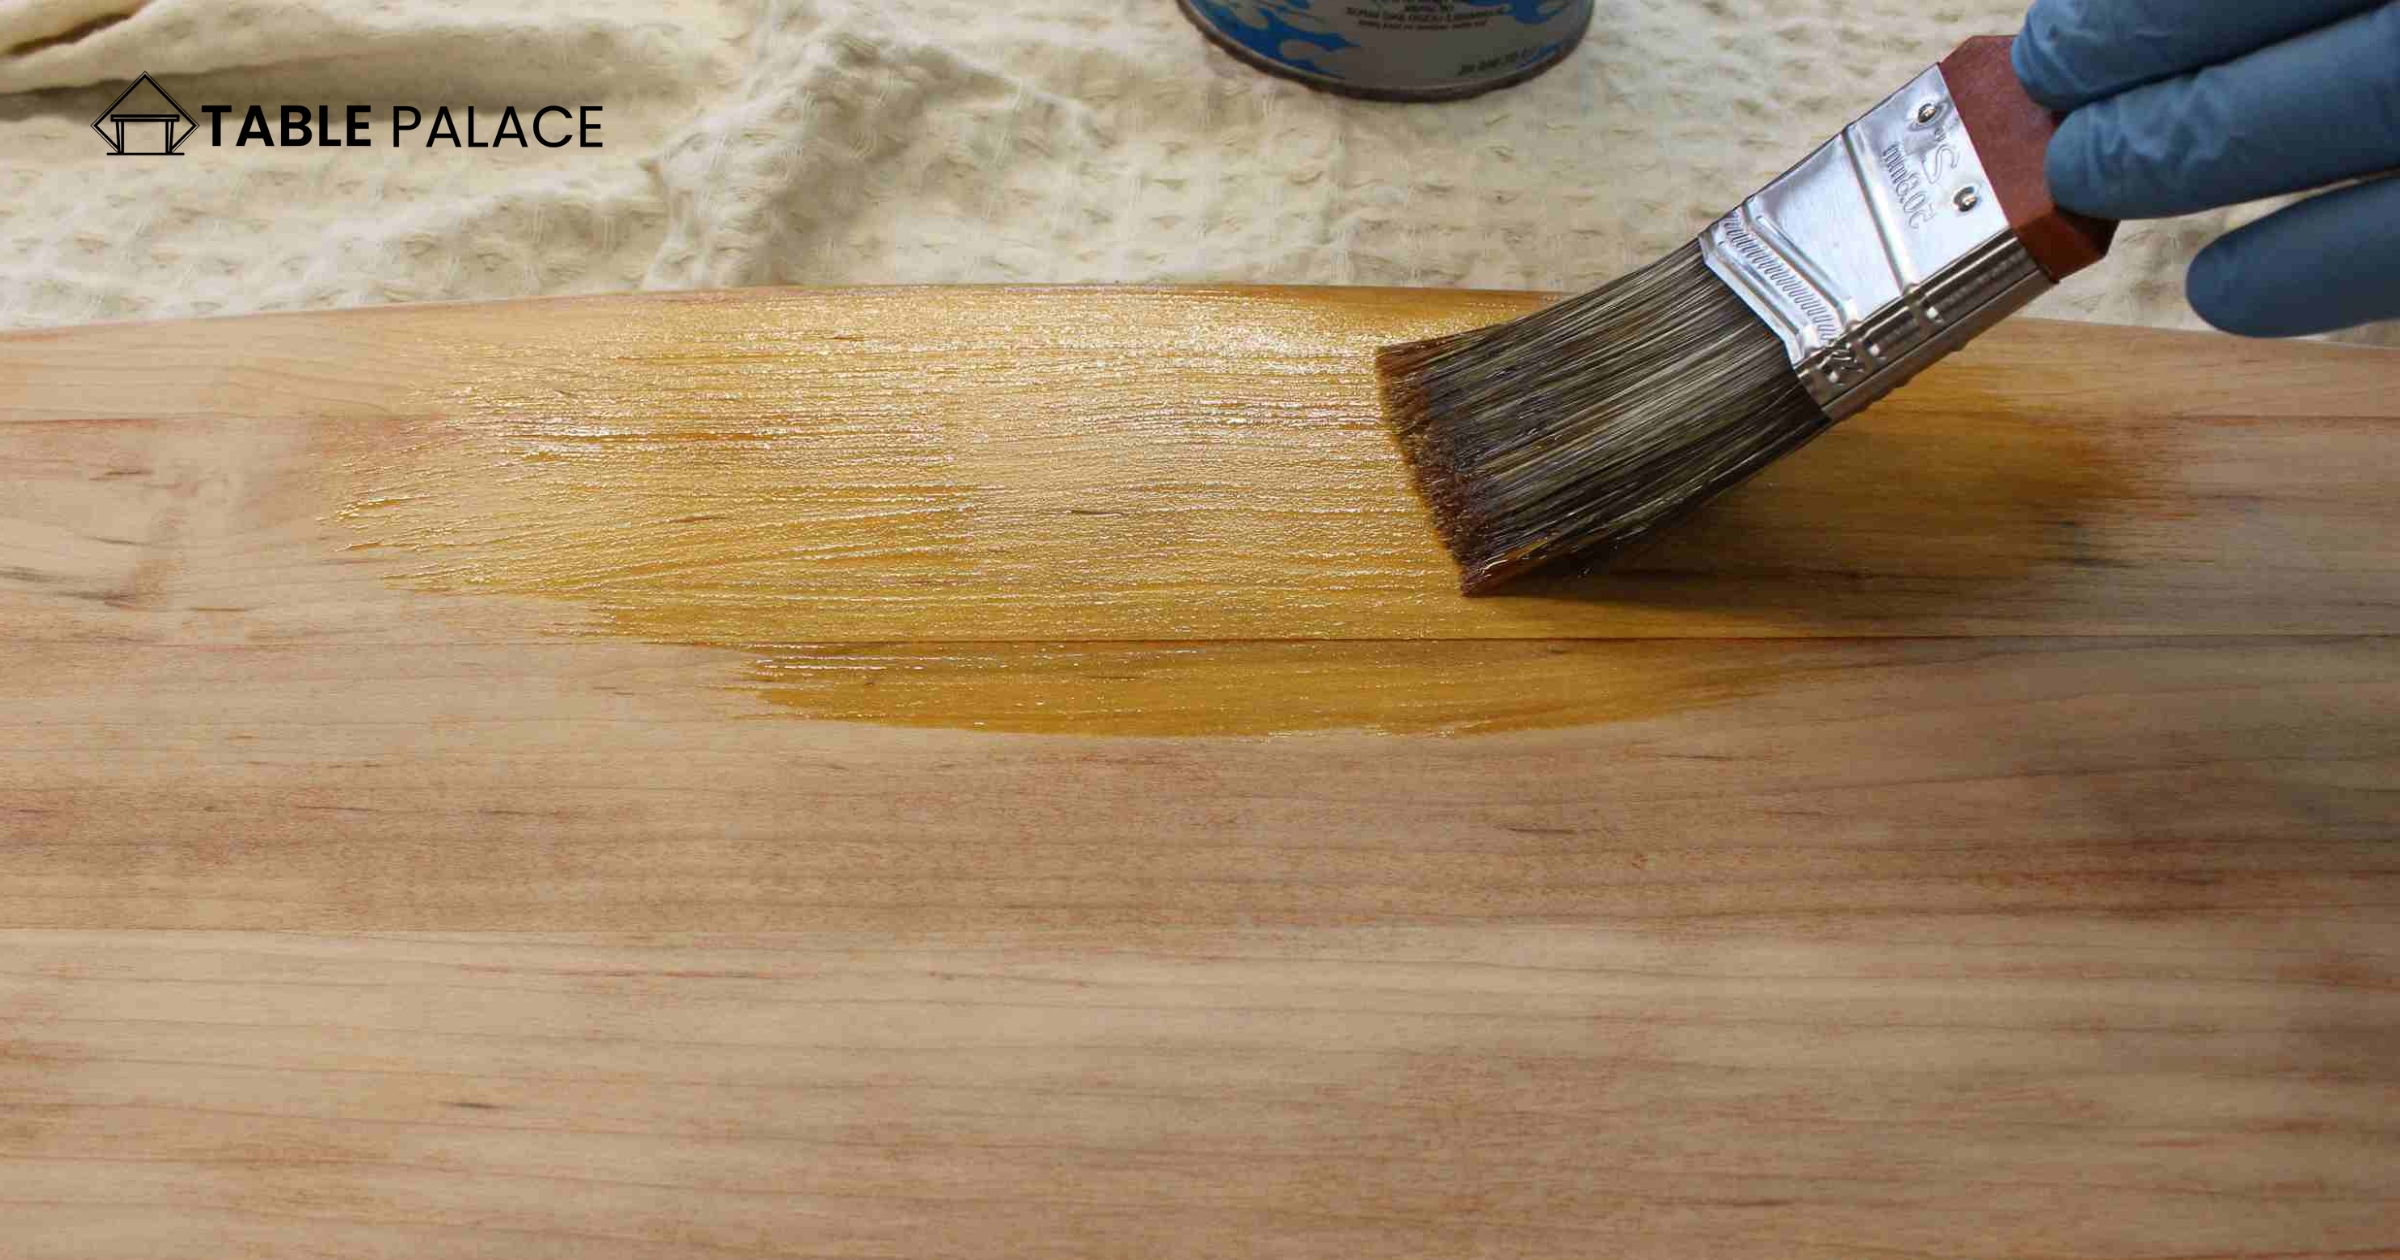
Allow the sealant to dry completely, following the manufacturer’s recommended drying time.
And that’s it! You’ve successfully repaired a bubbled veneer table top with these simple steps. This technique can also repair veneer damage, such as cracks and chips. So grab your tools and give them a try!
Is it easy to repair furniture veneer?
The ease of repairing furniture veneer depends on the extent of the damage and the type of veneer used. Minor chips or cracks can be relatively straightforward to repair, especially if you have some essential tools and knowledge of the repair process. However, more significant or more extensive damage, such as extensive bubbling or lifting of the veneer, may be more challenging to repair and require professional assistance. In general, repairing veneers can be a DIY project for those with some handy skills, but it does require patience and careful attention to detail.
Safety Tips and Tricks for Repairing Bubbled Veneer Table Top:
Wear protective gear:
Wearing gloves and safety glasses is necessary when working with wood or wood products. This will protect your hands and eyes from any splinters or flying debris.
Work in a well-ventilated area:
The fumes from the adhesive and other materials used in the repair process can be harmful, so make sure to work in a well-ventilated area or wear a dust mask to protect your lungs.
Secure the table:
Make sure to secure the table before starting the repair process, either by clamping it to a sturdy work surface or placing heavy objects on it to keep it in place.
Use the right tools and materials:
Using the right tools and materials is critical to a successful repair. Use high-quality veneer, glue, and tools designed specifically for veneer repair.
Follow the instructions carefully:
Read and follow the instructions carefully to ensure the repair process goes smoothly. Take your time and don’t rush, as this will increase the chances of a successful repair.
Sand carefully:
Sanding is an integral part of the repair process, but be careful not to sand too much, as this can cause damage to the veneer or the underlying wood.
Test the repair before staining or sealing:
Before staining or sealing the repaired area, test it for any issues, such as warping or cracking. If there are any problems, address them before proceeding with the final stages of the repair.
By following these tips and tricks, you can ensure a safe and successful repair of your bubbled veneer table top. With patience and careful attention to detail, you can restore the beauty of your table and extend its life.
Pros and Cons of Veneer Tables
Pros of Veneer Tables:
- Affordability: Veneer tables are often less expensive than solid wood tables, making them a budget-friendly option for those looking to furnish their homes.
- Variety: Veneers come in a wide range of finishes, textures, and patterns, allowing for greater flexibility and choice in table design.
- Durability: Veneer tables are often made with solid and stable engineered wood, making them less prone to warping, splitting, and other types of damage.
- Low Maintenance: Unlike solid wood, veneer tables do not require regular oiling, staining, or refinishing, making them a low-maintenance option.
Cons of Veneer Tables:
- Thinness: Veneer is a thin layer of wood applied to the table’s surface, prone to chipping, cracking, and other damage over time.
- Quality Variation: Veneer quality can vary greatly, with some tables being made with low-quality veneers prone to peeling or bubbling.
- Non-renewable: Most veneers are made from rare or endangered hardwoods, which are not renewable resources and can contribute to deforestation.
- Lack of Character: Because veneer tables are not made from solid wood, they may need a natural character and warmth of a solid wood table.
Video Guide
Conclusion
In conclusion, repairing a bubbled veneer table top is a straightforward process that can be accomplished with some essential tools and materials. Whether you are an experienced table repairer or just starting, this guide provides a straightforward, step-by-step approach to fixing veneer damage and restoring the beauty of your table. By following the steps outlined in this guide, you can successfully repair your bubbled veneer table top and extend the life of your furniture. While veneer tables come with their pros and cons, proper care and maintenance, they can be a beautiful and functional addition to your home for years to come.
FAQs
How do you fix bubbly veneer?
To fix the bubbly veneer, you can try the following steps:
1: Sand down the bubbly area with fine-grit sandpaper to remove the excess adhesive.
2: Clean the area with a damp cloth to remove any dust or debris.
3: Apply a fresh layer of adhesive to the area and use a veneer roller or other tool to spread it evenly.
4: Place wax paper over the adhesive and apply pressure to smooth the surface.
5: Allow the adhesive to dry completely, usually 24-48 hours.
6: Sand the surface lightly with fine-grit sandpaper to remove any bumps or excess adhesive.
7: Finish with a clear coat of polyurethane or other protective finish to seal and protect the veneer.
Note: If the bubbling is extensive, removing and replacing the entire veneer may be better.
How do you repair damaged veneer on a tabletop?
To repair damaged veneer on a tabletop, you can follow these steps:
1: Clean the damaged area thoroughly with a damp cloth to remove dust or debris.
2: Sand the damaged area gently with fine-grit sandpaper to remove any rough edges or bumps.
3: Cut a piece of veneer to the size of the damaged area and place it over the damaged area.
4: Apply a thin contact cement layer to the veneer and tabletop.
5: Allow the contact cement to dry for a few minutes until it becomes tacky.
6: Carefully place the veneer over the damaged area and use a veneer roller or other tool to apply pressure and smooth out any air bubbles.
7: Trim the excess veneer with a sharp utility knife, or veneer saw.
8: Sand the surface gently with fine-grit sandpaper to remove any rough edges or bumps.
9: Apply a clear polyurethane or other protective finish to seal and protect the veneer.
Note: It’s essential to use a veneer that matches the color and grain pattern of the existing veneer for the best results.
How do you flatten veneer on top of a table?
To flatten the veneer on top of a table, you need to use an iron with a steam setting. Start by setting the iron to a temperature between 150°F and 212°F. This temperature range is optimal for steaming the veneer and softening it, which will help you flatten it more easily.
Once the iron is ready, place the veneer on a flat surface, such as an ironing board, and place the iron on top of it. Apply gentle pressure as you move the iron back and forth over both sides of the veneer. The heat from the iron will cause the veneer to soften, and the gentle pressure will help it flatten.
Keep moving the iron and applying gentle pressure to avoid damaging the veneer. It is essential to take time and not apply too much pressure, as this can cause the veneer to crack.
Once you have ironed the veneer, let it cool and place it on top of the table. The veneer should now be smooth and flat, ready for use.

