If you have a beautiful epoxy table top that has cracks, chips, or scratches, and wondering How to Repair Epoxy Table Top, don’t worry! You don’t have to replace the whole thing. With a few easy steps, you can repair the damage and restore your table top to its original shine. In this blog post, we will guide you through the process of repairing an epoxy table top, giving you the tips and tricks you need to get it looking like new again. Whether you’re a DIY enthusiast or a professional woodworker, our guide will help you get the job done quickly and easily. So, let’s get started!
What is an epoxy Table?
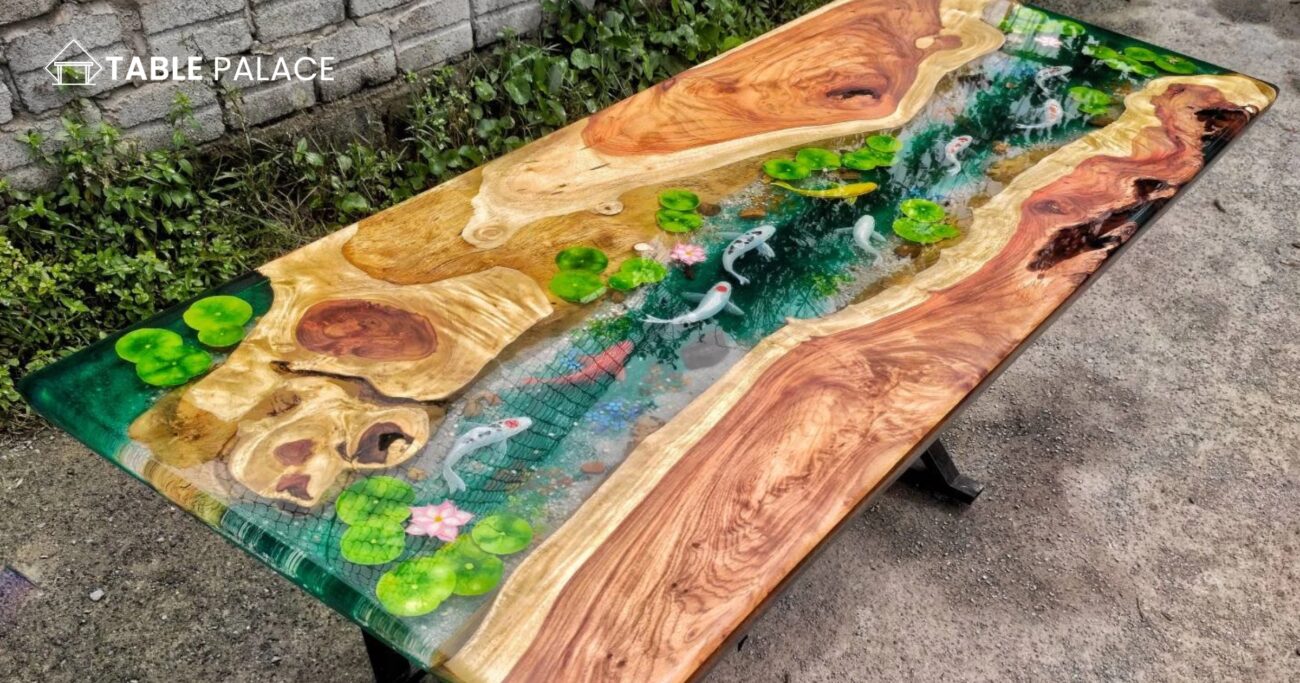
Epoxy tables are furniture pieces created with epoxy resin and other common materials. The epoxy resin is poured onto the top of the piece and then given time to fully cure and harden, giving it an eye-catching glossy finish. Epoxy resin is an excellent choice for furniture durability, as it can withstand heat, scratches, moisture, and daily wear and tear. Some epoxy tables come pre-formed with smooth epoxy resin, while others may appear uneven due to air bubbles or drips during the pouring process. If you come across an epoxy table that looks uneven, there are online solutions to help you quickly fix uneven epoxy resin. This will get your epoxy table looking ultra-smooth in no time!

How to Repair Epoxy Table Top
The importance of repairing epoxy table tops is an excellent investment for their durability and longevity, but even the toughest of materials can be damaged. A small scratch or crack can detract from the overall appearance of your tabletop, and if left unrepaired, the damage can worsen over time. By repairing your epoxy table top, you can protect your investment and extend the life of your table.
Overview of the repair process:
Repairing an epoxy table top involves cleaning and preparing the damaged area, mixing and applying the epoxy, and curing and finishing the repair. With the right tools and materials, repairing an epoxy table top is a straightforward process that can be done in just a few hours.
Tools and Materials For Repairing Epoxy Table Top
Tools and materials needed for the repair To repair an epoxy table top, you will need the following tools and materials:
- Cleaning supplies (such as a soft cloth and soap)
- Sandpaper (220 grit or higher)
- Epoxy resin
- Hardener
- Mixing cup
- Mixing sticks
- Rubber gloves
- Plastic scraper
- Finishing materials (such as sandpaper and a finish of your choice)
Step-by-Step Guide
Cleaning the damaged area
Start by cleaning the damaged area with soap and a soft cloth. Make sure the surface is free of dirt and debris before proceeding to the next step.
Sanding the surface
It used sandpaper with a grit of 220 or higher, sanding the damaged area until it was smooth. Be sure to sand in the direction of the grain to avoid causing further damage.
Selecting the correct type of epoxy
Choose a clear epoxy resin that is specifically designed for use on table tops. Follow the manufacturer’s instructions for mixing the epoxy and hardener
Mixing the epoxy according to the instructions
Mix the epoxy and hardener in a mixing cup according to the manufacturer’s instructions. The mixture should be smooth and free of lumps.
Applying the epoxy to the damaged area
Using a plastic scraper, apply the mixed epoxy to the damaged area, making sure to fill any cracks or chips. Use the scraper to smooth the epoxy surface, removing any air bubbles.
Allowing the epoxy to cure
Allow the epoxy to cure according to the manufacturer’s instructions, usually 24-48 hours.
Sanding and smoothing the surface
Once the epoxy has cured, sand the surface with 220-grit sandpaper until smooth.
Applying a finish if desired
If desired, apply a finish of your choice to the repaired area. A clear coat of polyurethane or varnish can be used to protect the epoxy and enhance its shine.
Tips and Tricks
Avoiding common mistakes
Over-mixing the epoxy: Over-mixing can cause the epoxy to become too hot and potentially cure incorrectly. Follow the manufacturer’s instructions for mixing the epoxy and hardener. Applying too much pressure when smoothing the surface: Excessive pressure can cause the epoxy to shift or crack, so be gentle when smoothing the surface.
Skipping the sanding step: Sanding the surface before applying the epoxy and after it has cured is essential for creating a smooth, even surface. Skipping this step can result in a rough, uneven epoxy resin surface.
Maintaining your epoxy table top to prevent future damage
Cleaning up spills immediately: Spills can cause damage to the surface if left untreated, so be sure to clean them up immediately.
Using coasters and placemats: Placing coasters and placemats on your tabletop can help prevent scratches and damage from hot dishes or objects.
Avoiding harsh chemicals: Harsh chemicals, such as bleach and abrasive cleaners, can damage the surface of your epoxy tabletop. Use mild soap and water to clean the surface.
Alternatives to repairing an epoxy table top:
If the damage to your epoxy table top is too extensive or you prefer not to attempt the repair yourself, alternative options are available. You can have a professional repair the tabletop, or you can consider replacing the tabletop altogether.
How to repair epoxy resin countertops that have cured
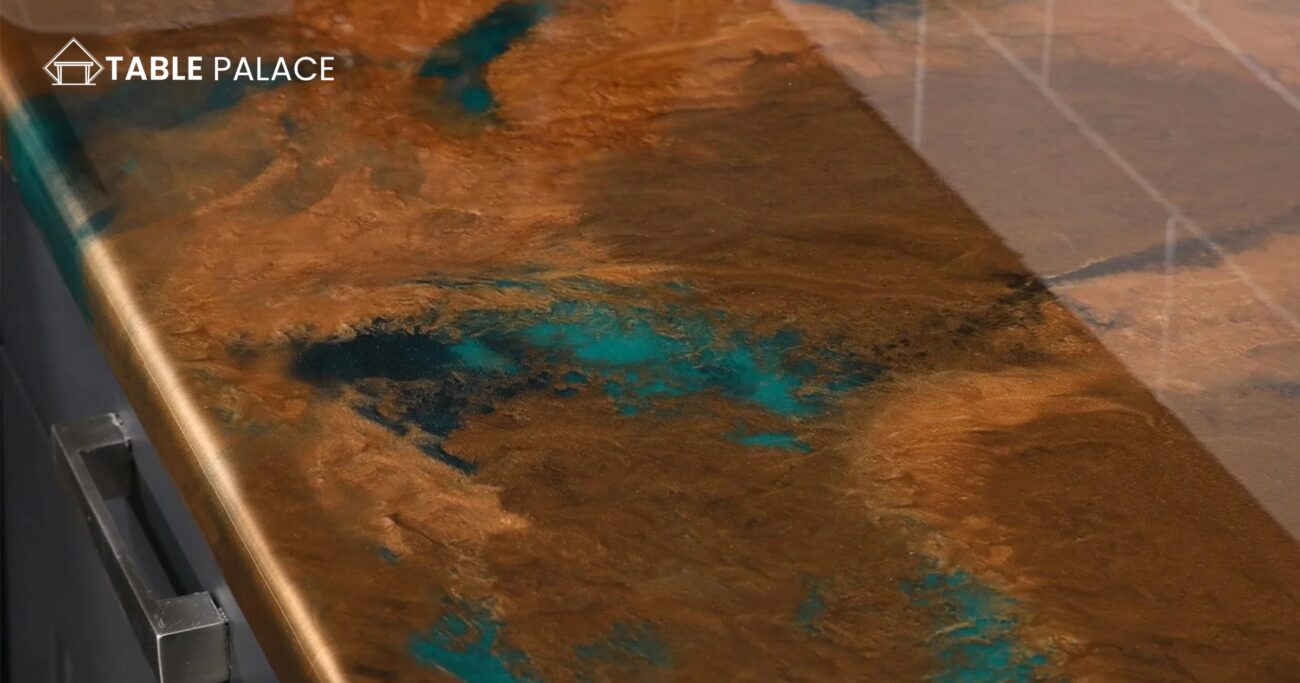
Epoxy resin countertops are popular for kitchens and bathrooms due to their durability and seamless appearance. However, despite their advantages, epoxy resin countertops can sometimes become damaged, especially after they have been cured. Fortunately, repairing a damaged epoxy resin countertop is not difficult and can be done in a few simple steps. Now, we will guide you through repairing your epoxy resin countertop so that it looks as good as new.
Step 1: Sand down the rough surface
The first step in repairing a damaged epoxy resin countertop is sanding the rough surface. Use sandpaper to sand down the epoxy’s surface until it is smooth. Make sure to use a grit appropriate for the countertop’s surface. For example, if the countertop is smooth, use finer grit sandpaper, such as 220 grit. If the surface is rough, use coarser grit sandpaper, such as 120 grit.
Step 2: Clean the area
Once you have sanded down the rough surface, it is time to clean the area. Clean the surface thoroughly to remove any dust or debris. This step is crucial because it ensures that the new epoxy will adhere properly to the surface.
Step 3: Mix a fresh batch of epoxy
The next step is to mix a fresh batch of epoxy. Follow the manufacturer’s instructions when mixing the epoxy. It is essential to use the correct ratio of resin to hardener to ensure that the epoxy will cure properly.
Step 4: Apply the new epoxy
Apply the new epoxy to the area and spread it evenly. Do not overwork the epoxy, as this can cause more bubbles or wrinkles. Use a brush or a roller to apply the epoxy, depending on the countertop’s surface.
Step 5: Allow the epoxy to cure
Let the epoxy cure for the recommended amount of time specified by the manufacturer. The curing time will vary depending on the type of epoxy and the conditions in which it is applied.
Step 6: Sand the surface again
Once the epoxy has cured, sand the surface of the cured epoxy to achieve a smooth finish. Use fine-grit sandpaper, such as 220 grit, to sand the surface.
Step 7: Apply a topcoat, if desired
If desired, apply a topcoat of transparent resin or polyurethane to protect the epoxy and enhance its appearance. This step is optional, but it can help to extend the life of your epoxy resin countertop and keep it looking good for years to come.
Repairing a damaged epoxy resin countertop is a straightforward process that can be done in a few simple steps. Following these steps, you can restore your countertop to its original beauty and keep it looking great for years to come. So, if you have a damaged epoxy resin countertop, get started immediately. Get started on your repair today!
Conclusion
Recap of the repair process Repairing an epoxy table top involves cleaning and preparing the damaged area, mixing and applying the epoxy, and curing and finishing the repair. With the right tools and materials, the process can be completed in just a few hours. Final thoughts and advice for repairing epoxy table tops By following the steps outlined in this blog, you can successfully repair your epoxy table top and restore its beauty and functionality. Remember to be patient and take your time, and don’t hesitate to seek professional assistance if needed. Maintaining your epoxy table top by cleaning up spills immediately and avoiding harsh chemicals can help prevent future damage.
FAQs
Can you spot repair epoxy?
Epoxy resin countertops are a stylish, low-maintenance option for any kitchen or bathroom. Fortunately, the repair is not only possible but easy as well with epoxy resin countertops. If you have a specific repair in mind, you must buy repair epoxy and a seal coat to fix the problem. Don’t worry about needing multiple coats of repair epoxy – usually, a thin coat will do. The repair will be almost indistinguishable from the original once it cures! Worthy of professionals, repairing epoxy helps keep those epoxy resin countertops looking beautiful while giving you more confidence.
Can epoxy be touched up?
You may wonder if you can touch your surfaces after applying epoxy paint. You’ll be happy to know that the answer is yes! You can resurface the epoxy as many times as you would like. You could also opt for a color tint, mix in microbeads or an aggregate for texture, and even purchase unique custom colors if desired. There are endless possibilities when adding a personal touch – or a new appearance – to your existing epoxy coatings. It’s genuinely magnificent how much time, energy, creativity, and effort go into just one epoxy coating application – and the results speak for themselves once it has all been completed.
How do you fix epoxy mistakes?
To fix a messed-up epoxy, you can follow these steps:
1: Sand down the rough surface: Use sandpaper to sand down the epoxy surface until it is smooth.
2: Clean the area: Clean the surface thoroughly to remove dust or debris.
3: Mix a fresh batch of epoxy: Mix a fresh batch of epoxy following the manufacturer’s instructions.
4: Apply the new epoxy: Apply the new epoxy to the area, making sure to spread it evenly and not overwork it, which can cause more bubbles or wrinkles.
5: Allow the epoxy to cure: Let the epoxy cure for the recommended amount of time specified by the manufacturer.
6: Sand the surface again: Sand the cured epoxy surface to achieve a smooth finish.
7: Apply a topcoat, if desired: You can apply transparent epoxy resins or epoxy coat to protect the epoxy and enhance its appearance.
Note: The steps may vary depending on the type of epoxy, the surface scratches it was applied to, and the desired result.
Will epoxy stick to cured epoxy?
Yes, epoxy can stick to cured epoxy. Since the epoxy has already been cured, a chemical bond between the two layers is impossible. However, a physical bond can be formed if enough adhesive is applied. The entire surface of both materials should be roughened and made as porous as possible so that the adhesive can penetrate deep into the surfaces and hold on tightly. When working with thick layers of epoxy, it’s essential to work quickly, as once it dries, it will become considerably less porous and, thus, more challenging for an adhesive to stick. But thankfully, with proper technique and ample drying time, you can achieve a strong bond between cured, uneven epoxy finish surfaces.

