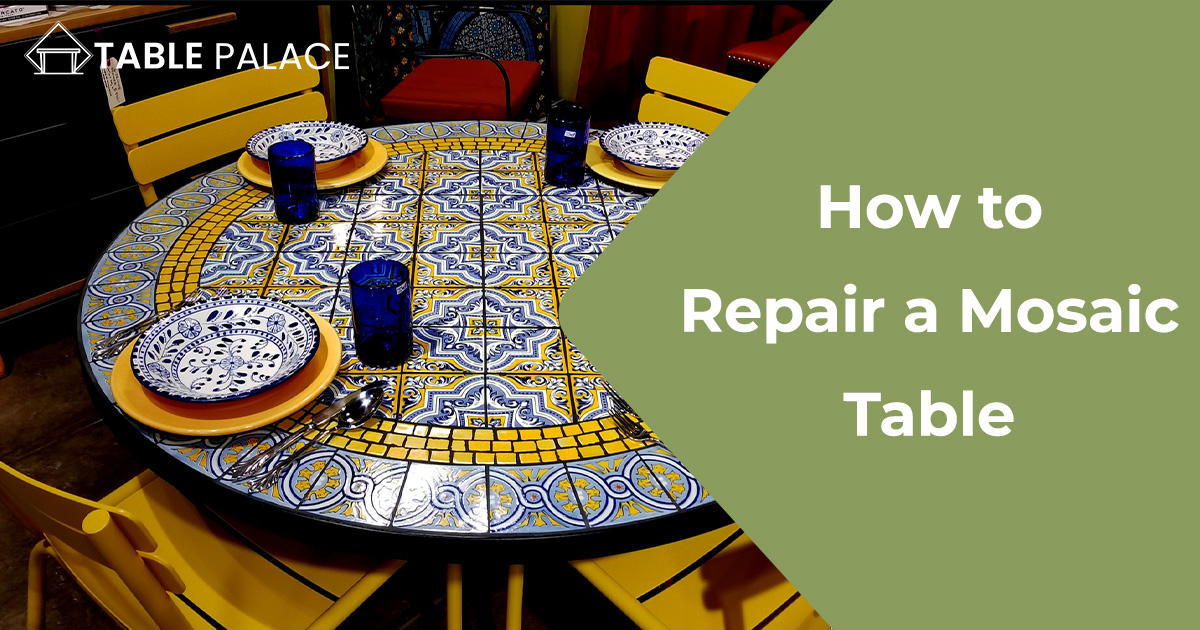
Mosaic tables can add beauty and charm to any room, but over time they may become damaged or broken. Fortunately, repairing a mosaic table is easier than you might think. In this comprehensive guide, we’ll walk you through the steps to repair a mosaic table, from assessing the damage to selecting the right materials and tools. With our expert tips and tricks, you’ll be able to restore your mosaic table to its former glory and enjoy it for years to come. So let’s dive in and learn how to repair a mosaic table!
Materials You Will Need
- Mosaic tiles
- Tile adhesive
- Grout sealer
- Clean rag
- A well-ventilated area
- Grout
- Mixing bowl
- Paint stirrer
- Scissors or tile nipper
- Tape or sheet to cover the surrounding area
- Sandpaper
- A hammer
Step 1: Preparing Your Table for Repair
Before you begin repairing your mosaic table, it is essential to clean the surface. This will help ensure that the new tiles adhere correctly. Use a clean rag to wipe down the surface, removing any dirt, dust, or grime.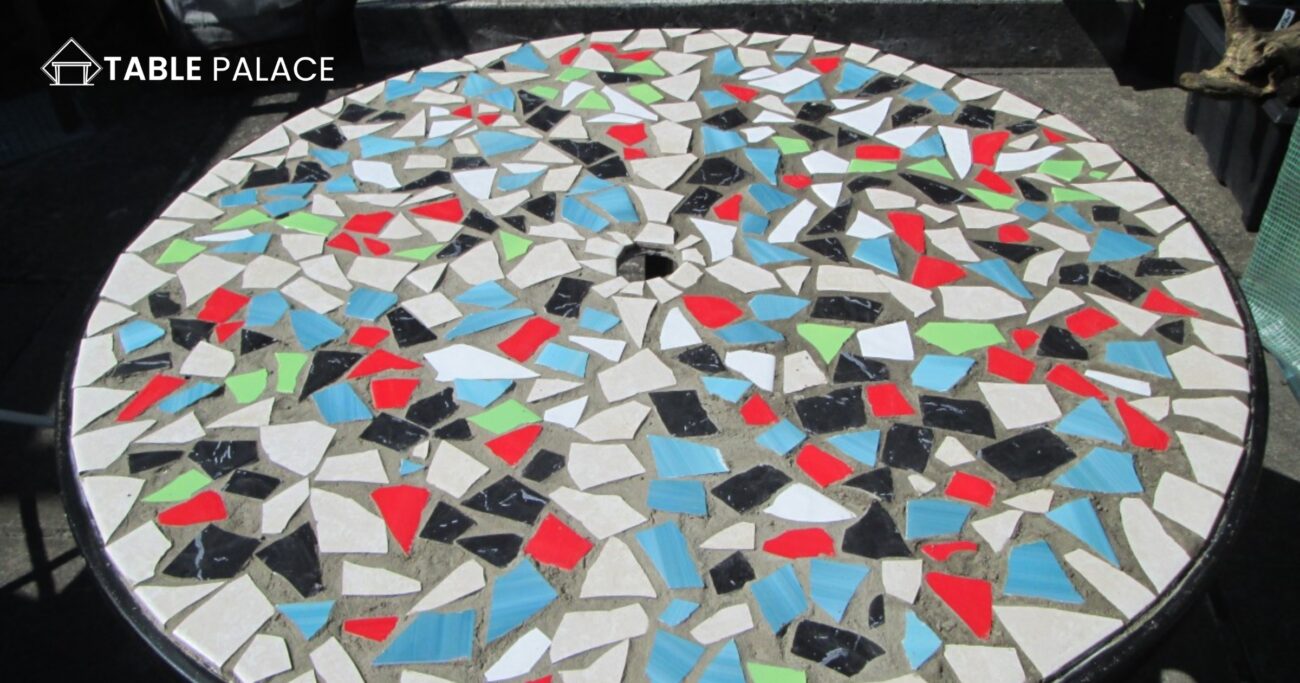
Step 2: Replacing Damaged Tiles
If you have a broken or damaged tile, you will need to remove it before replacing it with a new one. To do this, use a hammer and chisel to remove the tile gently. If you are careful, you should be able to remove the tile without damaging the surrounding tiles. Once the tile has been removed, use a clean rag to remove any residual grout or adhesive.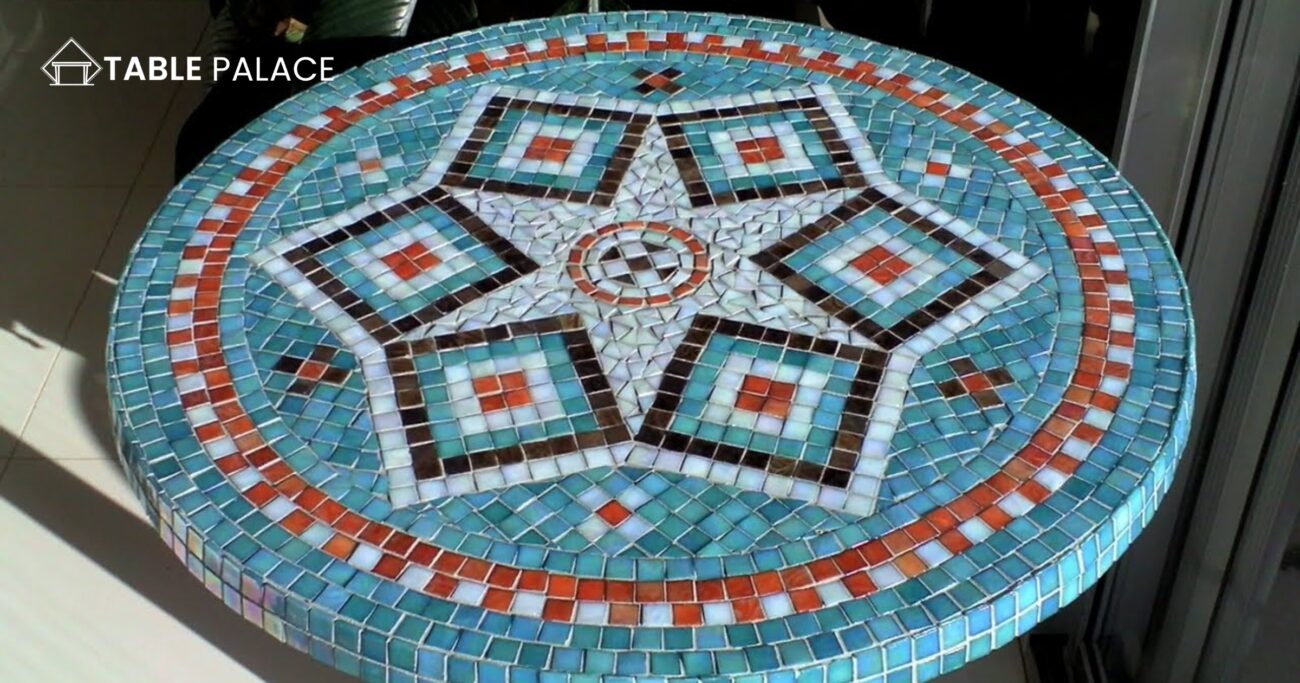
Step 3: Preparing New Tiles
To replace the damaged tile, you will need to cut the new tile to size. You can use a tile nipper or scissors to cut the tile to the appropriate size. Be sure to follow the manufacturer’s instructions for the adhesive you will use to ensure that it will work with the tiles you have chosen.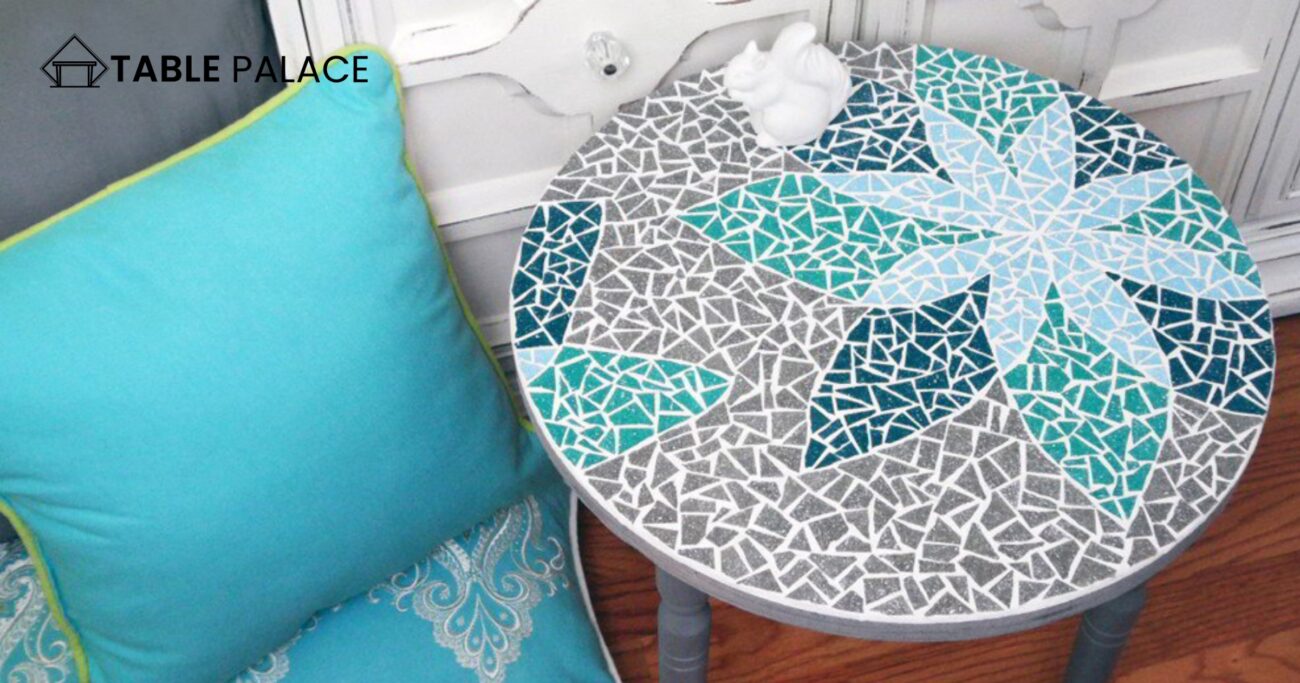
Step 4: Applying Adhesive
Use a paint stirrer to mix the tile adhesive according to the manufacturer’s instructions. Then, use a clean rag to apply the adhesive to the back of the new tile. Be sure to spread the adhesive evenly, covering the entire back of the tile.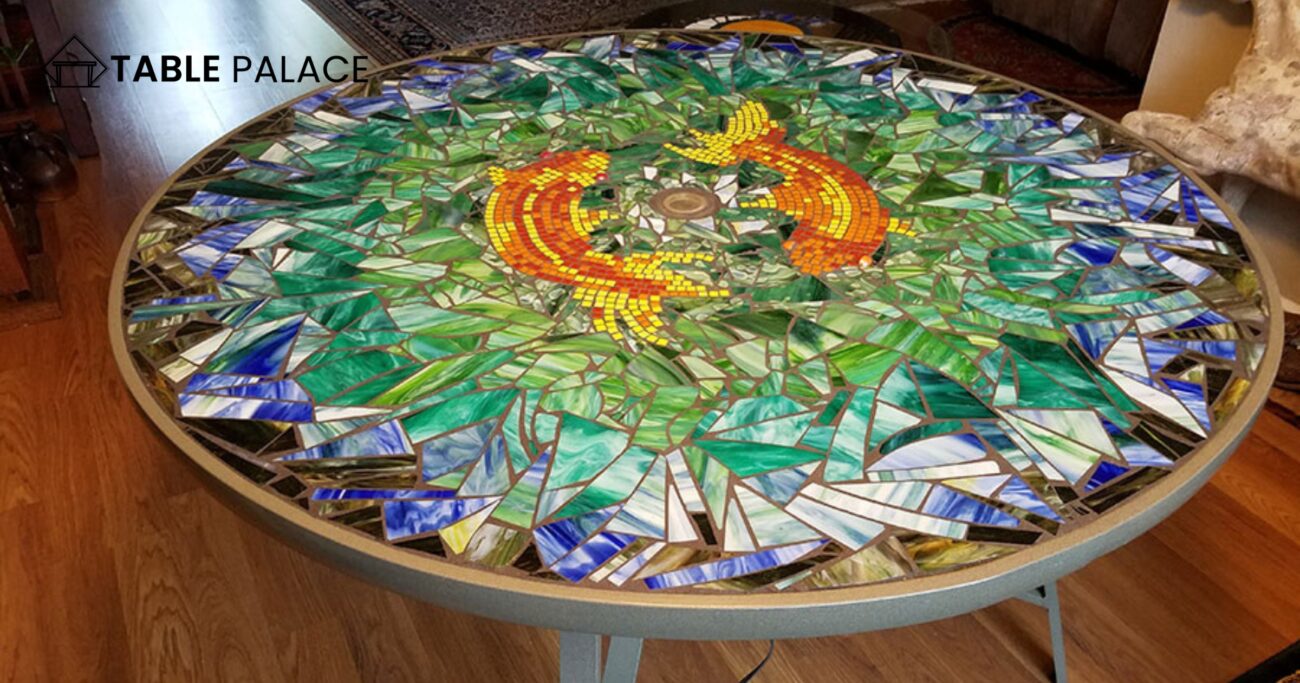
Step 5: Placing New Tiles
Once the adhesive is in place, place the new tile into the opening where the old tile was removed. Gently press the tile into place, ensuring it is level with the surrounding tiles. Use a clean rag to wipe away any excess adhesive. Repeat this process until all damaged tiles have been replaced.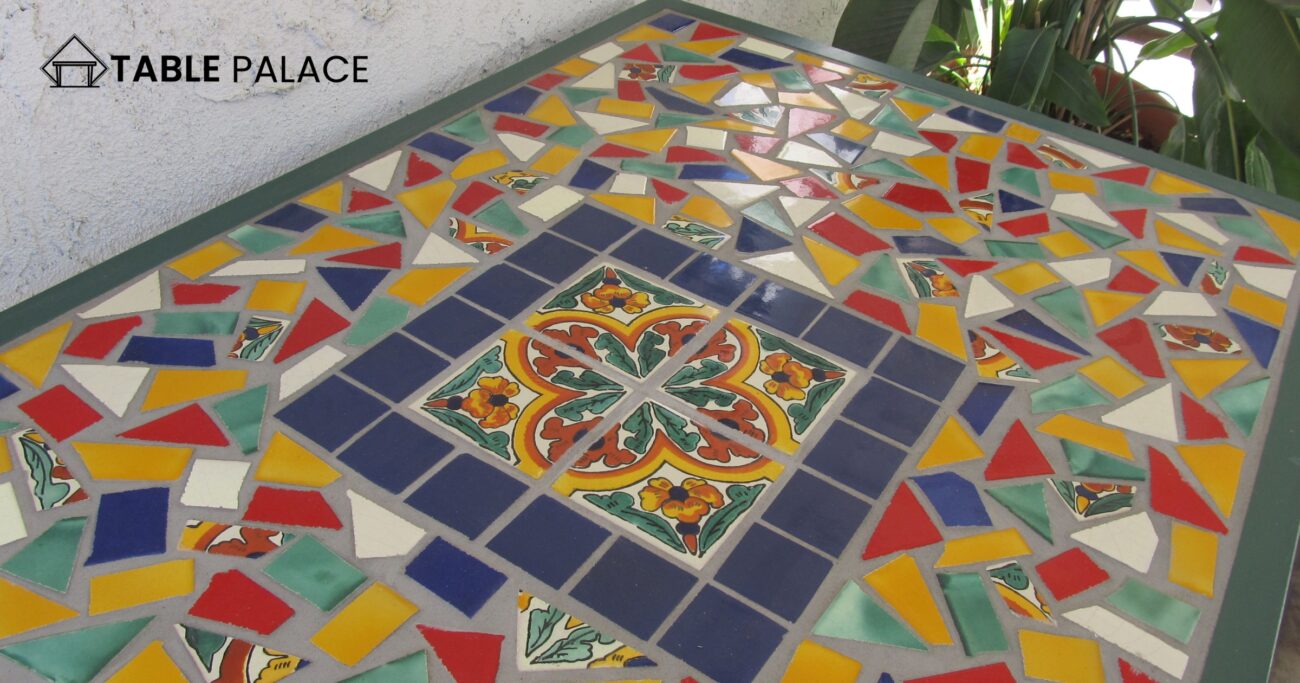
Step 6: Grouting
Once the new tiles are in place, it is time to grout the gaps between the tiles. Mix the grout according to the manufacturer’s instructions, then use a clean rag to apply the grout to the gaps between the tiles. Make sure to wipe away any excess grout, and allow the grout to set overnight.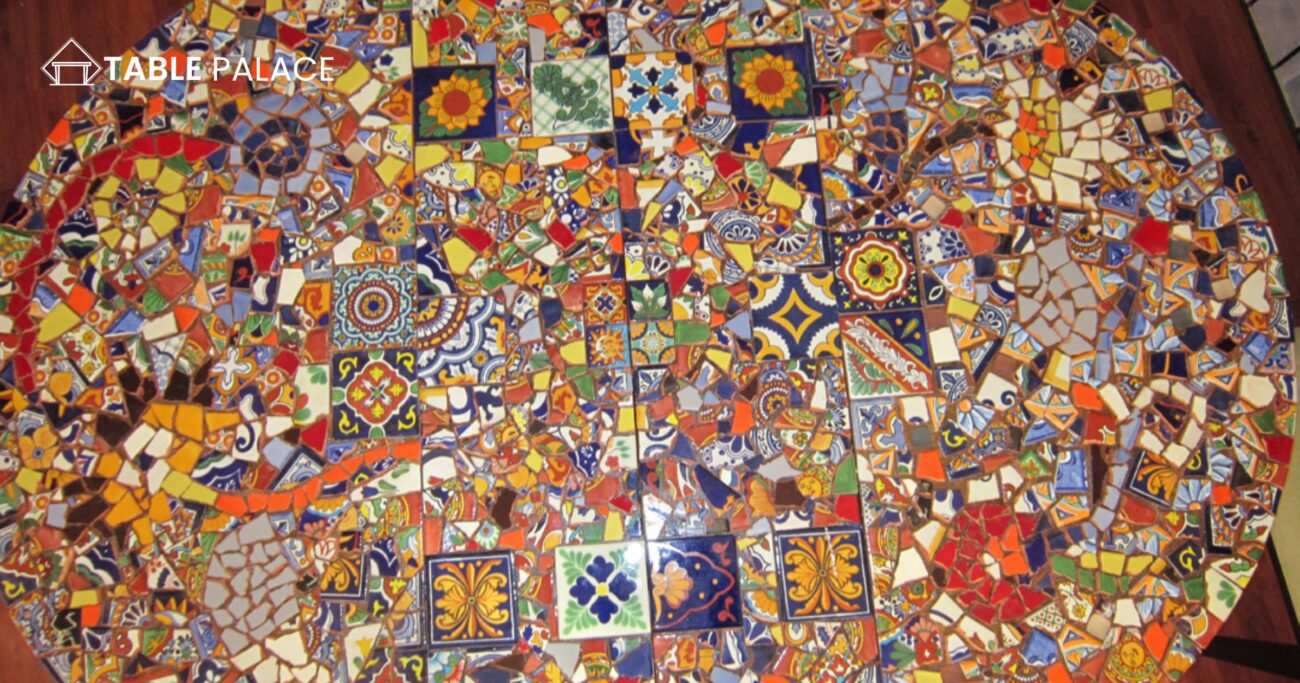
Step 7: Sealing the Mosaic Table
After the grout has been set, use a grout sealer to protect your mosaic table from water damage. Apply the sealer according to the manufacturer’s instructions, and let it dry completely.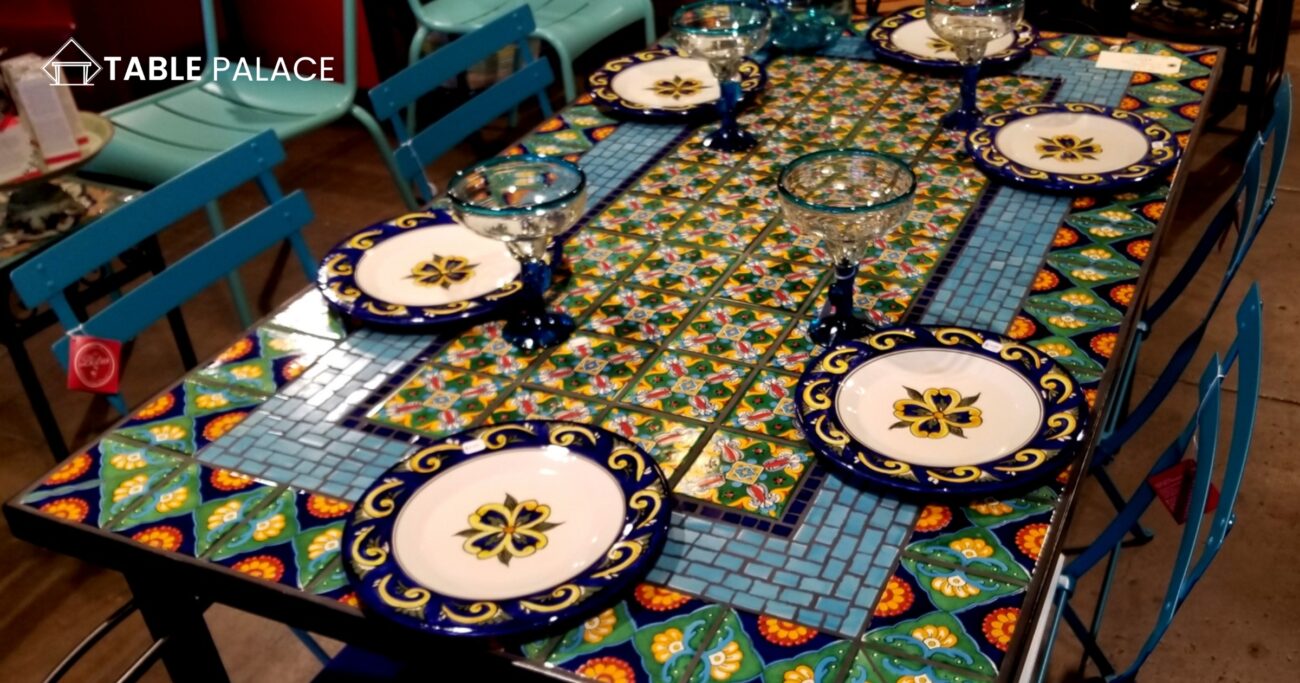
You can quickly repair a damaged mosaic table with suitable materials and patience. Following the steps outlined above will help ensure that your mosaic table looks new again. With proper care and maintenance, a mosaic table can last for years. So don’t be discouraged if damage does occur – with a bit of time and effort, you’ll be able to get your mosaic table looking like new again.
FAQs
What is the best glue to use for mosaics?
PVA is widely regarded as one of the best glues to use for mosaics. PVA glues are easy to apply, strong, and non-toxic. Plus, PVA glue won’t yellow over time, making it perfect for creating beautiful pieces that will remain vibrant for years. Whether you’re making a show-stopping mosaic tile table or adding some extra flair to your patio table, PVA glue is the perfect choice for securing each mosaic tile. PVA glue dries quickly and will keep your mosaics securely fixed for long-lasting enjoyment!
Can you use Gorilla Glue for mosaic?
Gorilla Glue is a popular adhesive and bestseller in many stores across the country, but is it suitable for mosaic? The answer is yes. Gorilla Glue works very well on mosaic table tops, broken tiles, and outdoor mosaic projects. It sets quickly, forms a strong bond, and resists solvents, making it an ideal choice for mosaic designs outdoors where moisture may be present. However, it’s essential to remember that Gorilla Glue sets so quickly that applying pieces to the object one at a time is essential, as rearranging once attached is nearly impossible. The adhesive can also be slightly yellow over time when exposed to sunlight, so plan on occasionally reapplying with more adhesive for extra longevity. All in all, Gorilla Glue is an incredibly reliable option for mosaic projects of all sizes!
How do you seal a mosaic table?
Sealing a mosaic table is important in maintaining its longevity and preventing damage. Here’s how to seal a mosaic table:
1: Clean the Table: Start by thoroughly cleaning the table and removing any dust or debris.
2: Allow to Dry: Let the table dry completely before sealing.
3: Choose a Grout Sealer: Select a grout sealer appropriate for the type of mosaic and grout used in your table. Some grout sealers are water-resistant and can be used on the outdoor mosaic table top.
4: Apply the Sealer: Follow the manufacturer’s instructions when applying the grout sealer. Most grout sealers are applied using a clean rag or brush, spreading the sealer evenly over the grout lines.
5: Let it Set: Allow the sealer to set overnight or as instructed by the manufacturer.
6: Reapply if Necessary: Depending on the grout and the type of sealer used, you may need to reapply the sealer after several months or a year. This will help to keep the grout and mosaic tiles protected from water damage and staining.
Following these simple steps, you can keep your mosaic table looking great for years.

